Hello GOSH
As many of you know @hikinghack and I got funding through Experiment.com to build a microscope for looking at bees.
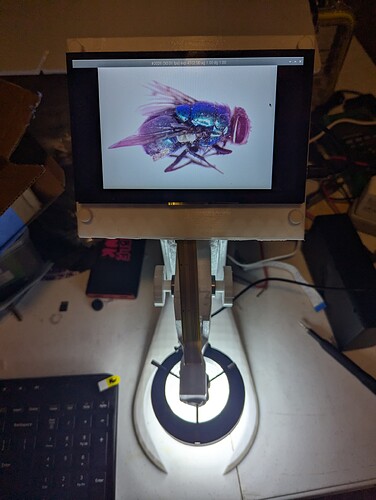
The first stage of development is now complete. While I haven’t looked at bees yet, I did show some images the microscope has made in another thread.
The first prototype of the microscope is now ready for others to replicate. You can find the complete assembly instructions on GitLab.
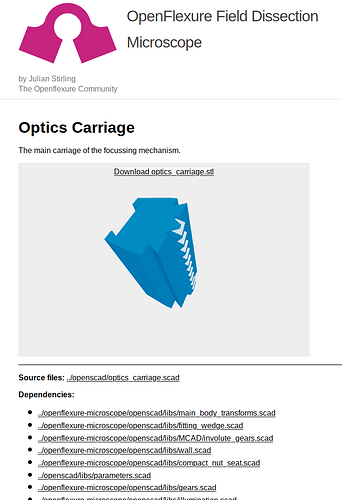
The instructions are written in a beta release of the next version of GitBuilding. This allows us to provide even better links between each of the custom components and the source files that created it:
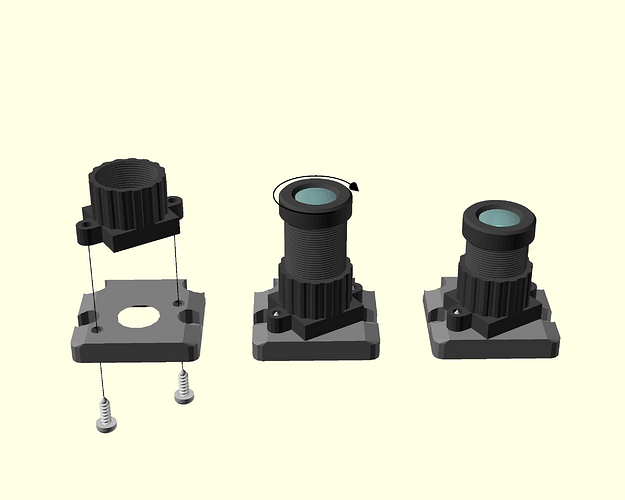
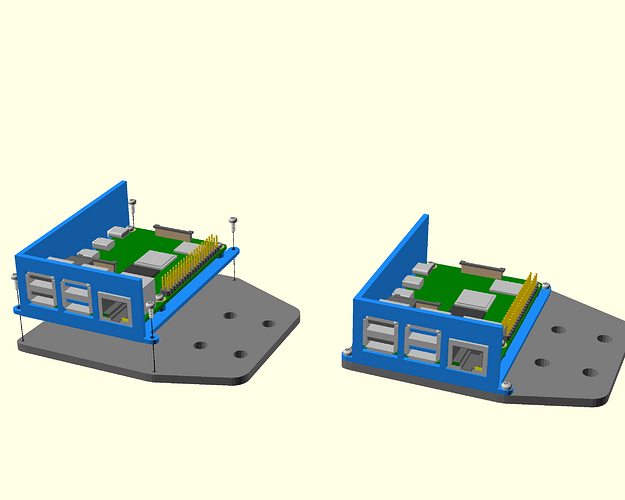
Also just like the OpenFlexure Microscope, all stages of the assembly are rendered so the documentation is easier to keep up to date.
Let us know what you think
If you build the microscope please let us know any feedback you have on the microscope or the instructions. You can let is know in this thread, or you can open an issue on GitLab
7 Likes
I built it!
And here’s some of my initial feedback from the build!
- instructions were all top Notch!
- very clear and easy to understand and organized.
- The focusing mechanism is really good. I found it really easy to use and very easy to focus even with a kind of crappy stringy print from my old 3d printer
Some of my parts and stuff were a little different and led to some hacks:
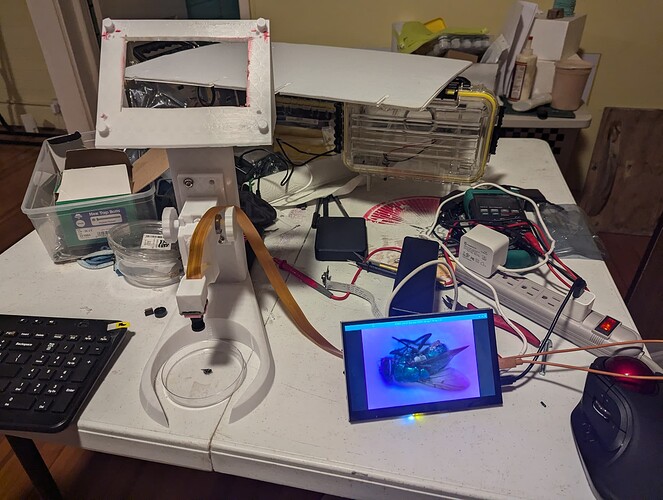
My 7 inch HDMI screen came with nice little hookups that let me attach the pi directly to its back. And then it fit inside the top little screen holder pretty decently.
Which meant I didn’t have to print the little shelf part for the pie to sit on that goes above the camera.
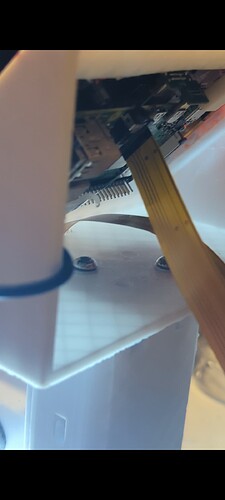
It did mean that I needed a longer camera cable. And I had to cut the longer camera cable hole into the bottom of the screen holder.
Also i wasn’t able to get the open flexure software to connect to my camera. It kept saying i needed to update the kernel, so instead i just loaded up a new version of bookworm and took photos with libcamera 
Another thing i noticed is that it seemed like there were some light leaks or something with my lens adapter i printed with my kinda old printer in the tropics (makes it slightly pink around the edges). But i just added some blu tack around it.
Other modifications:
I have a bunch of usb microscope lights that are a standard size, and since i added the blu tack i could connect it there.
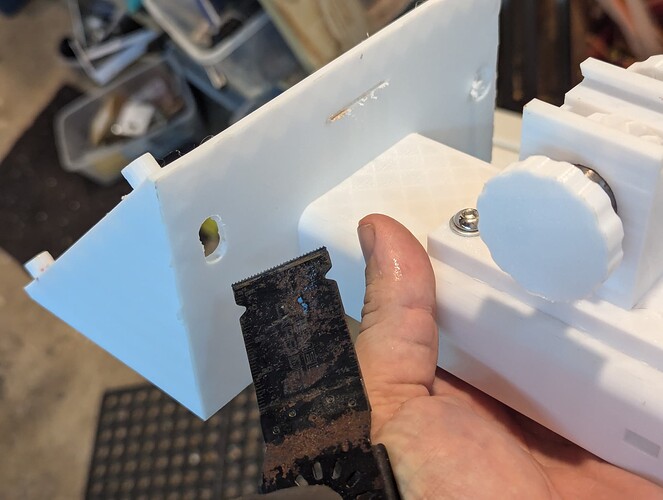
Another problem I realized with my putting the pi behind the display modification is that the side wall of the display holder blocks putting in a usb drive, so i will carve that part out too.
1 Like
Awesome. Nice modifications. 
There are now at least 3 in the world. The original one I built here, the one built by an OpenFlexure Community member in Switzerland, and yours in Panama.
2 Likes
