Earlier I had put out a call for help: Anyone wanna teach me to Yolo? (Offline) trying to figure out how to set up an offline machine learning system to train on our own custom data.
Even though if you google this, you will get a million different overviews and tutorials, most assume some level of familiarity with these systems. It turns out that programming these AIs isn’t that difficult, but what is difficult is figuring out the special way all the data needs to be organized to make it all work.
So some nice folks helped me out, and I compiled a big tutorial for how to make your own machine learning system from scratch, yourself! You don’t need much familiarity with programming or anything, I wrote some helpful scripts that do a lot of things for you!
just follow along with some detailed instructions, and you can be making a system for detecting whatever you want! (and then you can teach others too!)
The tutorial is linked here, and the Github with scripts below that, but I will also paste its contents here in the GOSH forums too! Thanks everyone!
https://digital-naturalism-laboratories.github.io/Mothbox/docs/programming/AI/
Tutorial
Here’s how to build an AI machine vision program from scratch. This will let you use open source projects like YOLO to automatically detect things like insects in your high resolution photos. This will show you the basics of machine learning programs from setting up your computer, organizing files, training the AI, and processing images.
All the scripts and folders referenced are available on the Mothbox Github under “AI”
This guide is written using a Windows computer using Linux. Most of this should work on a windows or linux machine (and probably a Mac machine too, you just might need to tweak some things).
Motivation
I asked around all over the place for advice on how to set up an AI image detector on my own, and couldn’t get any guides for exactly how to do it. It turns out it’s NOT a difficult thing programmatically (as some people might have you fear!) instead, the biggest challenge is about data organization and the special way you have to organize the files and point the program’s paths towards things to make it work.
Also many tutorials for AI systems rely on first having to organize all your data in online proprietary websites (like Roboflow). We don’t always have good internet out in the field, and the idea of uploading 7 GB from each mothbox, each night, can be pretty impossible (I’m currently writing this tutorial on a laptop tethered to a phone because the power and internet is out!). Instead we wanted something you can run locally on even an old computer! (mine is 6 years old!)
Luckily I had a computer vision friend named Matt Flagg who helped get me started on understanding how to get the AI stuff functioning, and eventually I did!
So I wrote this up so that you can make your own, robust, offline, local detector. Next steps will be programming your own image identifier too! (Though after the insects are cropped out, the data is vastly smaller and could possibly be done with online tools too!)
Setting up your computer
Programming Software
Download the open source code editing software, Visual Studio Code
download Python
Labelling Software
First Download the open-source software called “X-anylabeling” We have a backup of their software here
Labelling Images
Make a folder of images you want to use for training. call it “all_training_images”.
Put your images you want to label in there.
Make another folder called “backgrounds” and put any images in there that do not have any objects to label (they are blank “background” images)
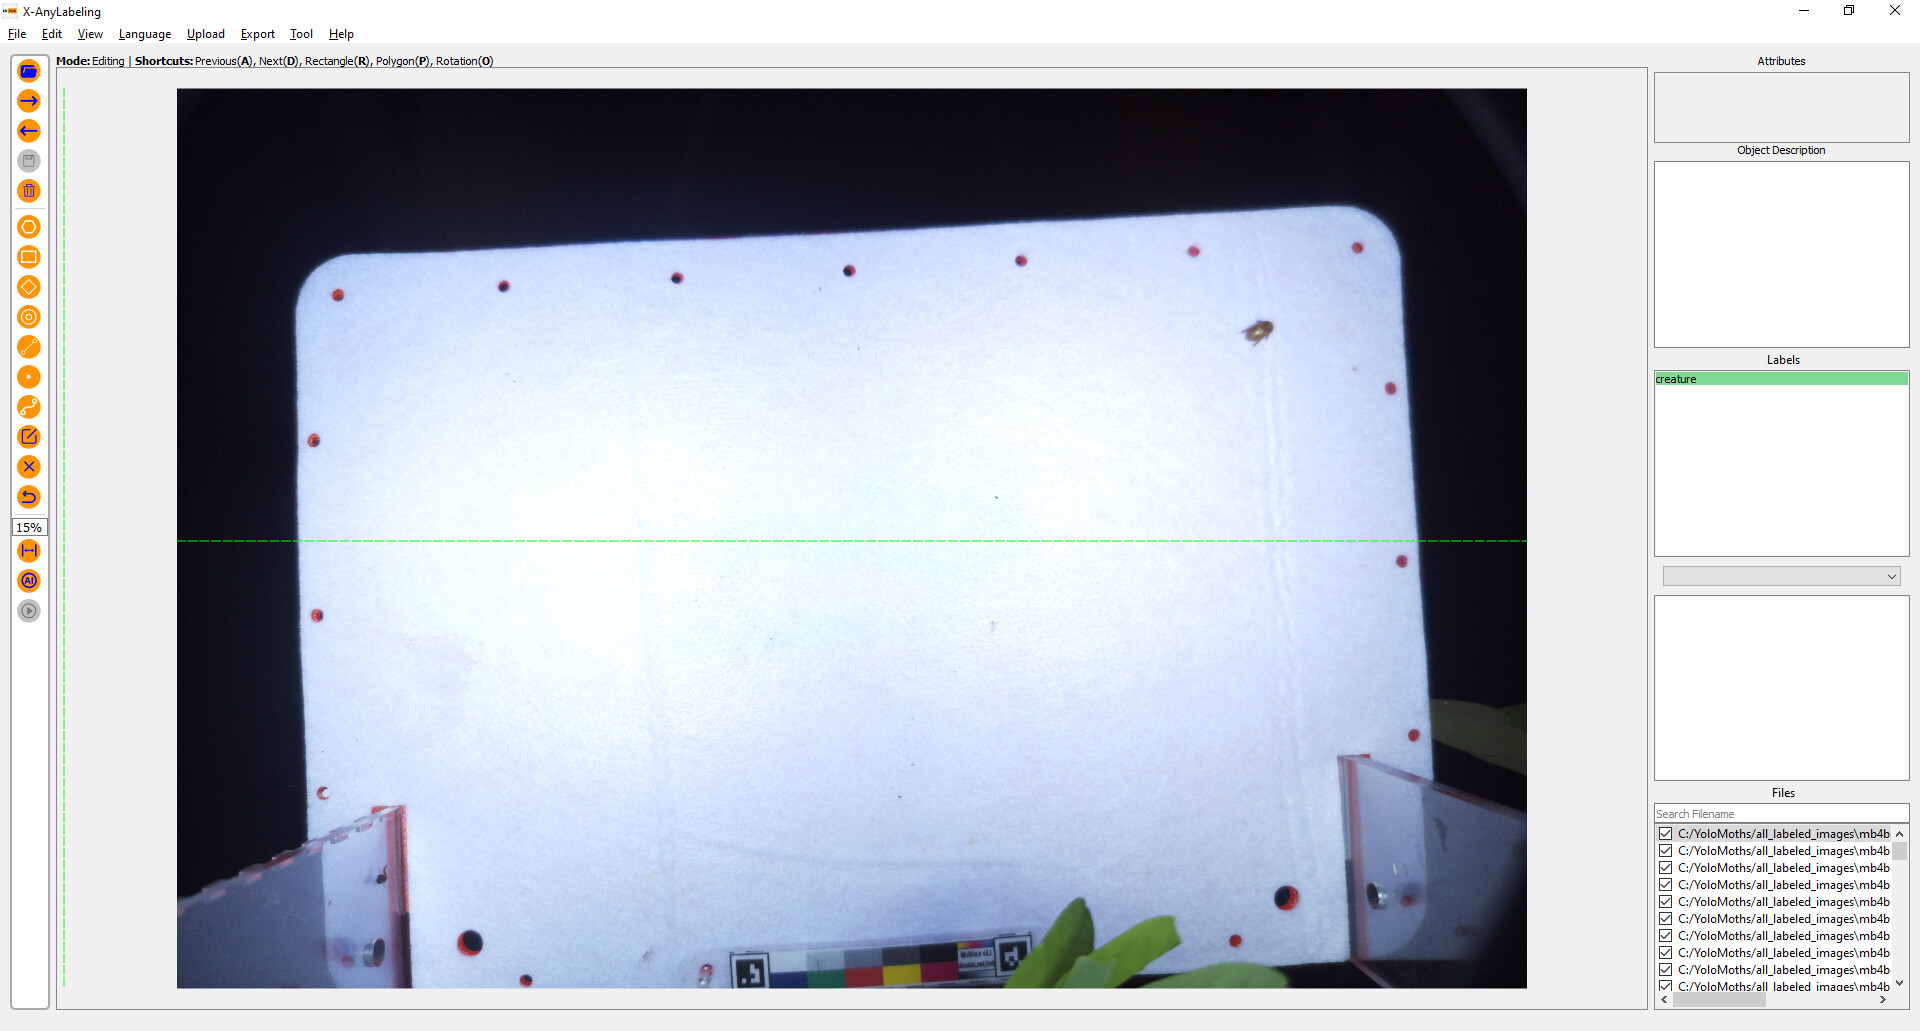
Open X-Anylabelling. Click “open directory”
You will see a interface with your first photo pulled up. The bottom right corner shows a checkbox next to images you have already labeled.
Draw rectangles and rotations
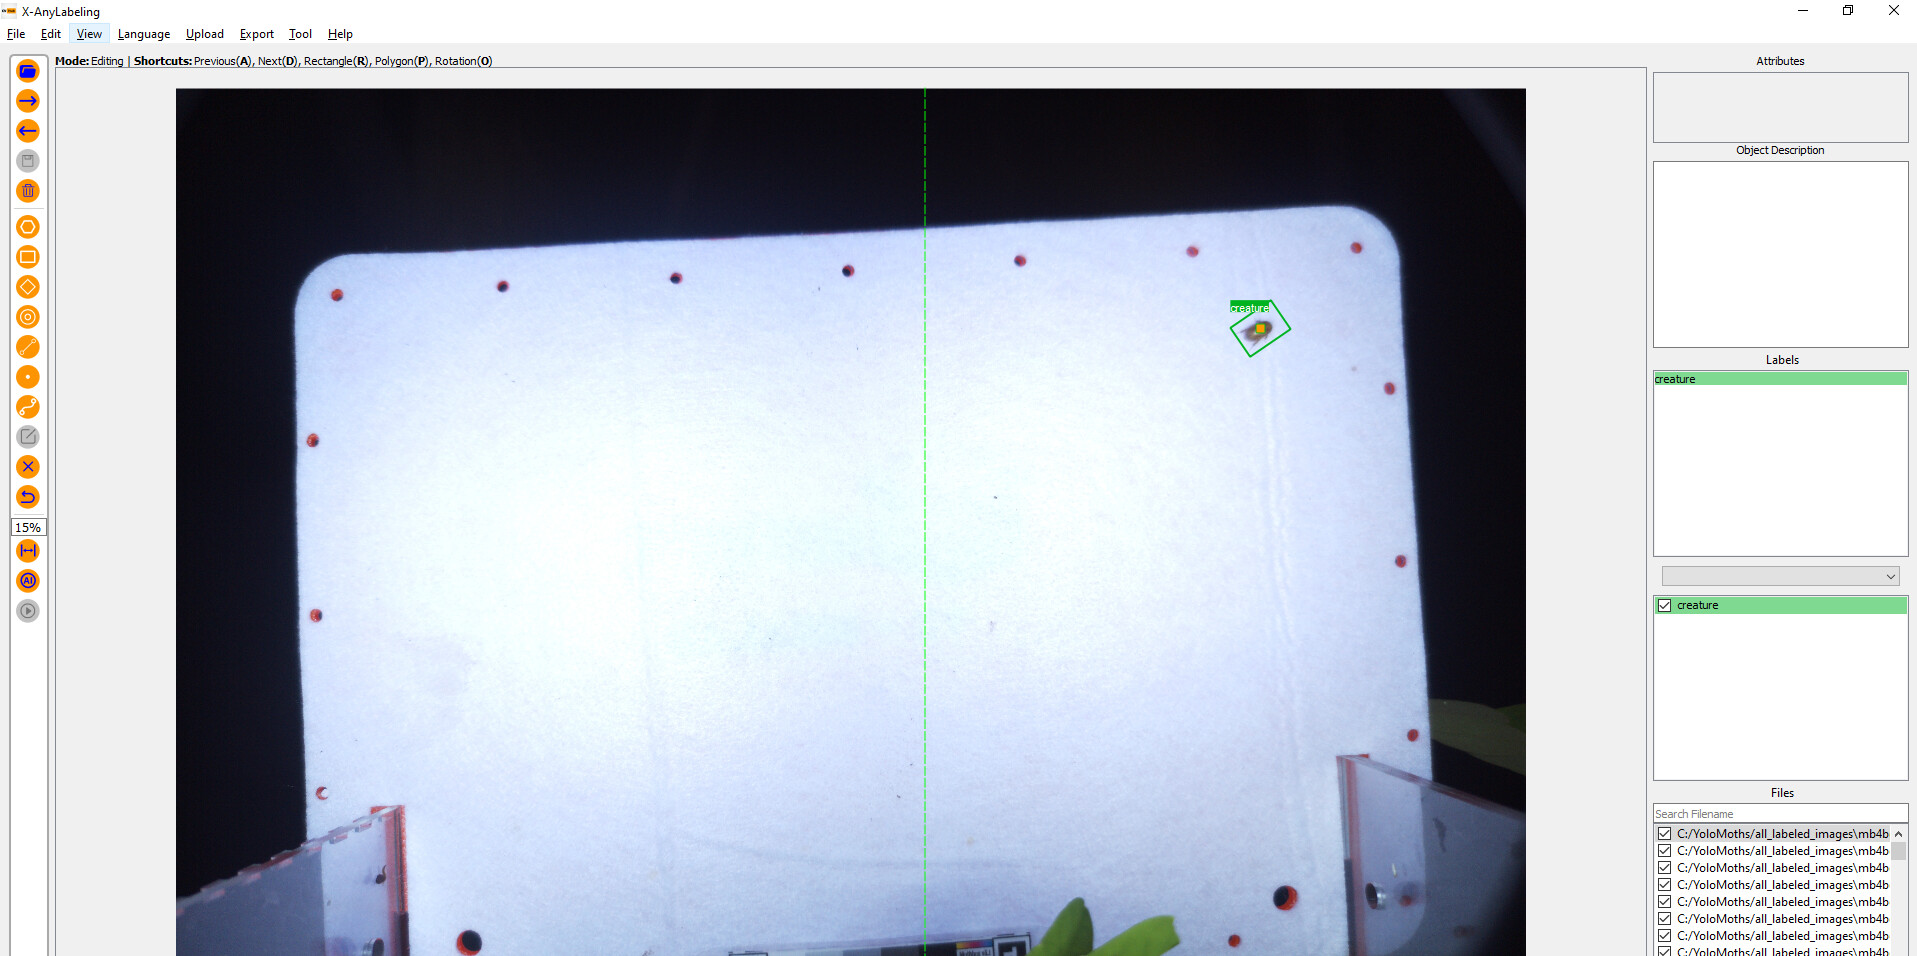
If you are doing normal detection and don’t care about the rotation or orientation of your thing you want to detect, the easiest thing is to just draw regular rectangles around the object. After you draw the rectangle it will pop up a dialog box asking you how to classify this object you just rectangled. Type a new class in, or choose an existing one. All ours are called “creature”
If you are doing slightly more advanced detection and want to specify the angle or orientation of your boxes instead of drawing a regular rectangle, choose “rotation.” You draw a rectangle like before, and give it a class. but then after, you can press “z” or “v” to rotate your box until it looks right.
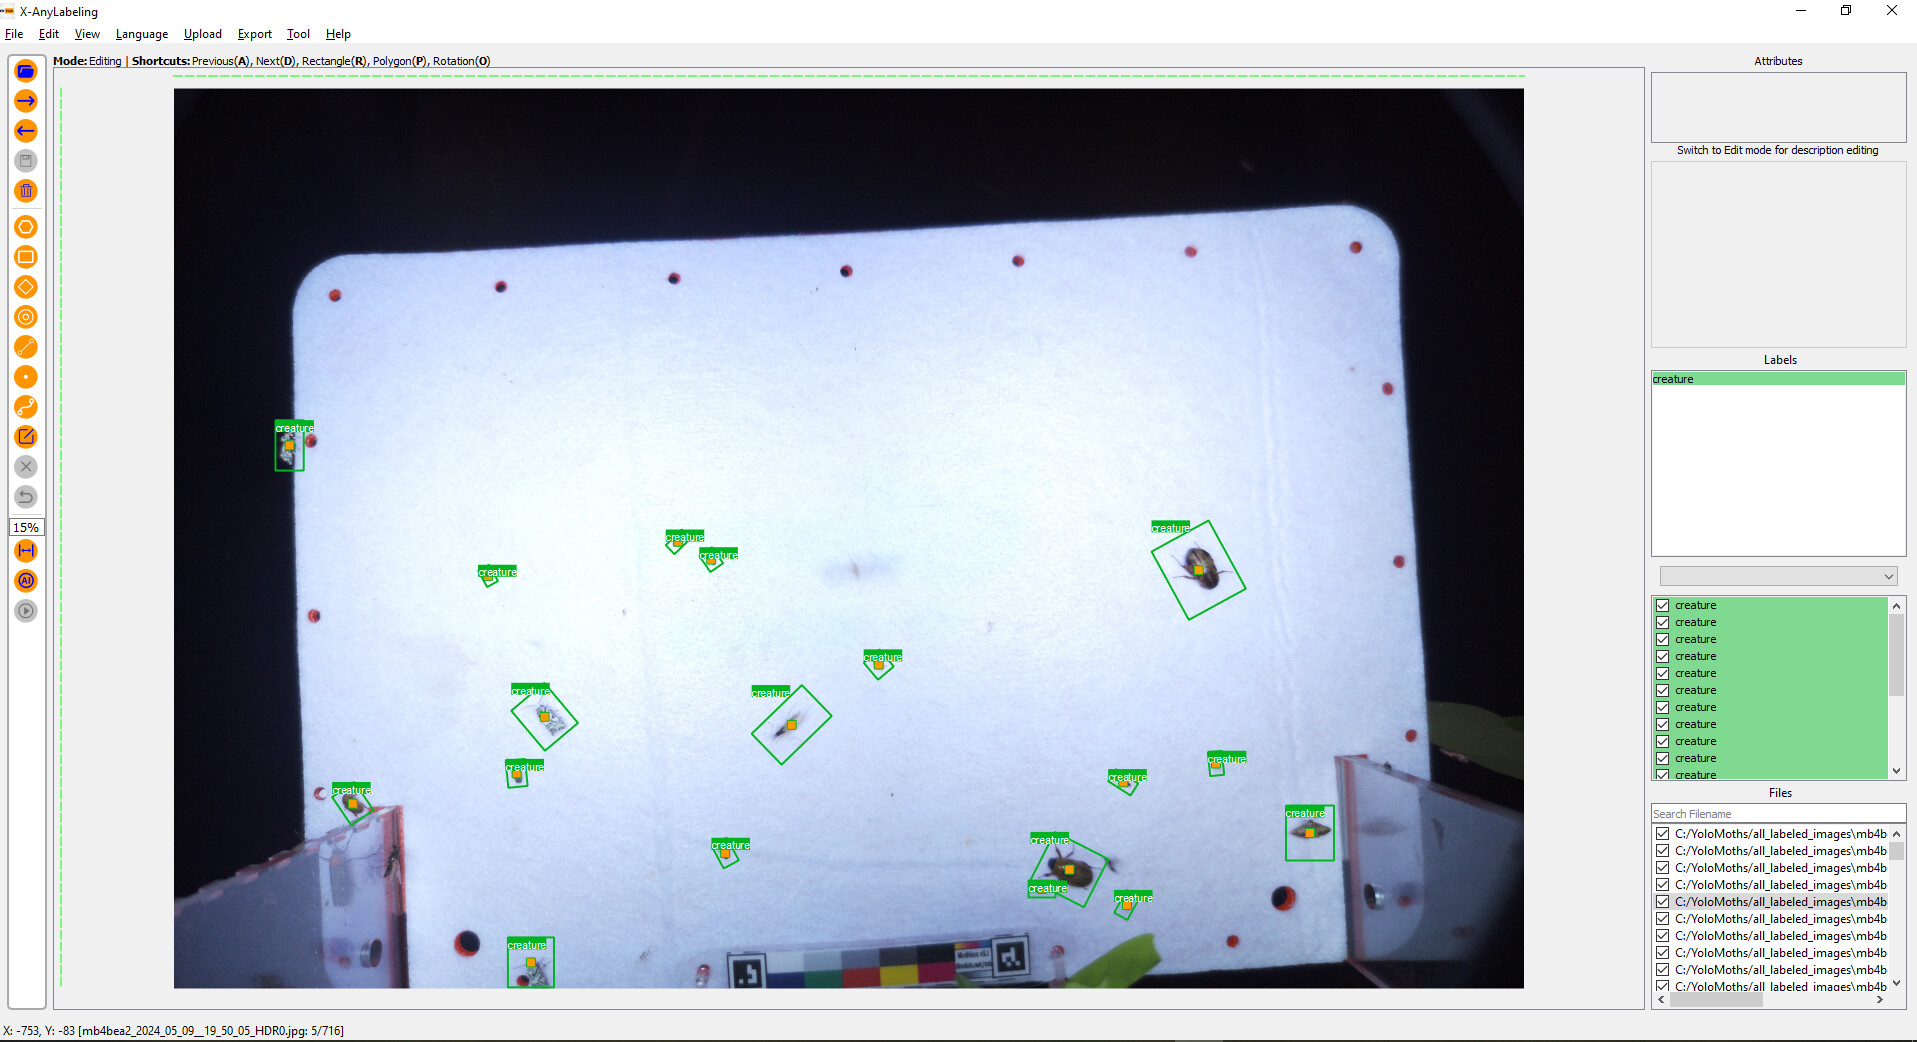
Label all your images. (This may take a while)
Create a Classes file
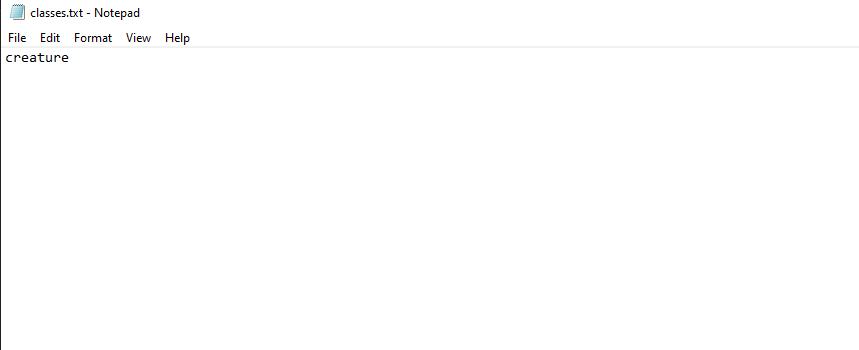
Go to your folder with all your images and create a new text file called “classes.txt”
In this file, just list one word on each line for each class your organized your data into.
We only had one class of object “creature” so our classes file just has one line that says “creature.”
Export your data
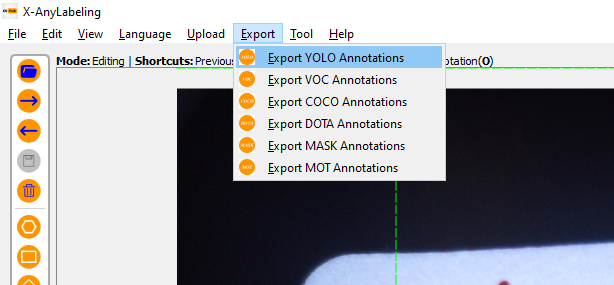
After you have labeled all your data in X-AnyLabeling, you can look in your “all images” folder and see that all the images have a new little .json file next to them. That stores all the data about the rectangles you made on each image. This data format works for X-AnyLabeling, but other programs need the data organized differently. So at the top of the program select: “Export Yolo Annotations”
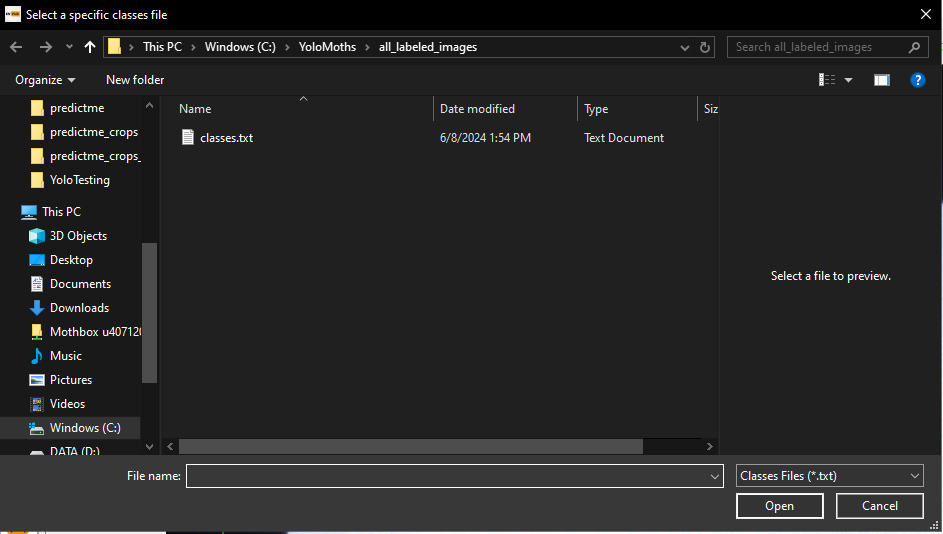
and choose the “classes.txt” file we created earlier
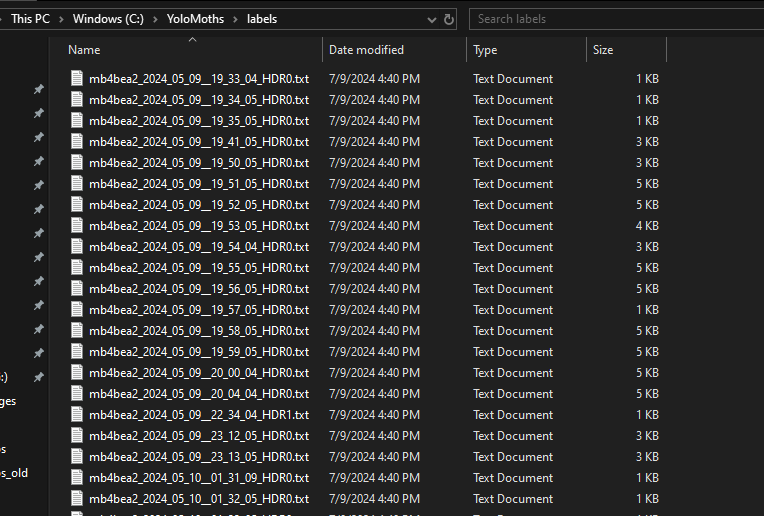
Now you will notice there is a new folder next to your “all images” folder called “labels.” Inside there is a text document for each photo you labeled.
Organizing Files
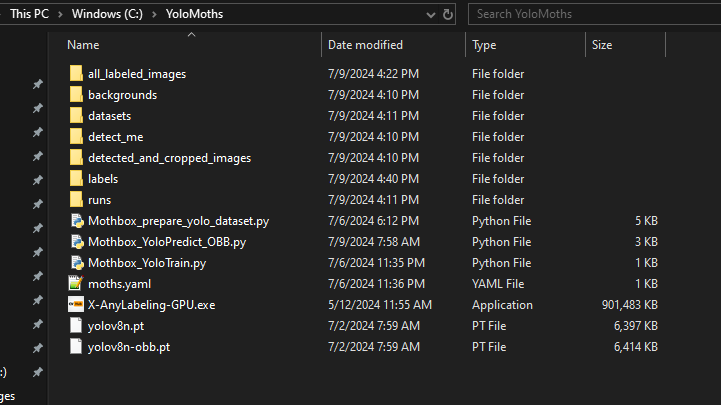
Your working folder should be eventually organized like this (The github AI folder for the mothbox is organized like this for you as well)
##Run the Dataset preparation script
The way that AI’s are trained means they need their training data organized in special weird ways. I made a script to help organize that automatically for you!
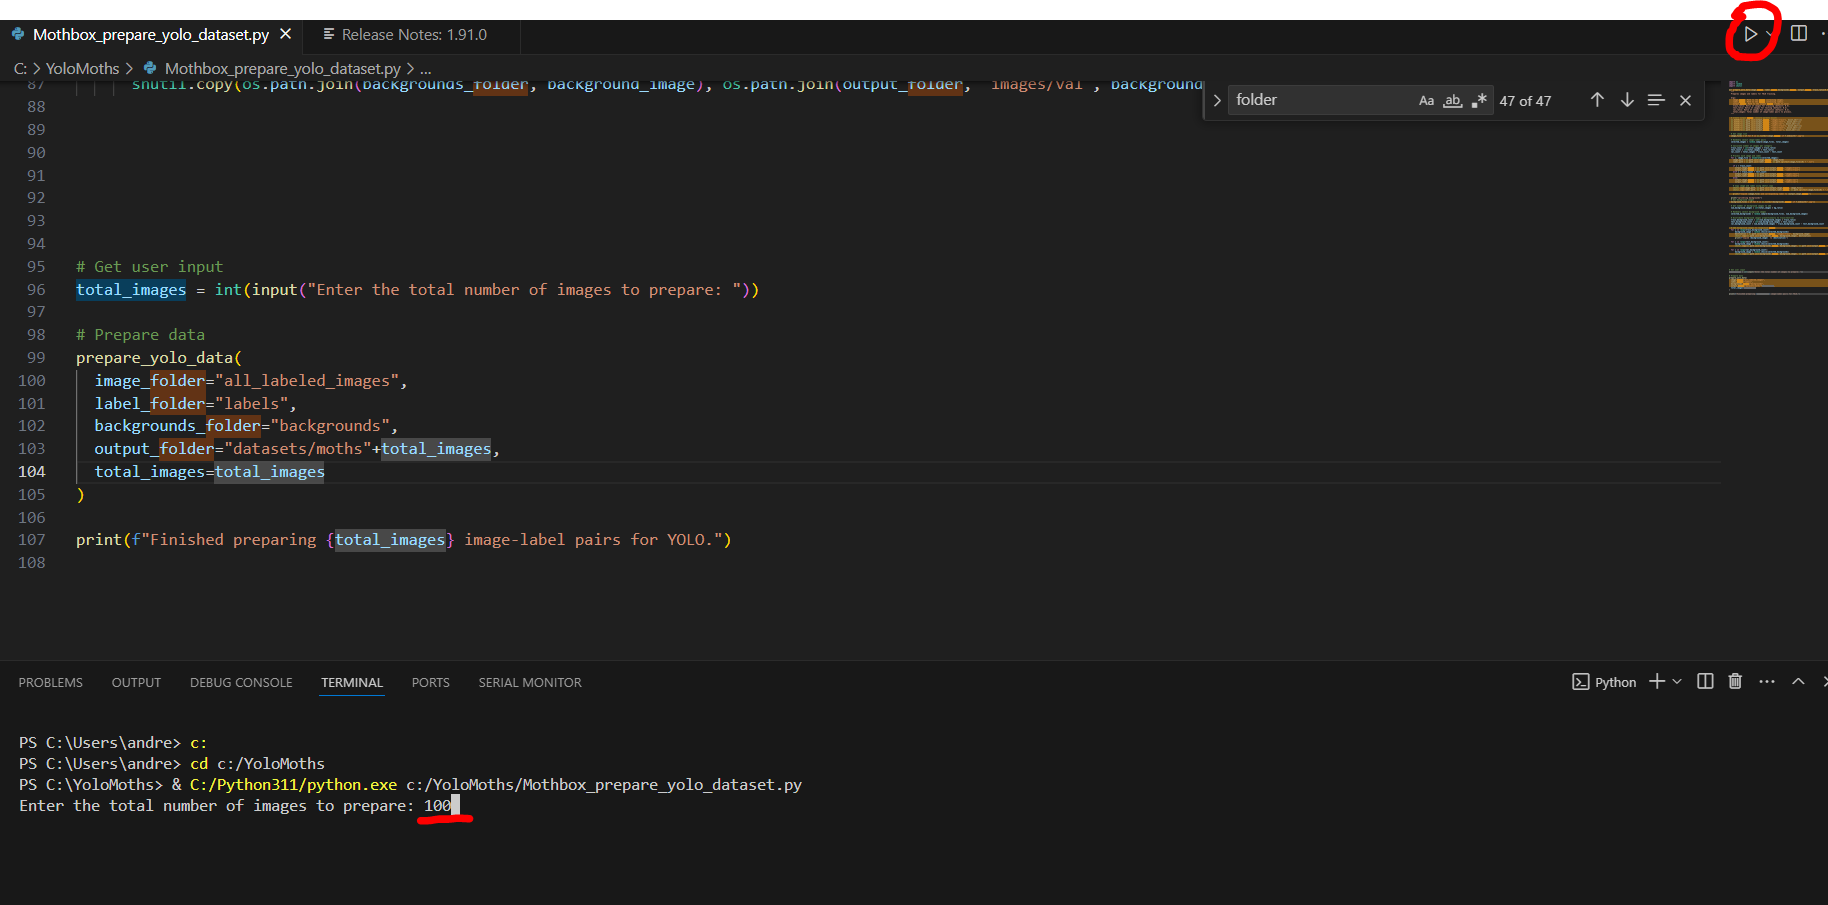
Open a code editor like Visual Studio Code, and open the file “Mothbox_prepare_yolo_dataset.py”
All you have to do is run that python script, and type in the number of images you want to use for training. For instance I typed in 100.
Now you will have a new folder in your datasets directory with all your data organized just how the AI likes it!
Training Images
Yay! You finished organizing stuff! You are ready to start doing AI stuff (which frankly, is just more organizing stuff)
Install Yolo
Make sure python is installed. Then you can install yolo by opening the CMD prompt (hit windows key and type “cmd” hit enter)
type this and hit enter
pip install ultralytics
This will probably take a bit to download and install.
now in a terminal or command prompt enter
yolo settings
If it gives an error, it means the ultralytics didn’t install correctly. If it did install correctly, you should see some information pop up like this
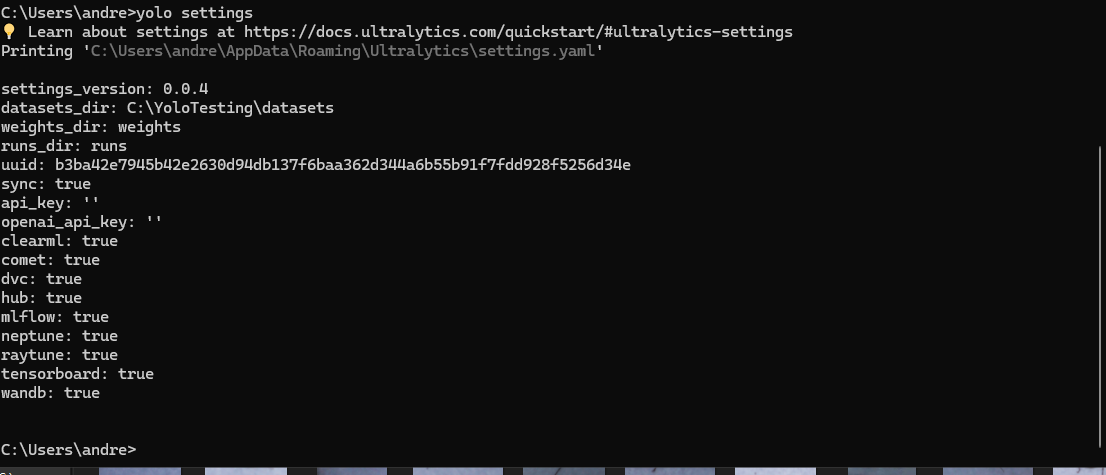
Importantly, it shows you where all the Ultralytics settings are located in a special “settings.yaml” file
for instance my settings file is located here
Printing 'C:\Users\andre\AppData\Roaming\Ultralytics\settings.yaml'
Change “datasets” directory to where you want
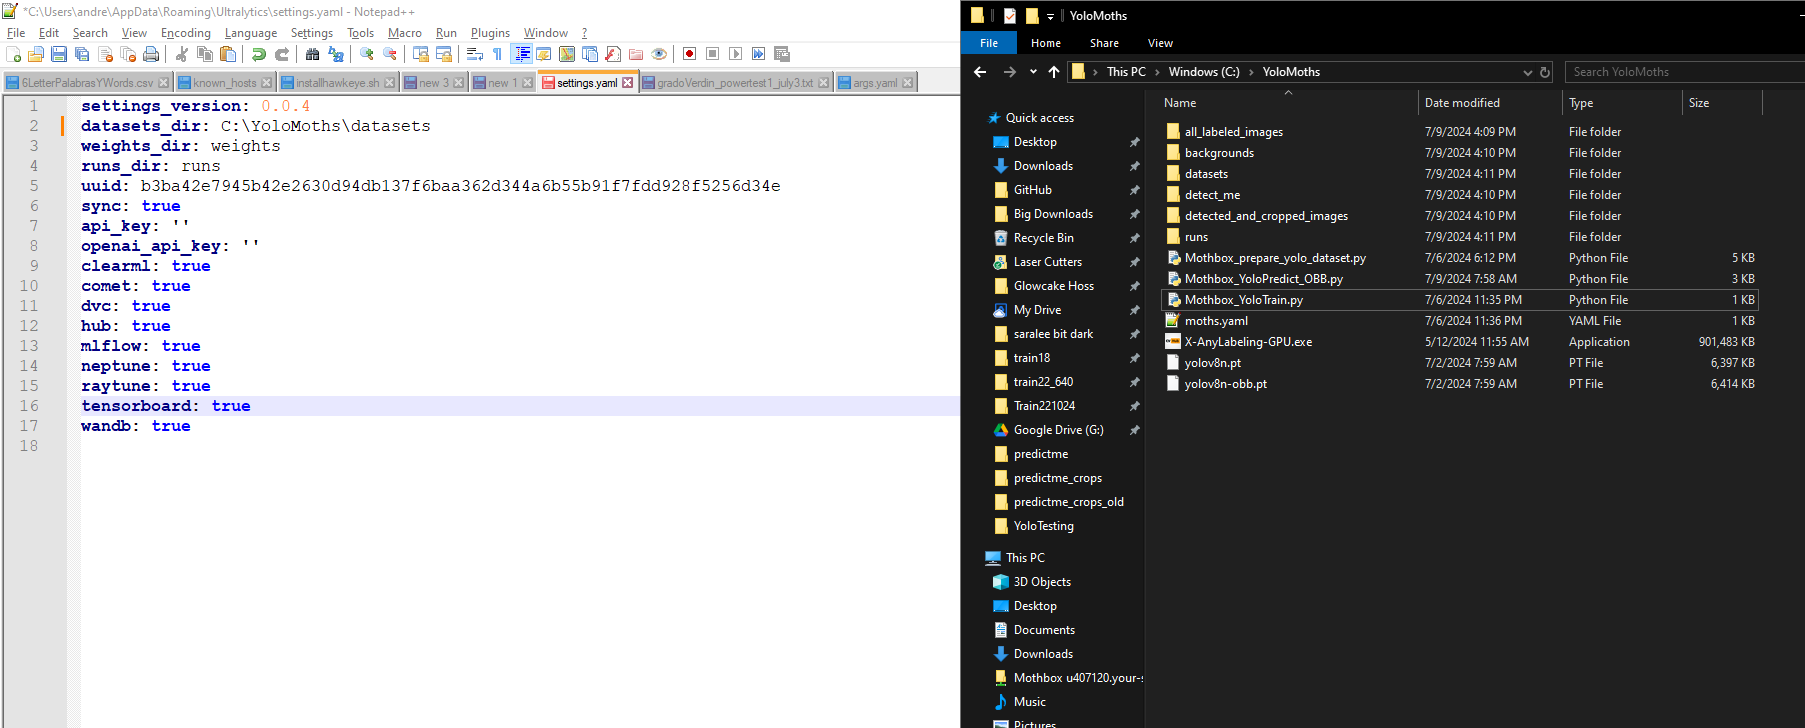
you should find that file on your computer and open it in a text editor.
Change the “datasets_dir” to the folder where you want to do your AI work.
for instance mine is here
C:\YoloMoths\datasets
So I went and edited that file and changed it myself to point to the “datasets” folder in our main folder:
Create / Edit your YAML file
We provided an example, but you can make your own YAML file
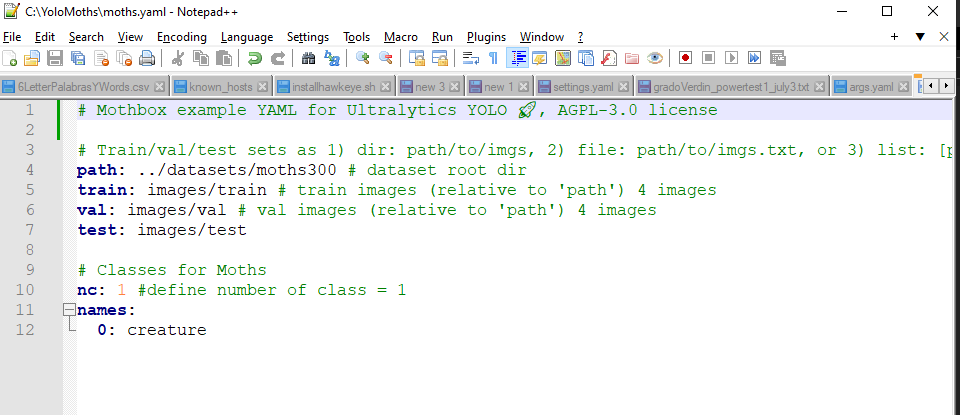
Change Path
The main thing you need to do in this YAML file is change the “path” to the specific dataset you just created.
for instance, I will change mine to “moths100”
Change Classes
You also need to make sure your classes are listed correctly.
they should be in the same order as the “classes.txt” file you made earlier.
You should also have the variable “nc” point to a number representing the “number of classes” you are using. We just have one class “creature” so our nc is just 1
Start Training
Open the “MothboxYoloTrain.py” file in visual studio code
Choose a model
if you are not doing oriented bounding boxes, you might need to switch the code to use a different model
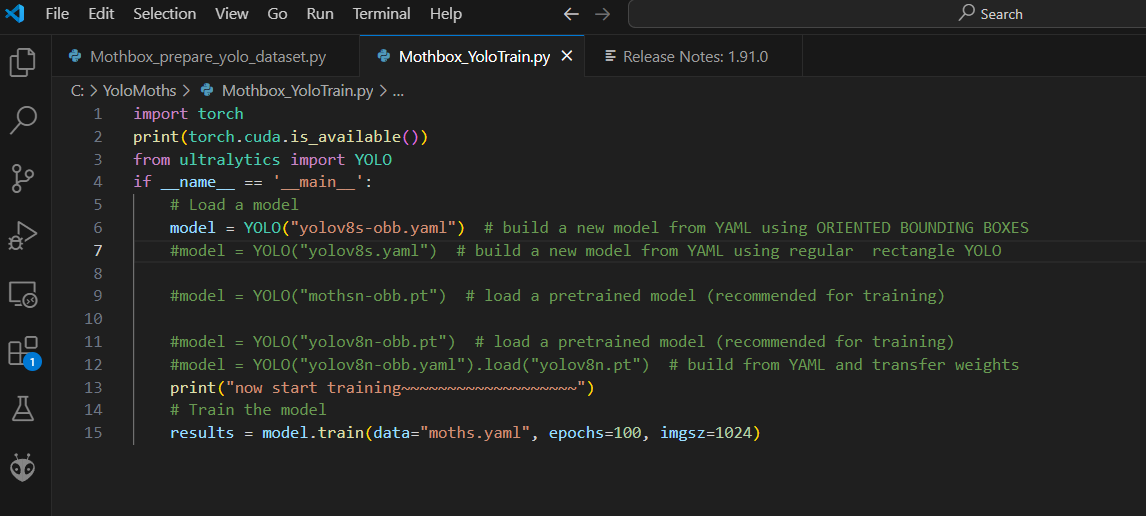
also we are using the yolo8s model. You can choose different models. The letter after the number stands for the size of the model. n = nano, s=small, m = medium, L = large, xl = extra large. My old computer could only handle “s,” but you might want to play with this.
Train it already!
Run the program! Depending on how large your dataset is, the training can take 5 minutes to several hours or days!
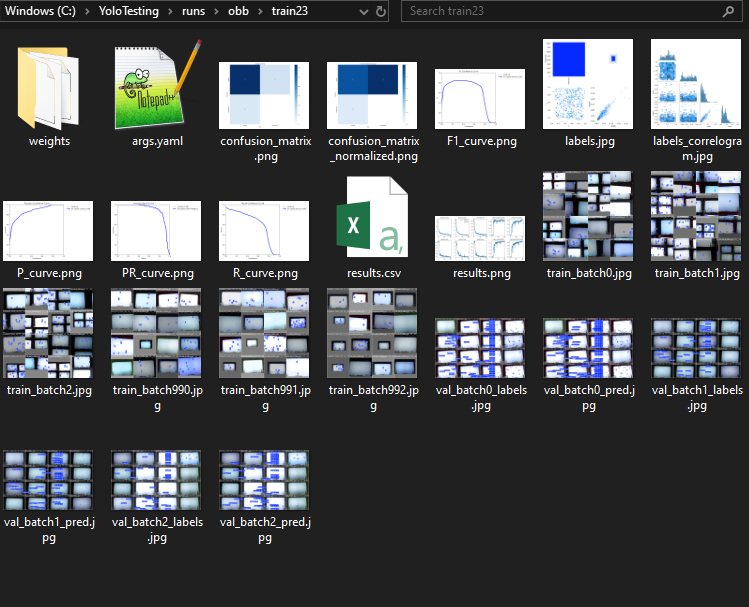
Post training
After it finished all the epochs it will output some data you can look at about how well it was trained. these are in the “runs” folder I don’t know what most of the graphs are about, but there’s two things I check to see if my training was any good.
Confusion Matrix: Background vs other classes matrix
This is an easy chart. It shows how correctly it guessed your class correctly as the right thing vs the background. If that top corner isn’t mostly correct, maybe something went wrong, or you need a

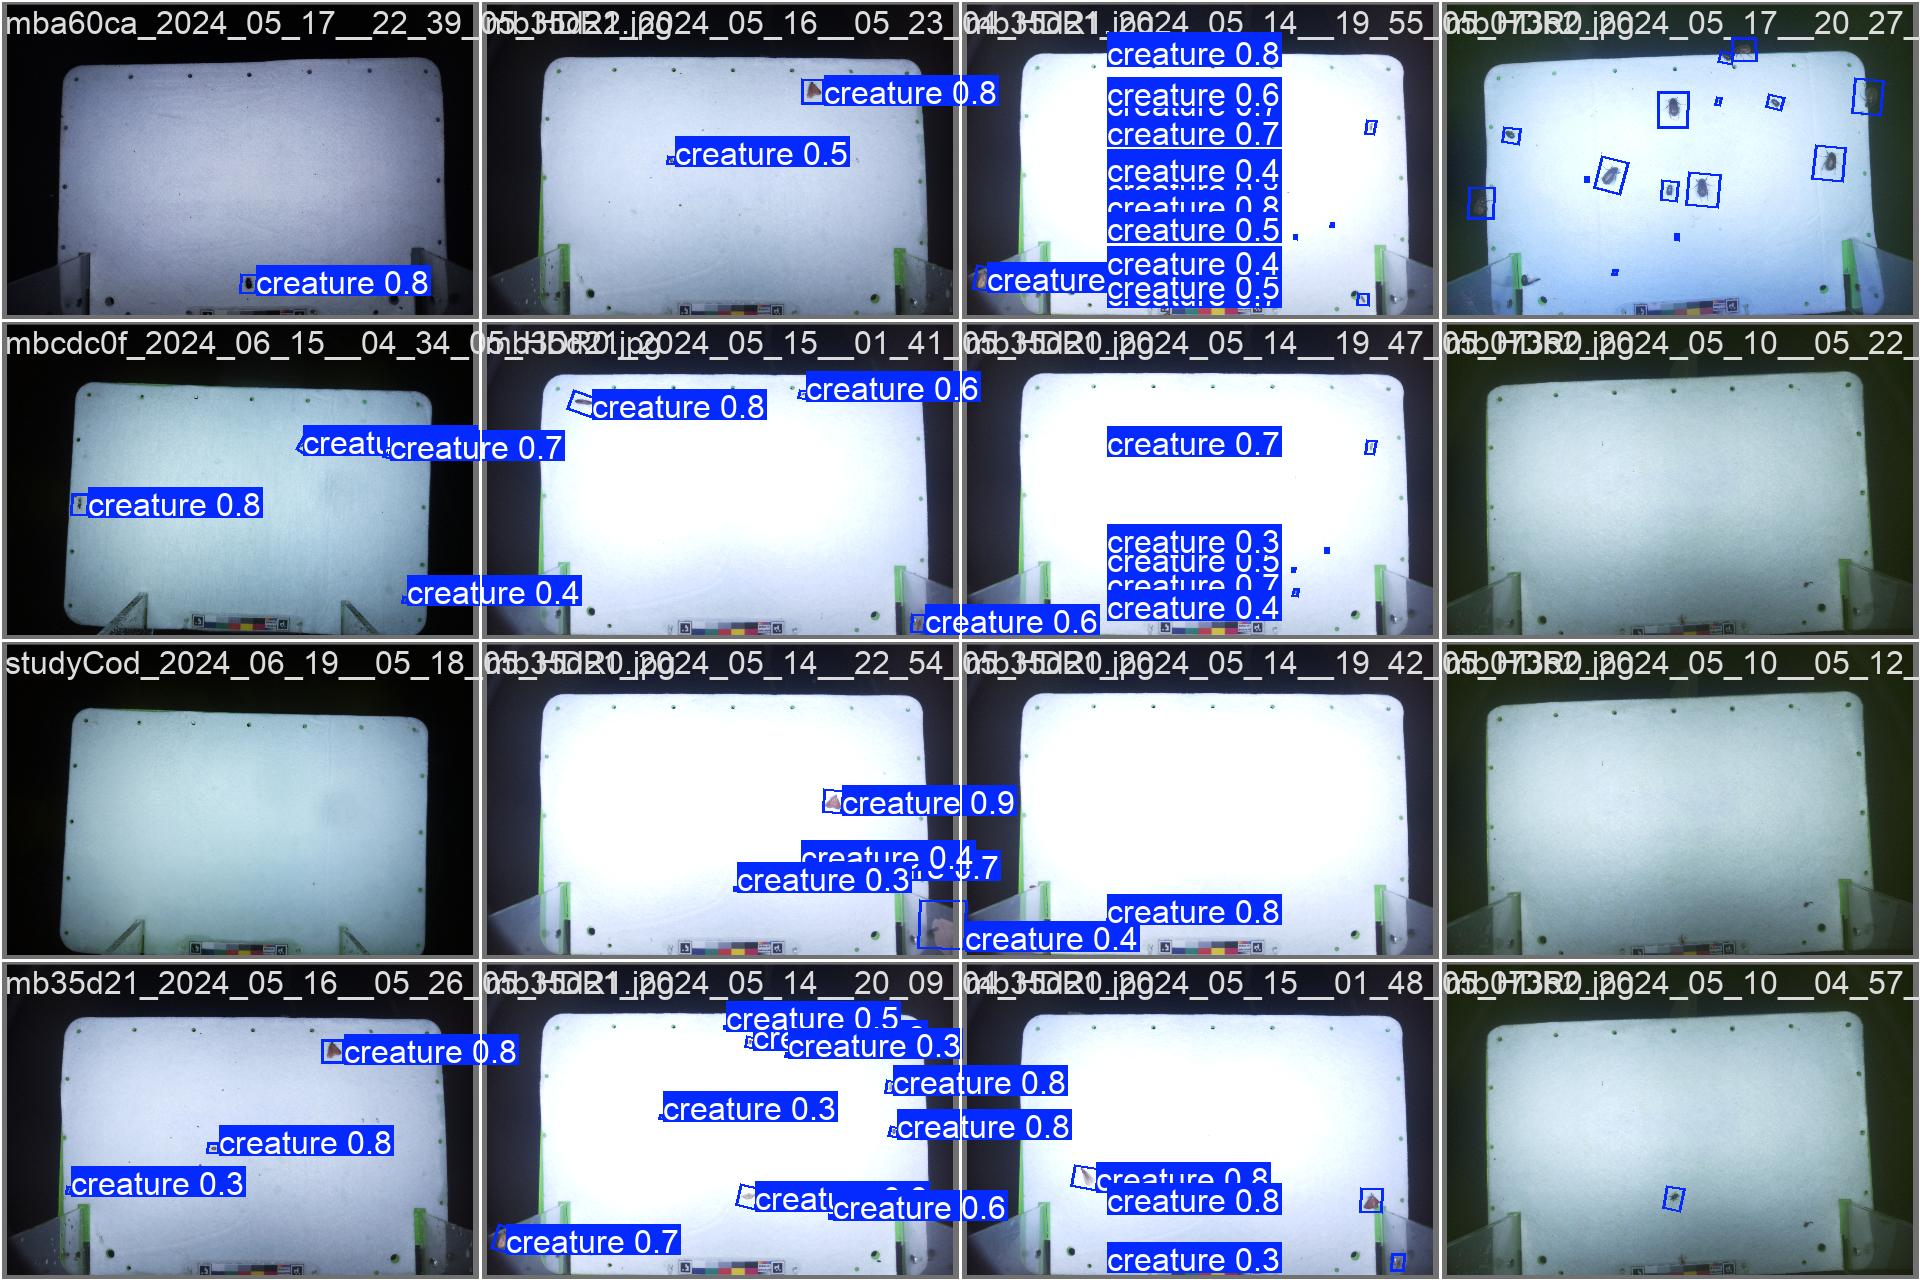
Sample Images
at the end of the data it generates it also gives you some example images showing you how its predicted detections work vs the ground truth. If these are way off, you prob need more training.
Detection
The real thing that comes out of your training, the magic gem of crystalized knowledge, is in your “runs/weights” folder and it is just called “best.pt”
This is the trained thing we can use to start running quick detections on brand new data!
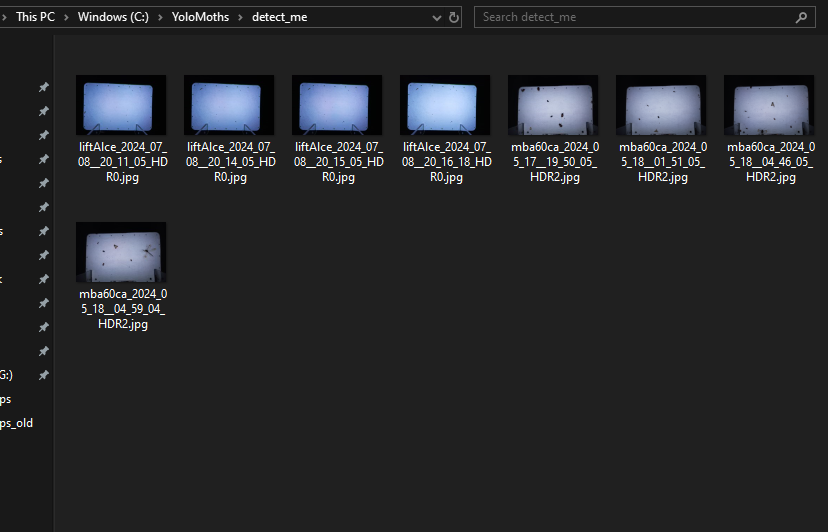
Load up images
Put whatever images you want to Detect things into the folder called “detect_me” (it’s so easy!)
I put in just a couple example images, but you can put in 1000’s if you want!
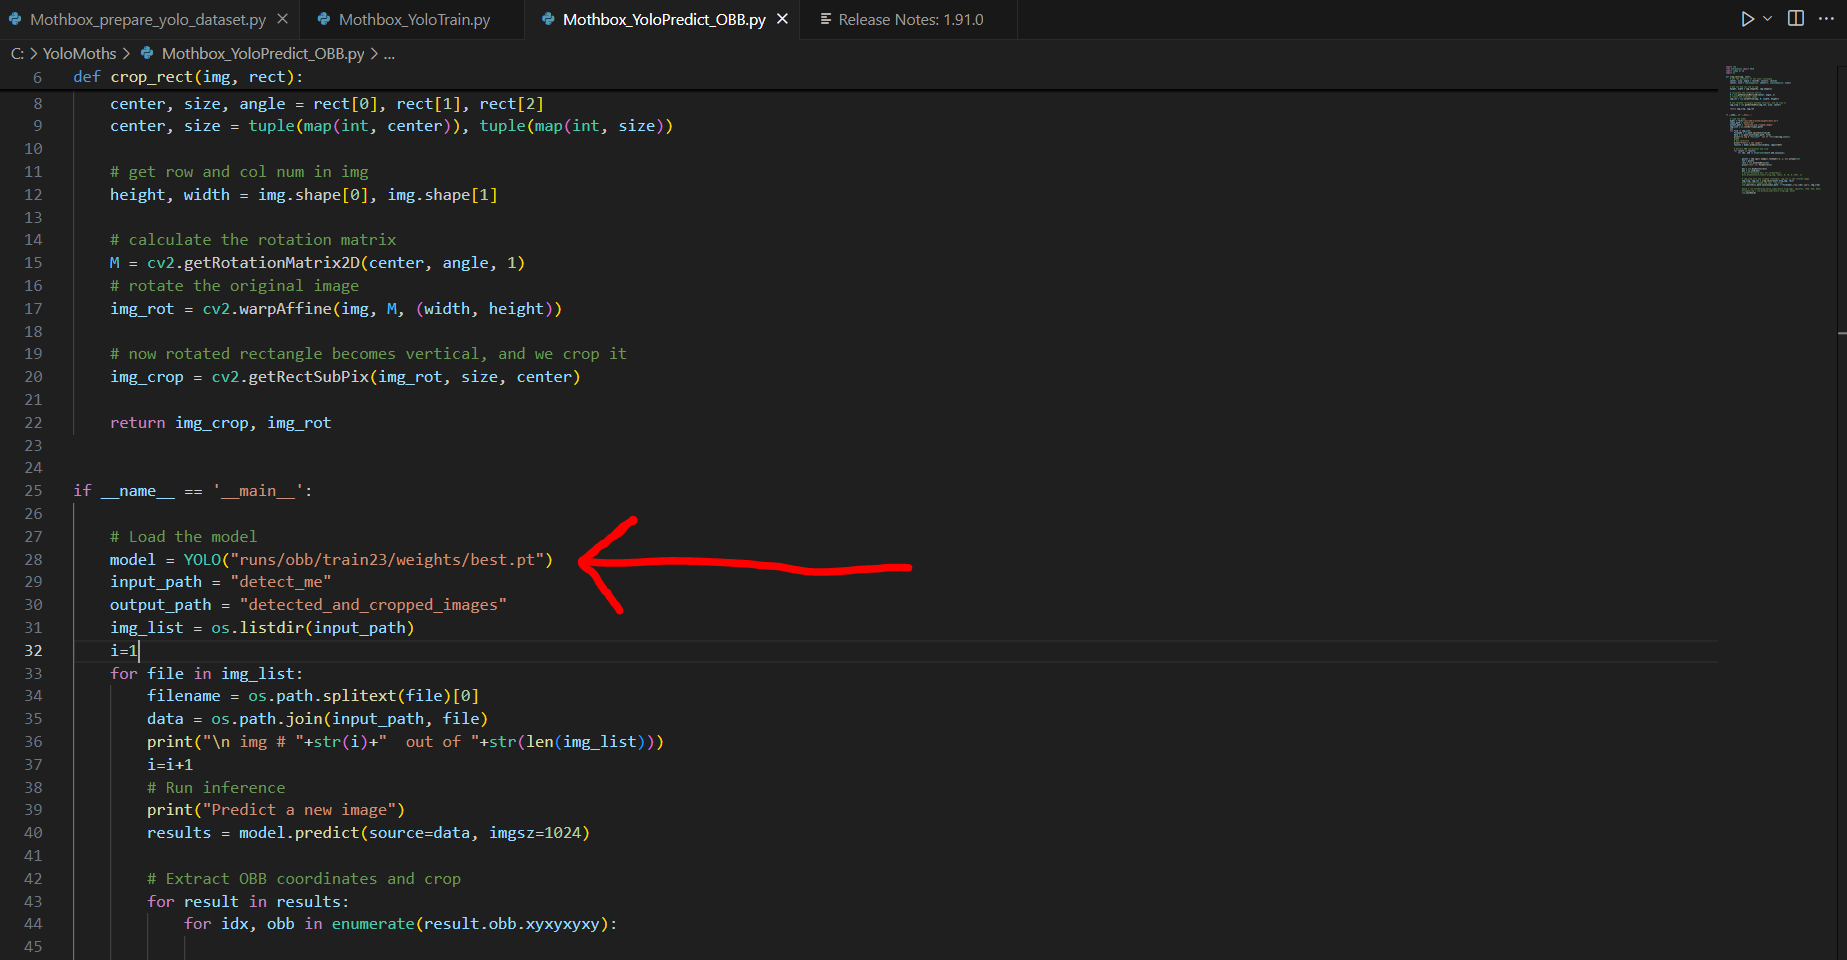
Detection Script
Open the “Mothbox_YoloPredict_OBB” script.
point the path for the model to your best.pt that you created during training
Run the Script!
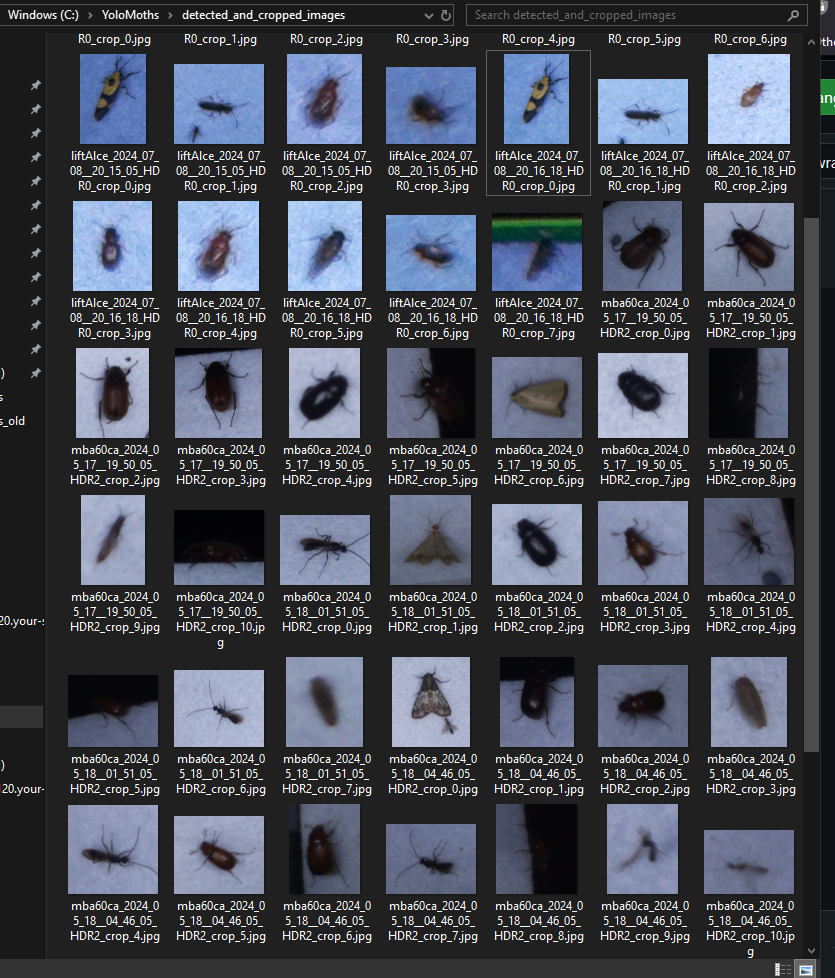
The images will get processed, and cropped images of your detections will pop out in the “detected_and_cropped_images” folder! You can modify the script to do other things with your detections if you want, like visualize them!
Look at all those cool detections