Hahaha I think you both are borrowing pis from ME, not the lab 
An interesting thing we noticed is because you ARENT printing your TPU in the tropics , your prints are a lot smoother , but because we tuned ours for the crappy printing we had, your ties tend to be looser than what we calibrated for
Laser Cutting Parts
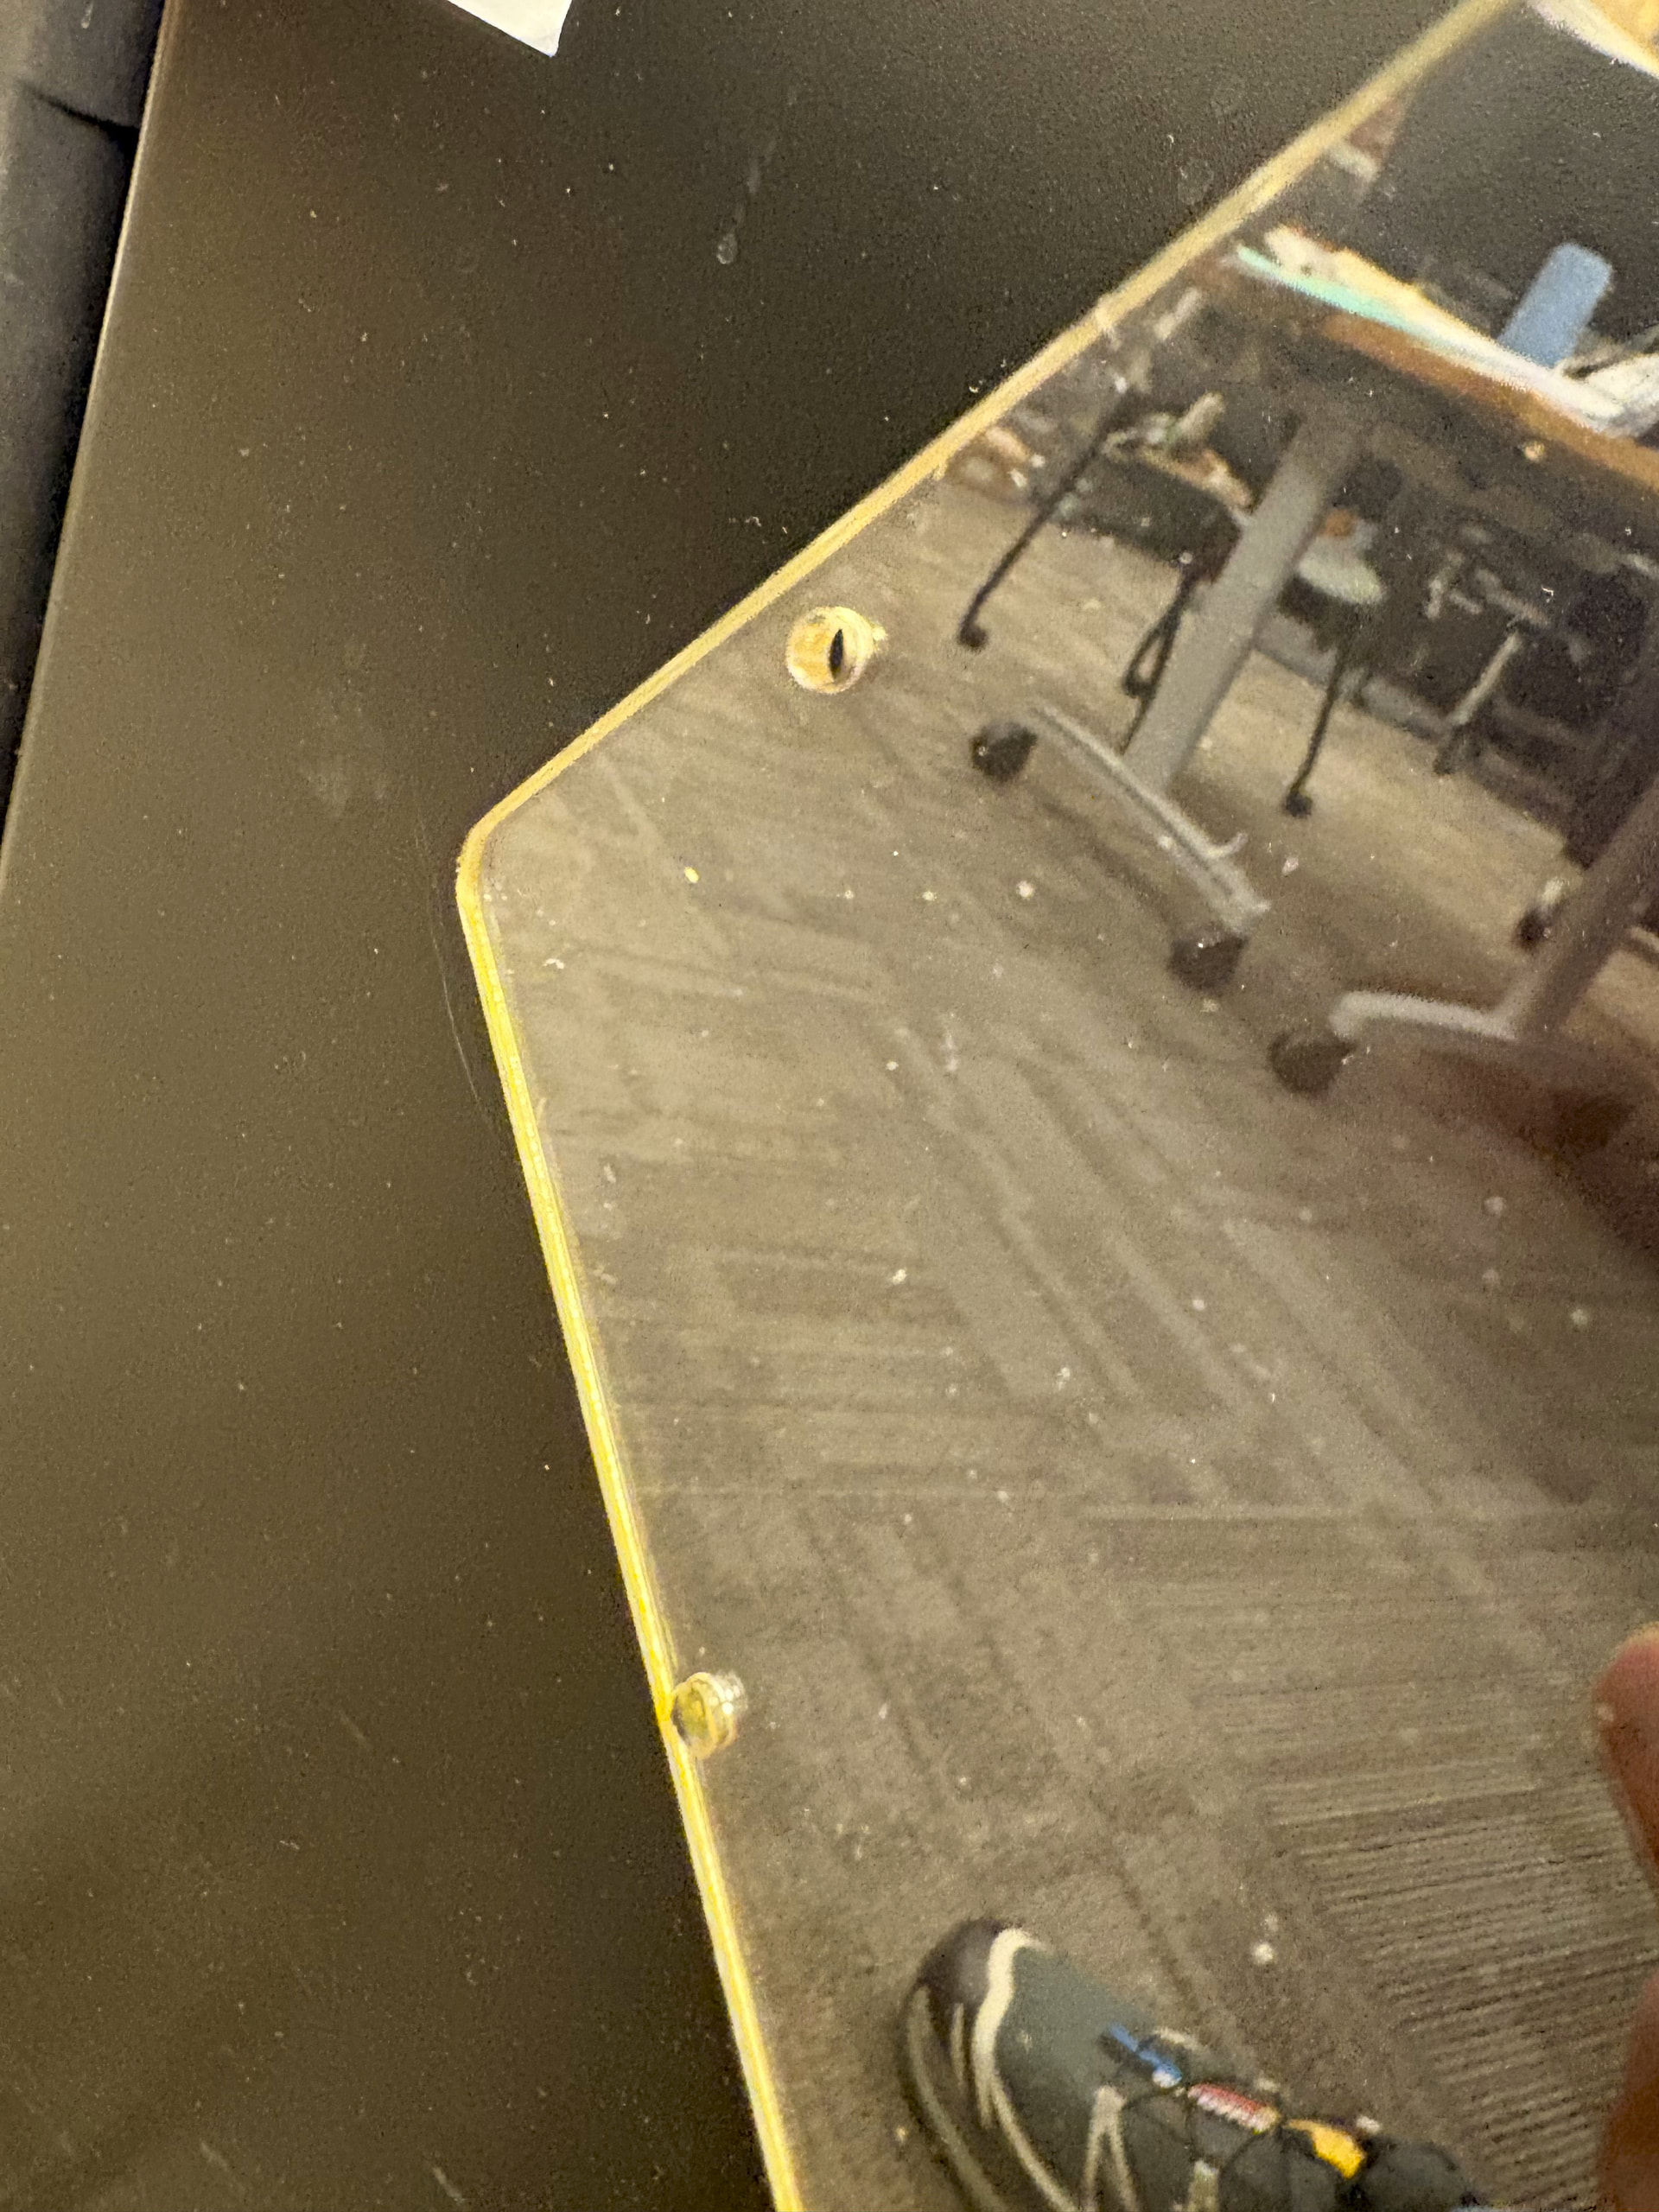
I am using a Trotec Speedy 400 CO2 laser cutter for my acrylic parts. I ordered 3mm PET acrylic to cut my parts but I quickly found that out cutter left a yellowish hue on the edges of the parts and slightly melted the material. I am sure I could dial in the material settings for the laser cutter but I opted to cut the rest of the parts with scrap acrylic we had around our lab.
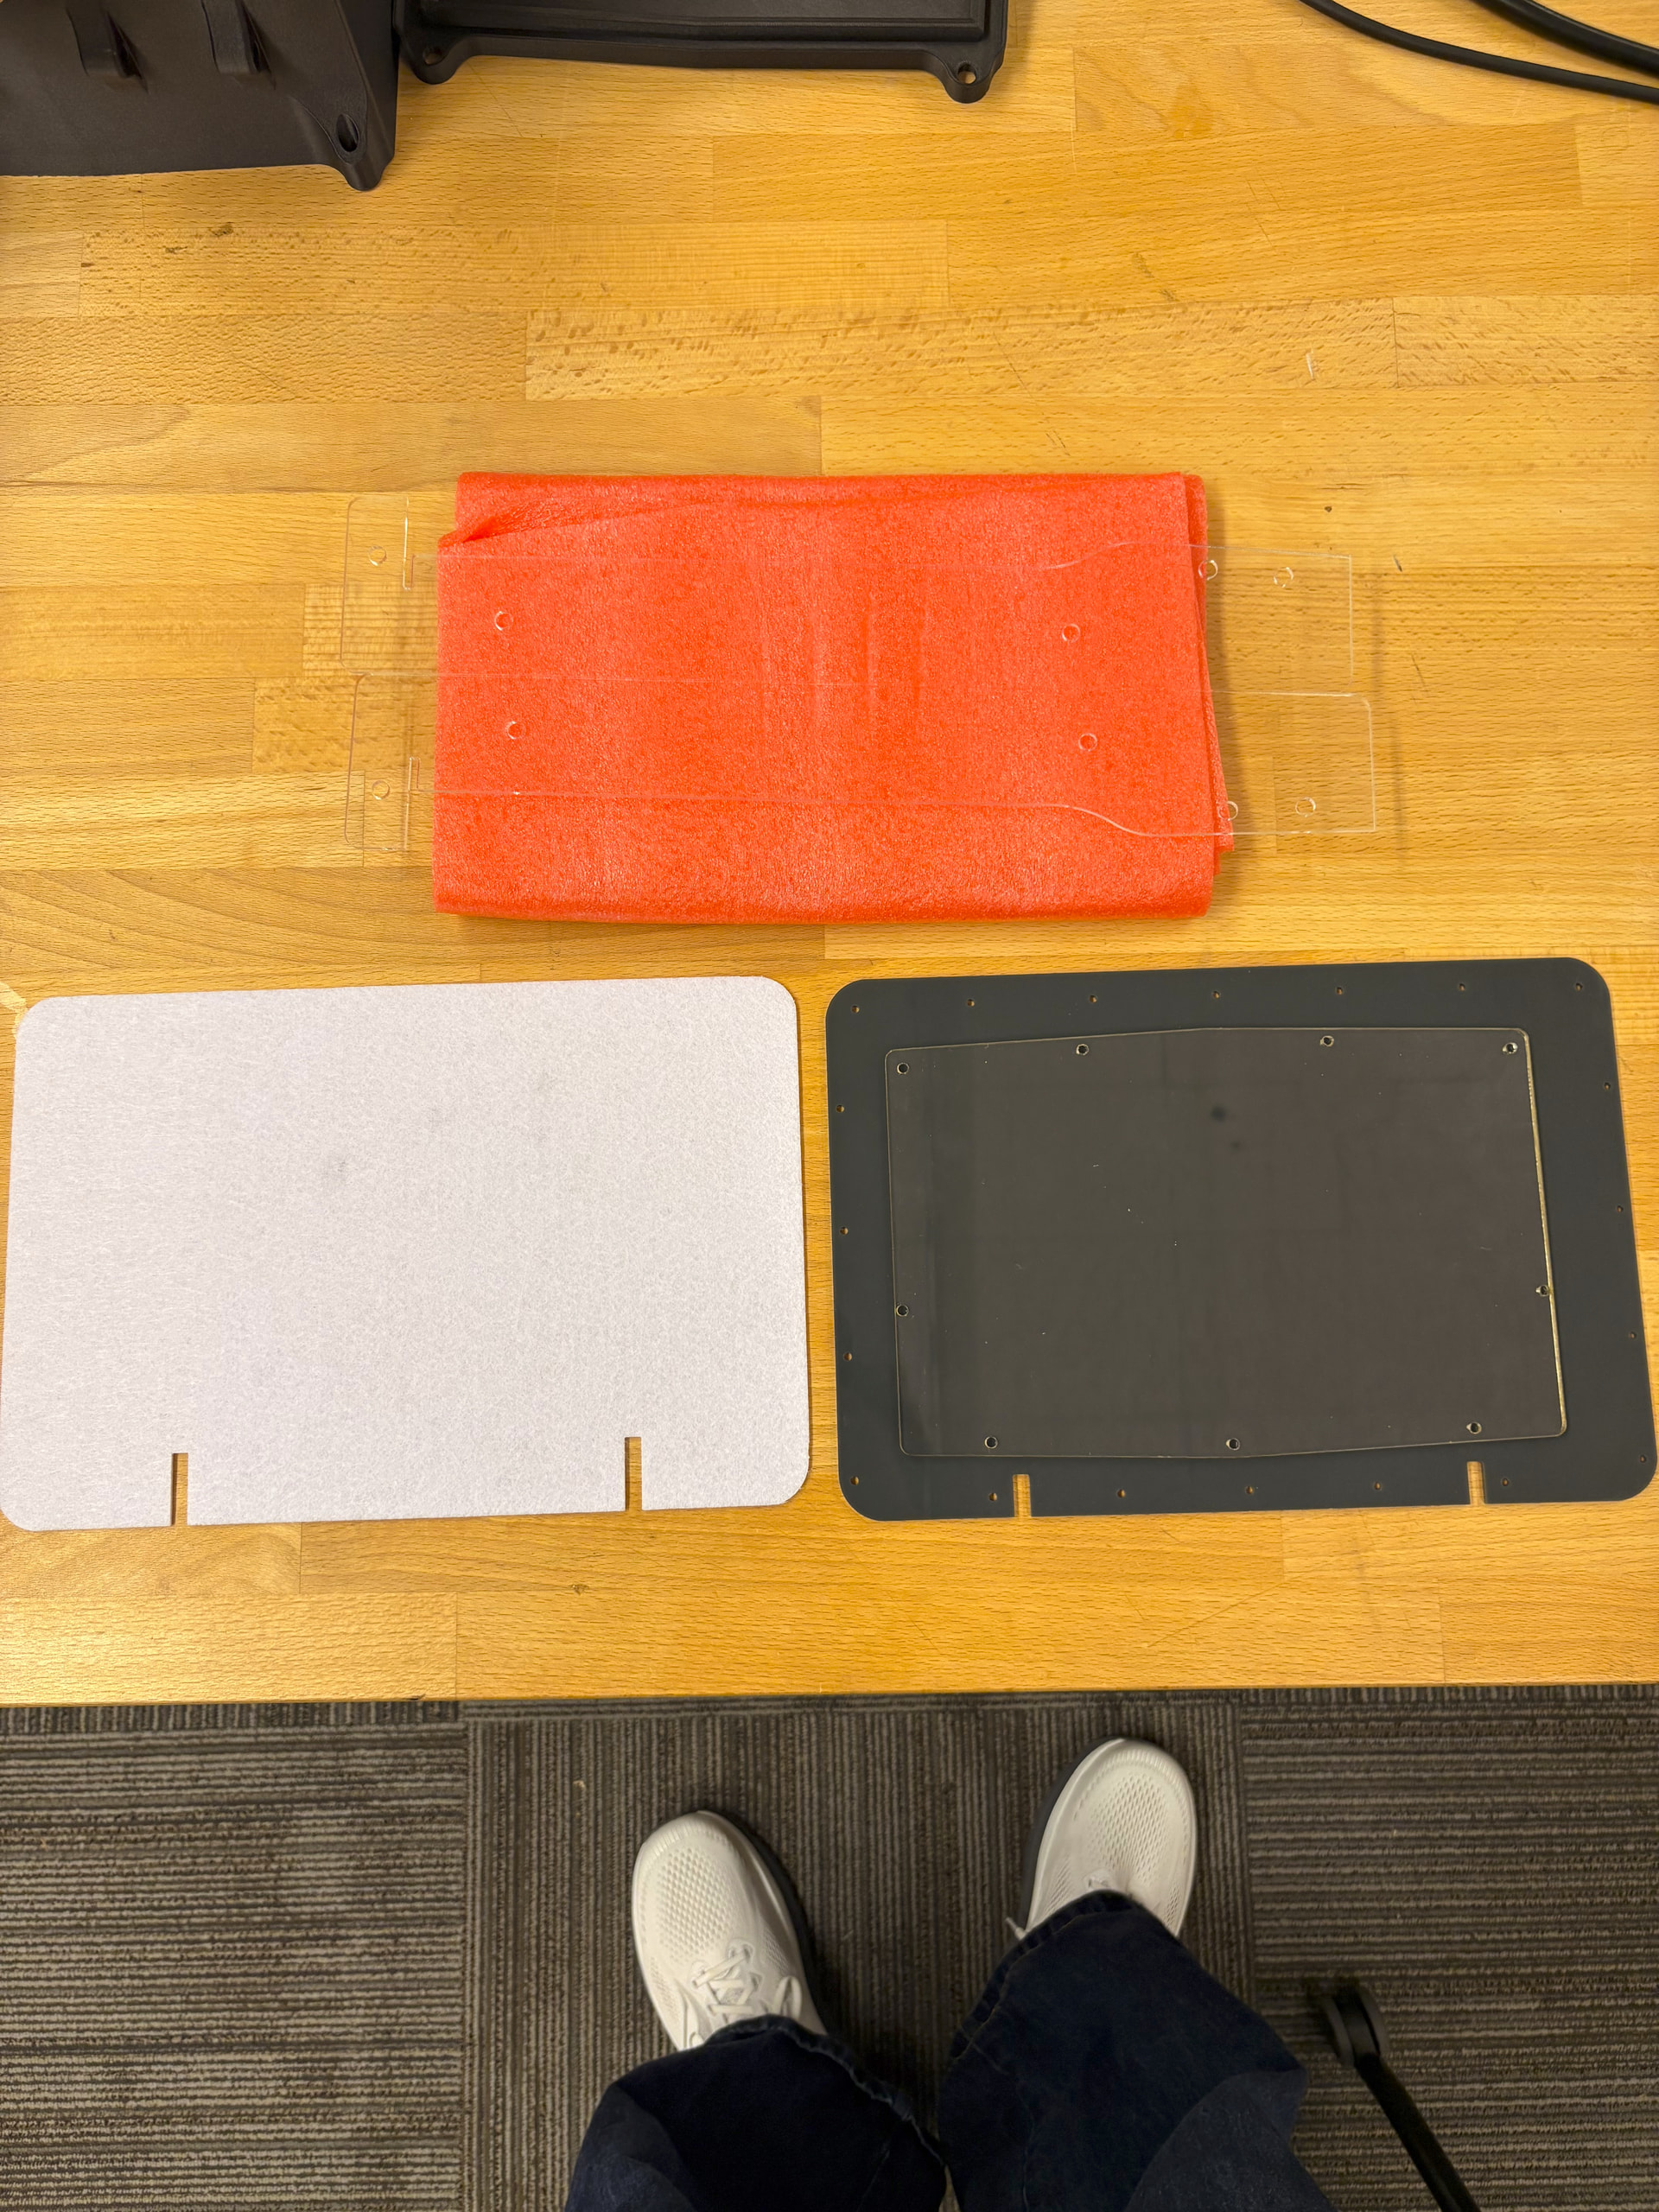
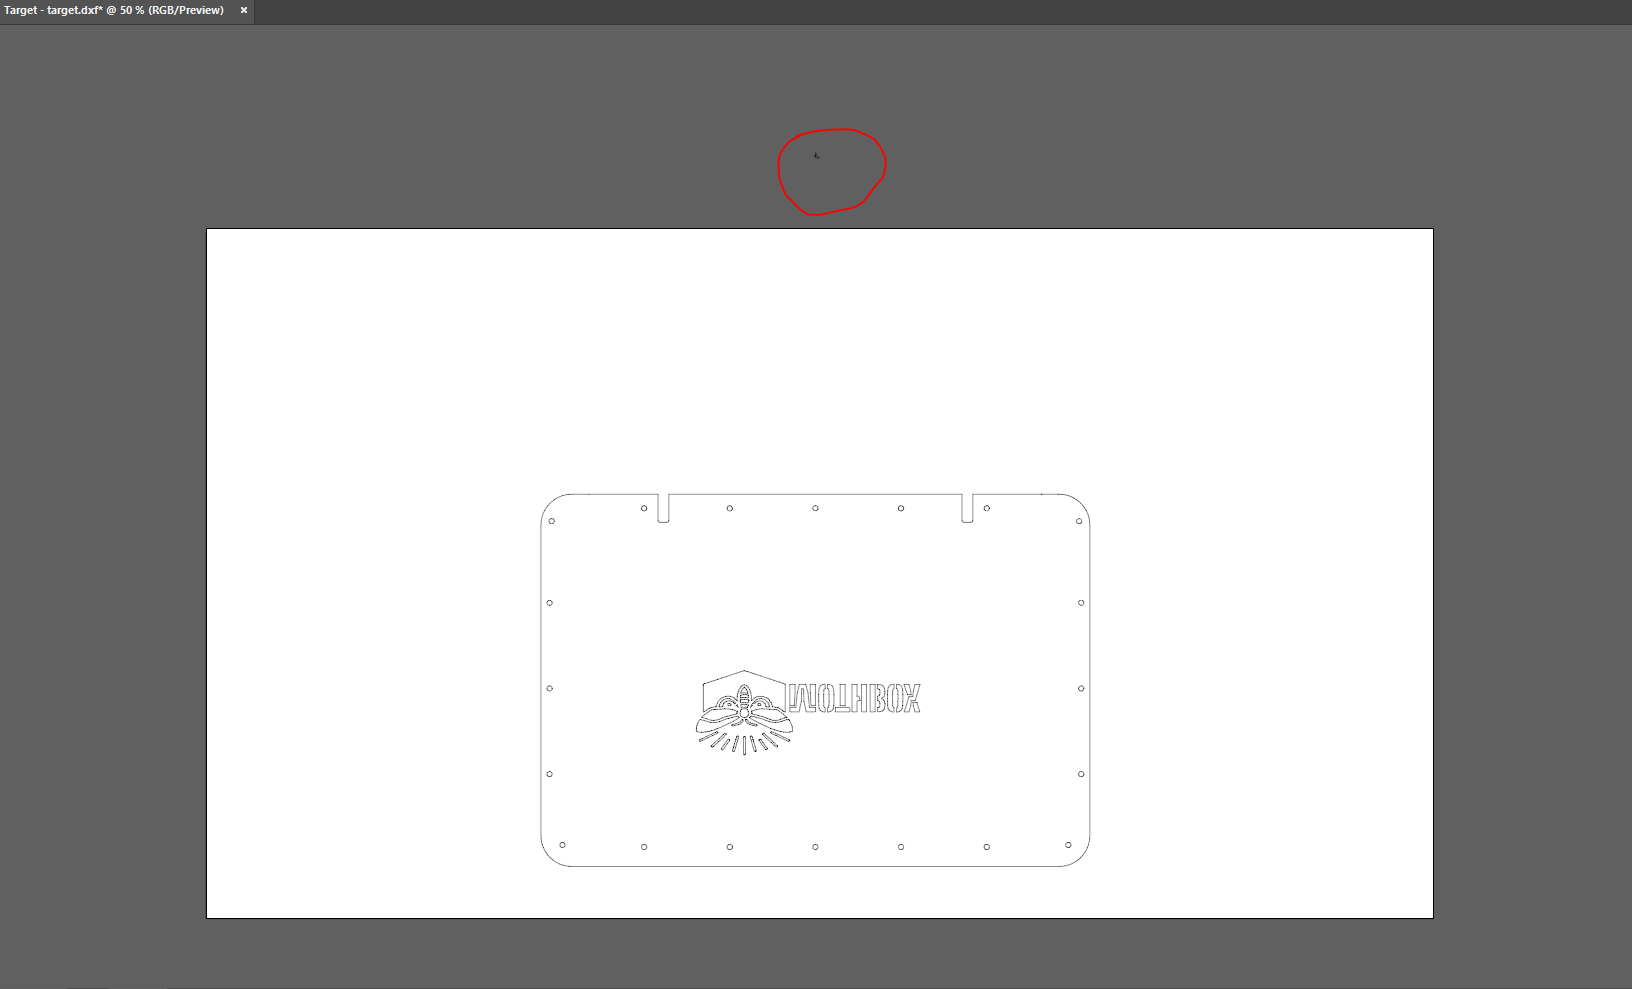
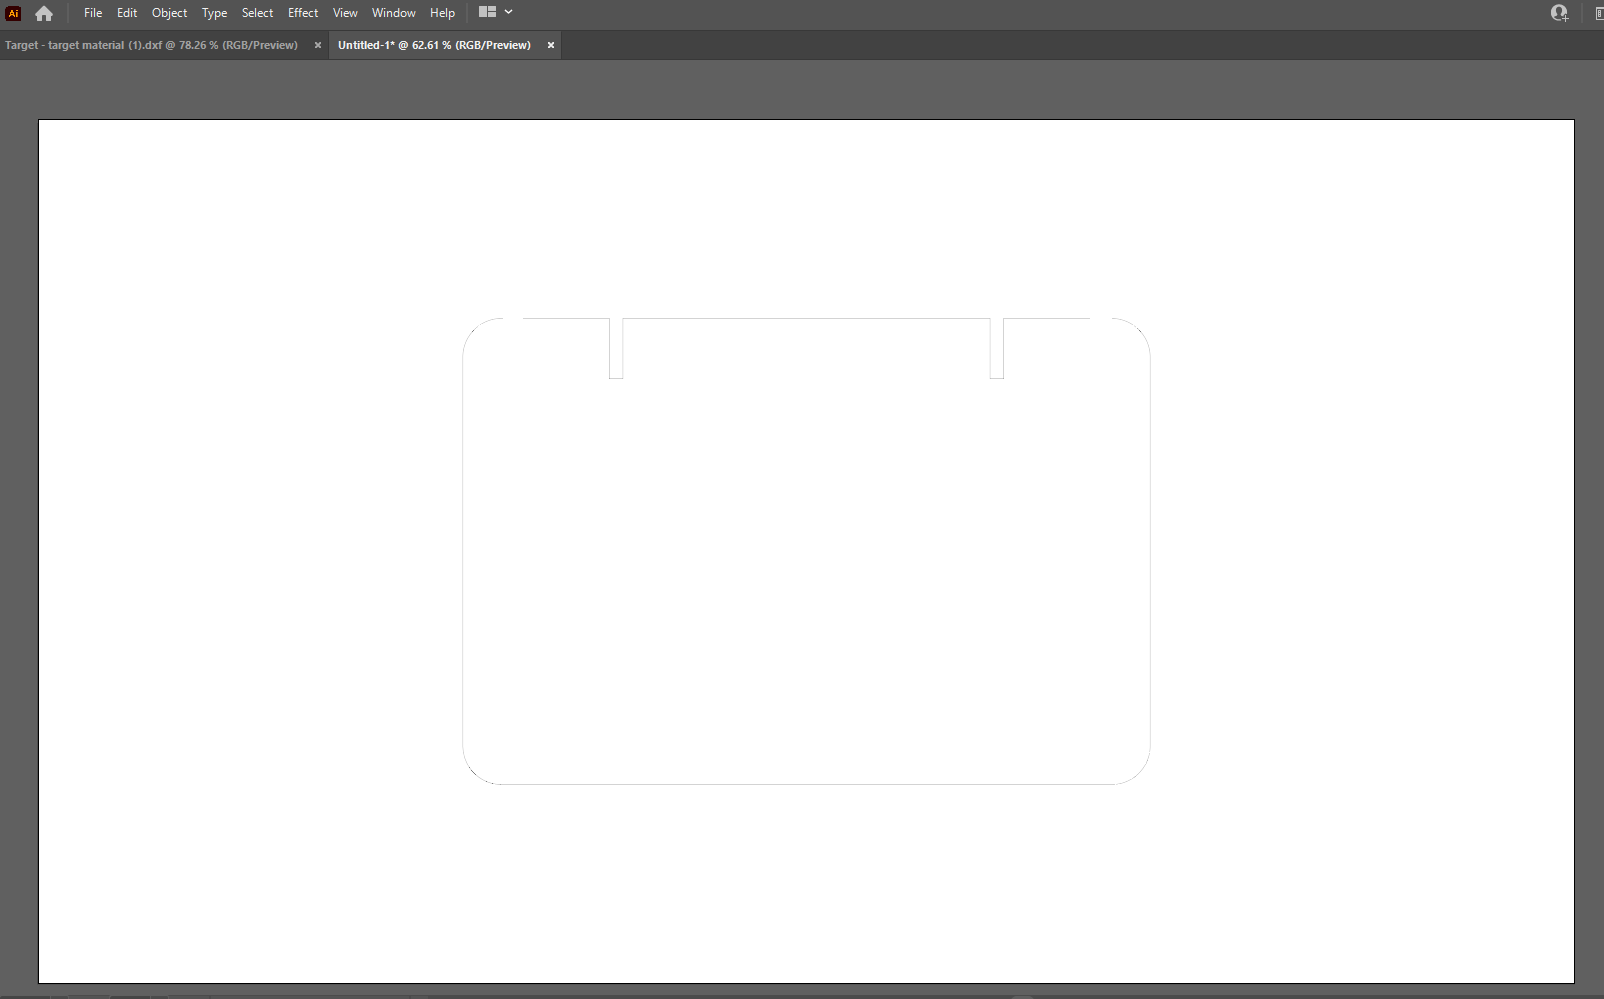
I used Adobe Illustrator to edit the .dxf files. I noticed that target.dxf has a random scribble on layer three of the file. Seems like a mistake so I remove it before editing the file.
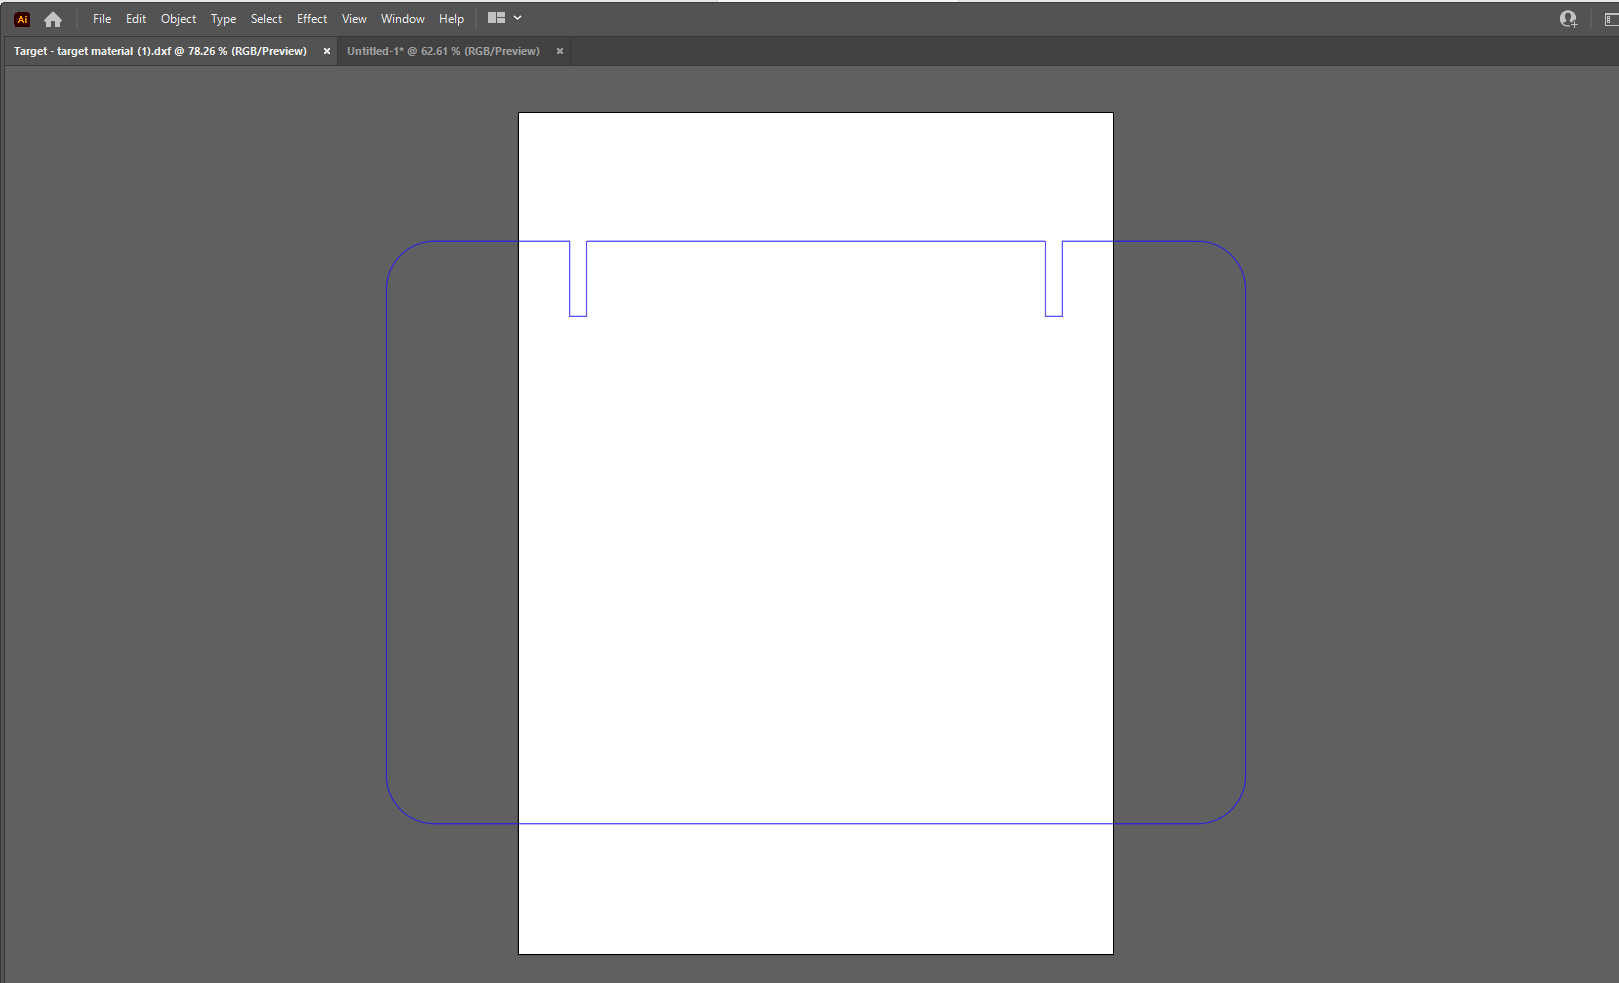
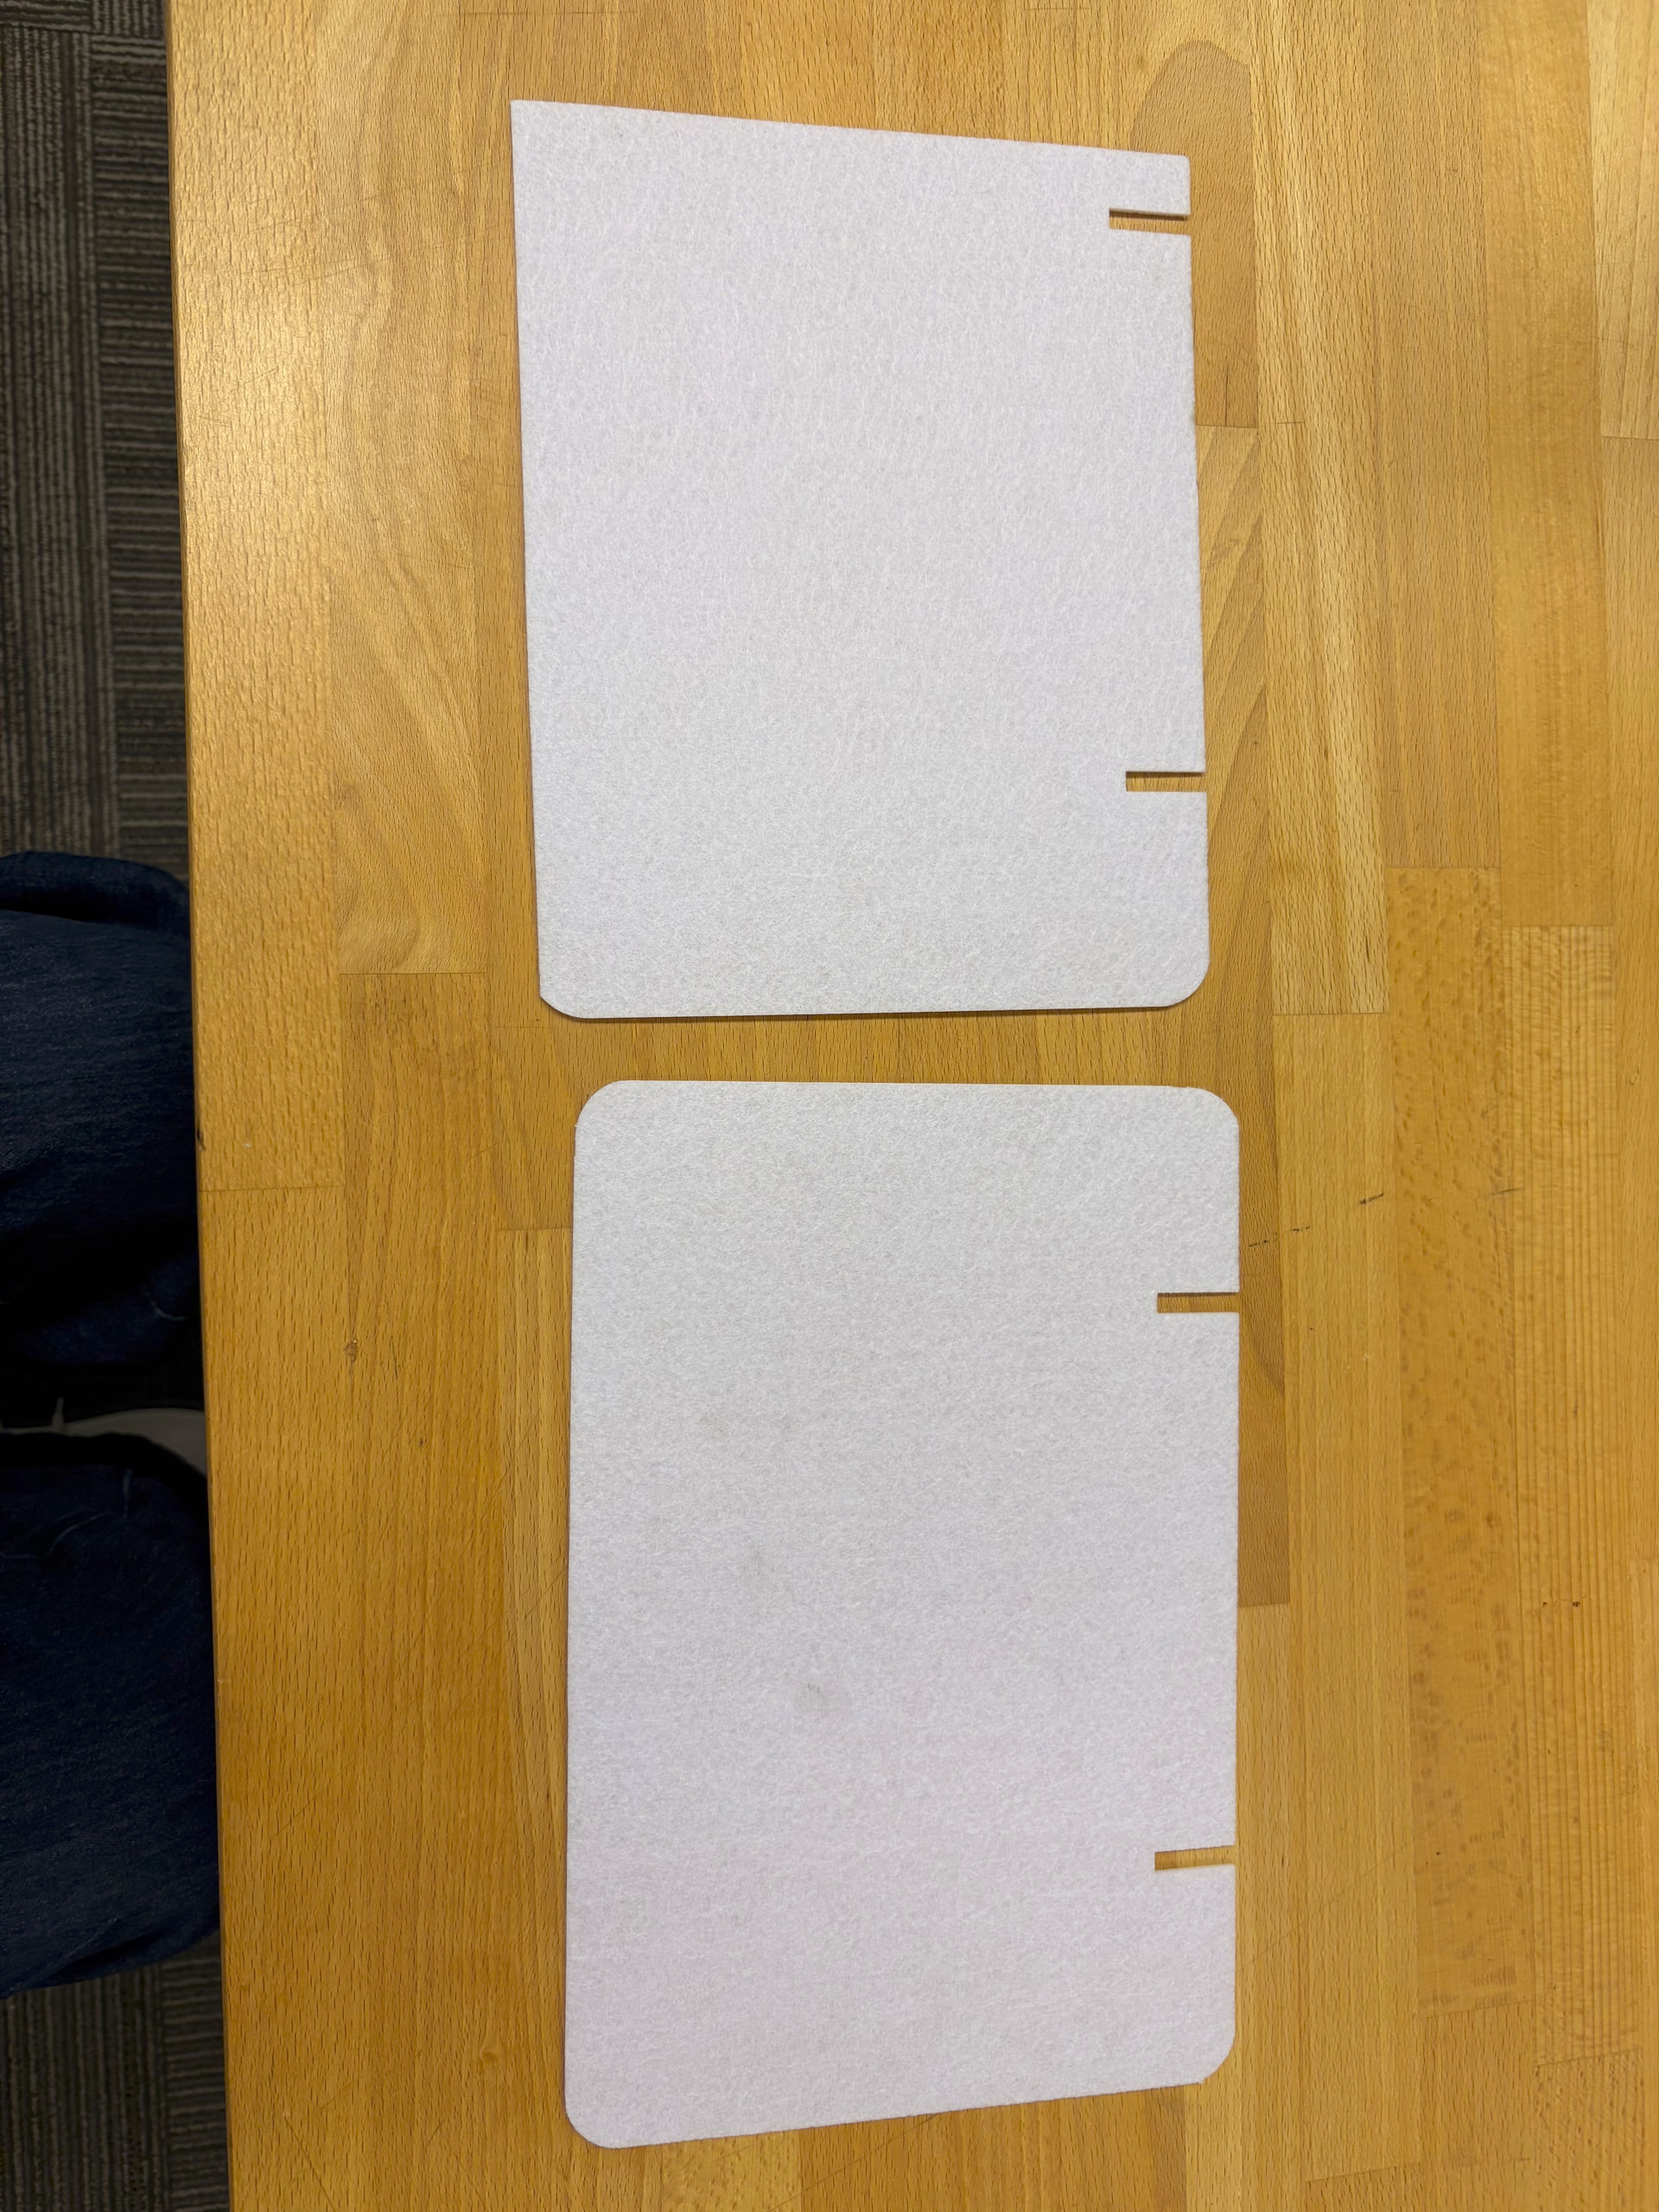
Another thing I noted when using the Adobe Illustrator was that when I imported the target_material.dxf and plexi_front.dxf files, was that the design goes off the workspace. When I sent the files to the laser cutter, I didnt initially notice that it cuts off part of the design. So I ended up with 80% of a felt target. I ended up copying the designs to a larger workspace to fix this problem.
Assembly Update
My Mothbox is complete!
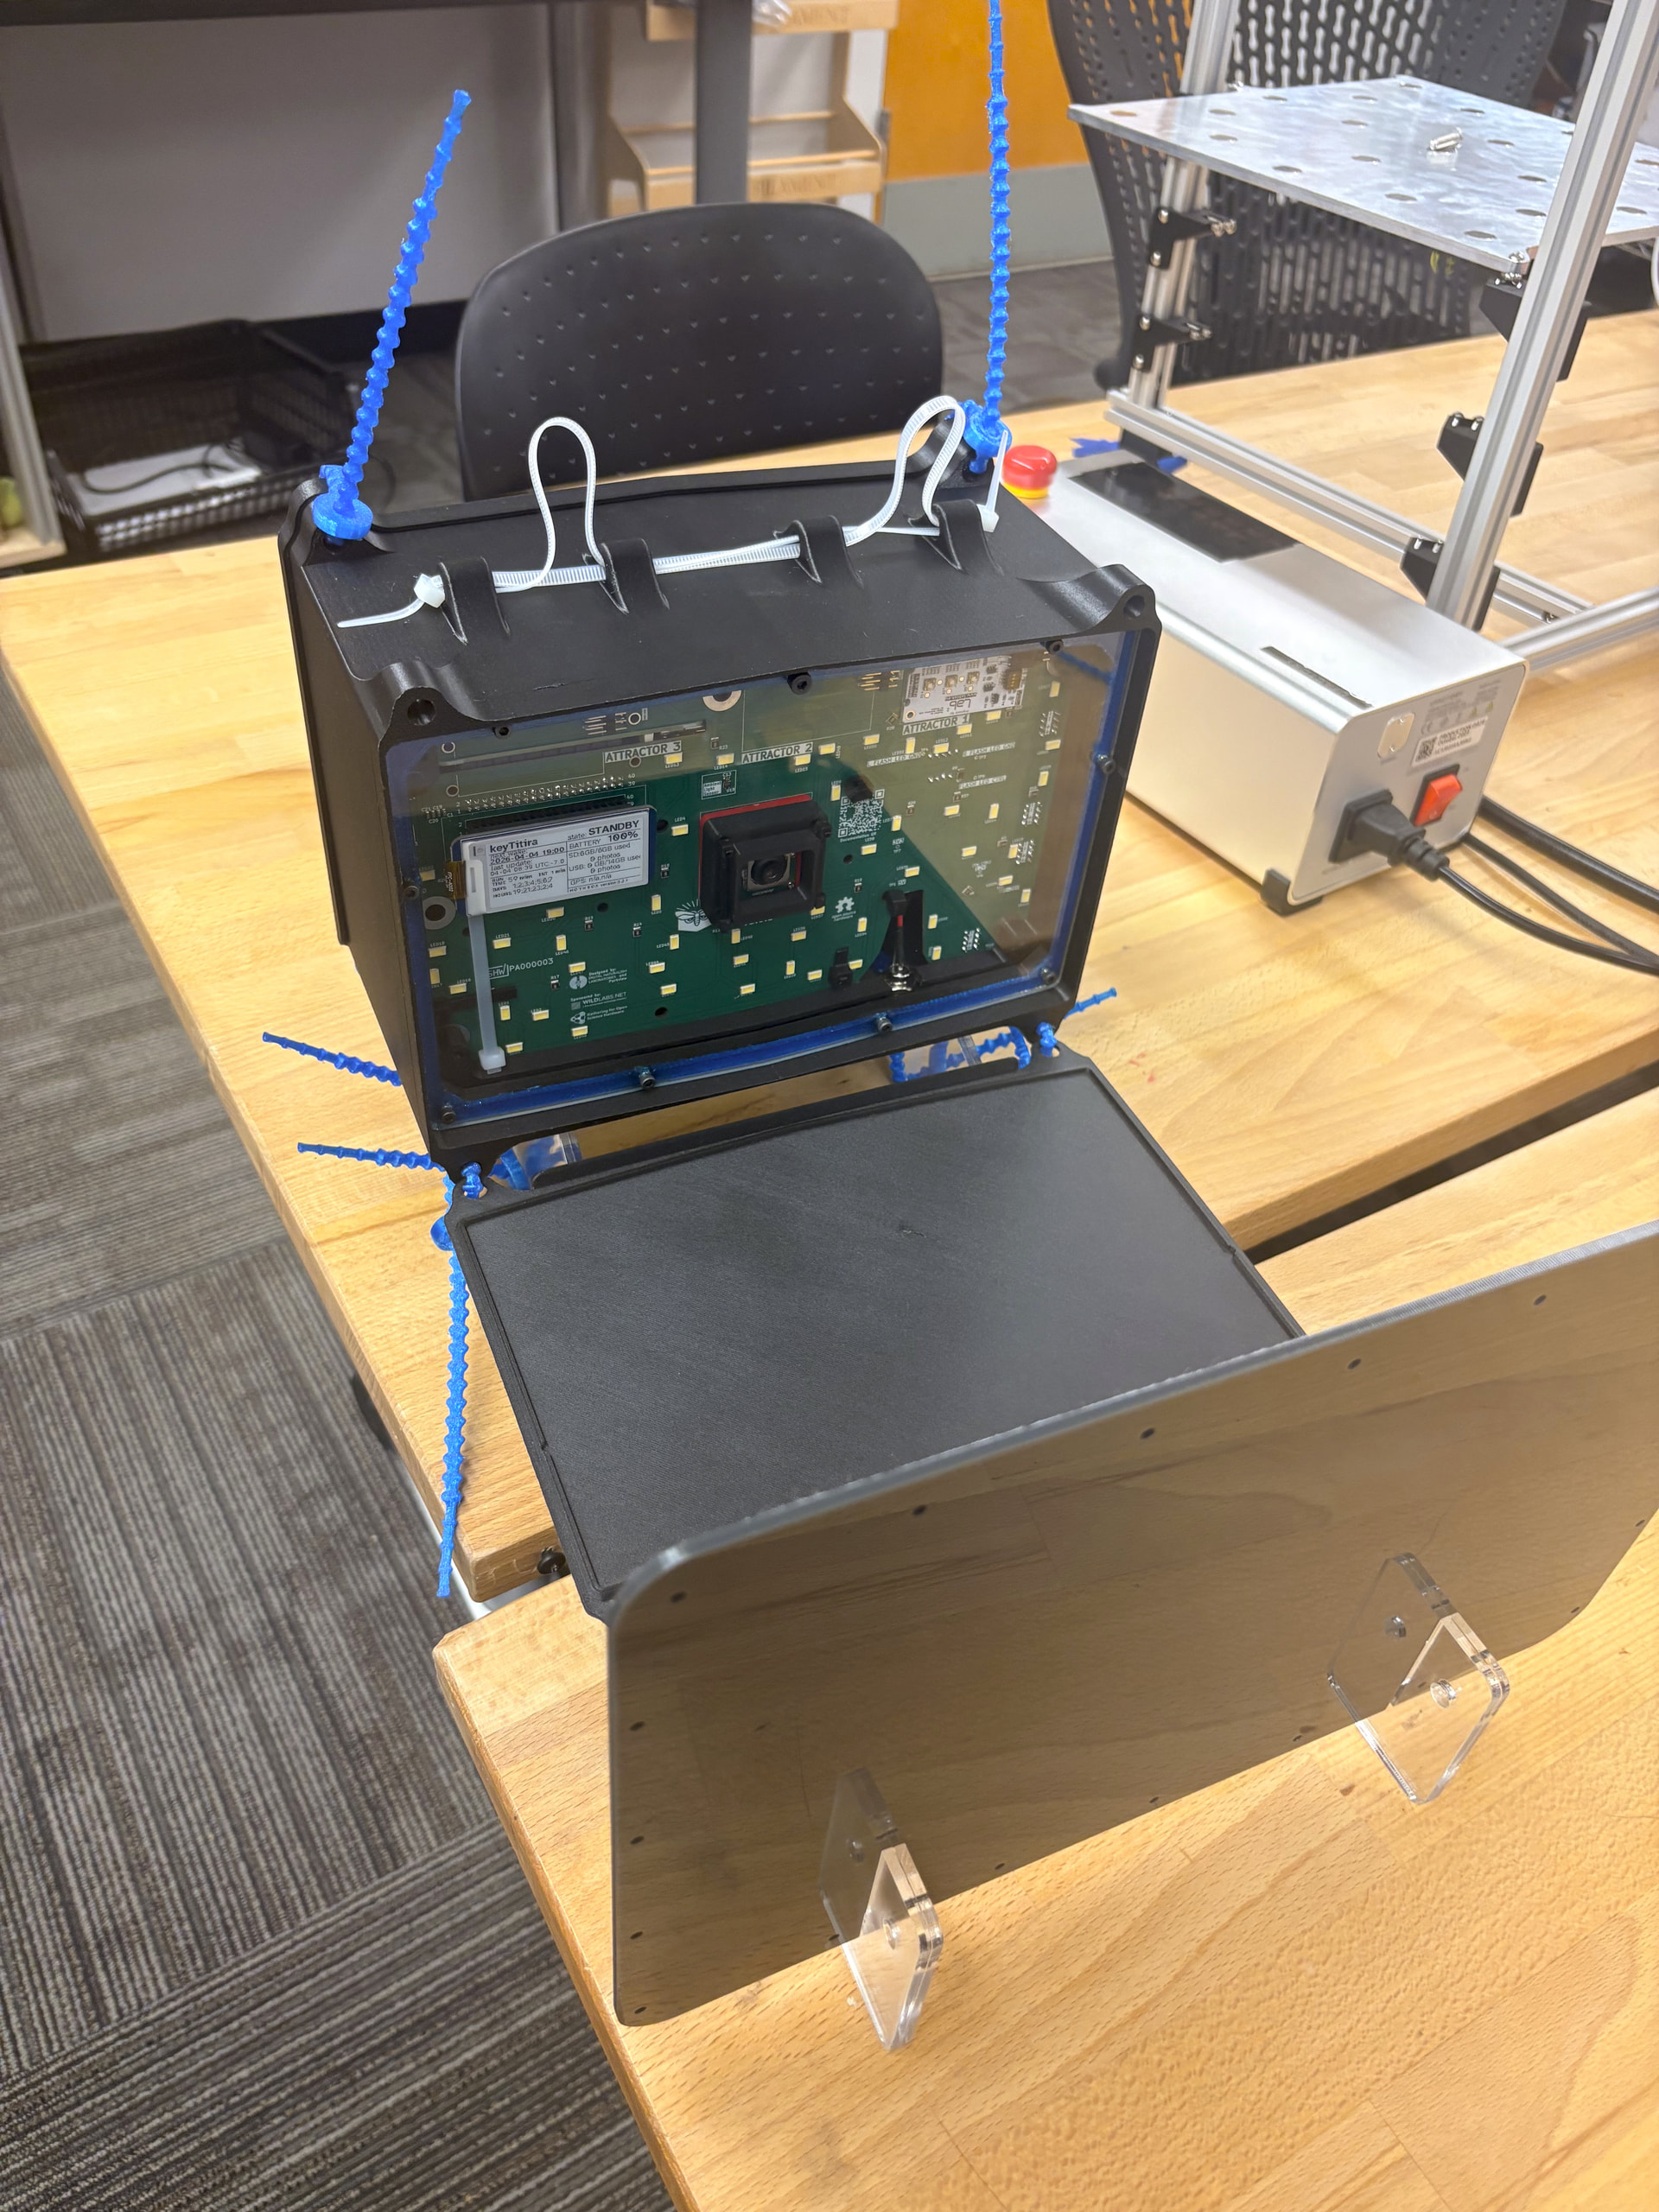
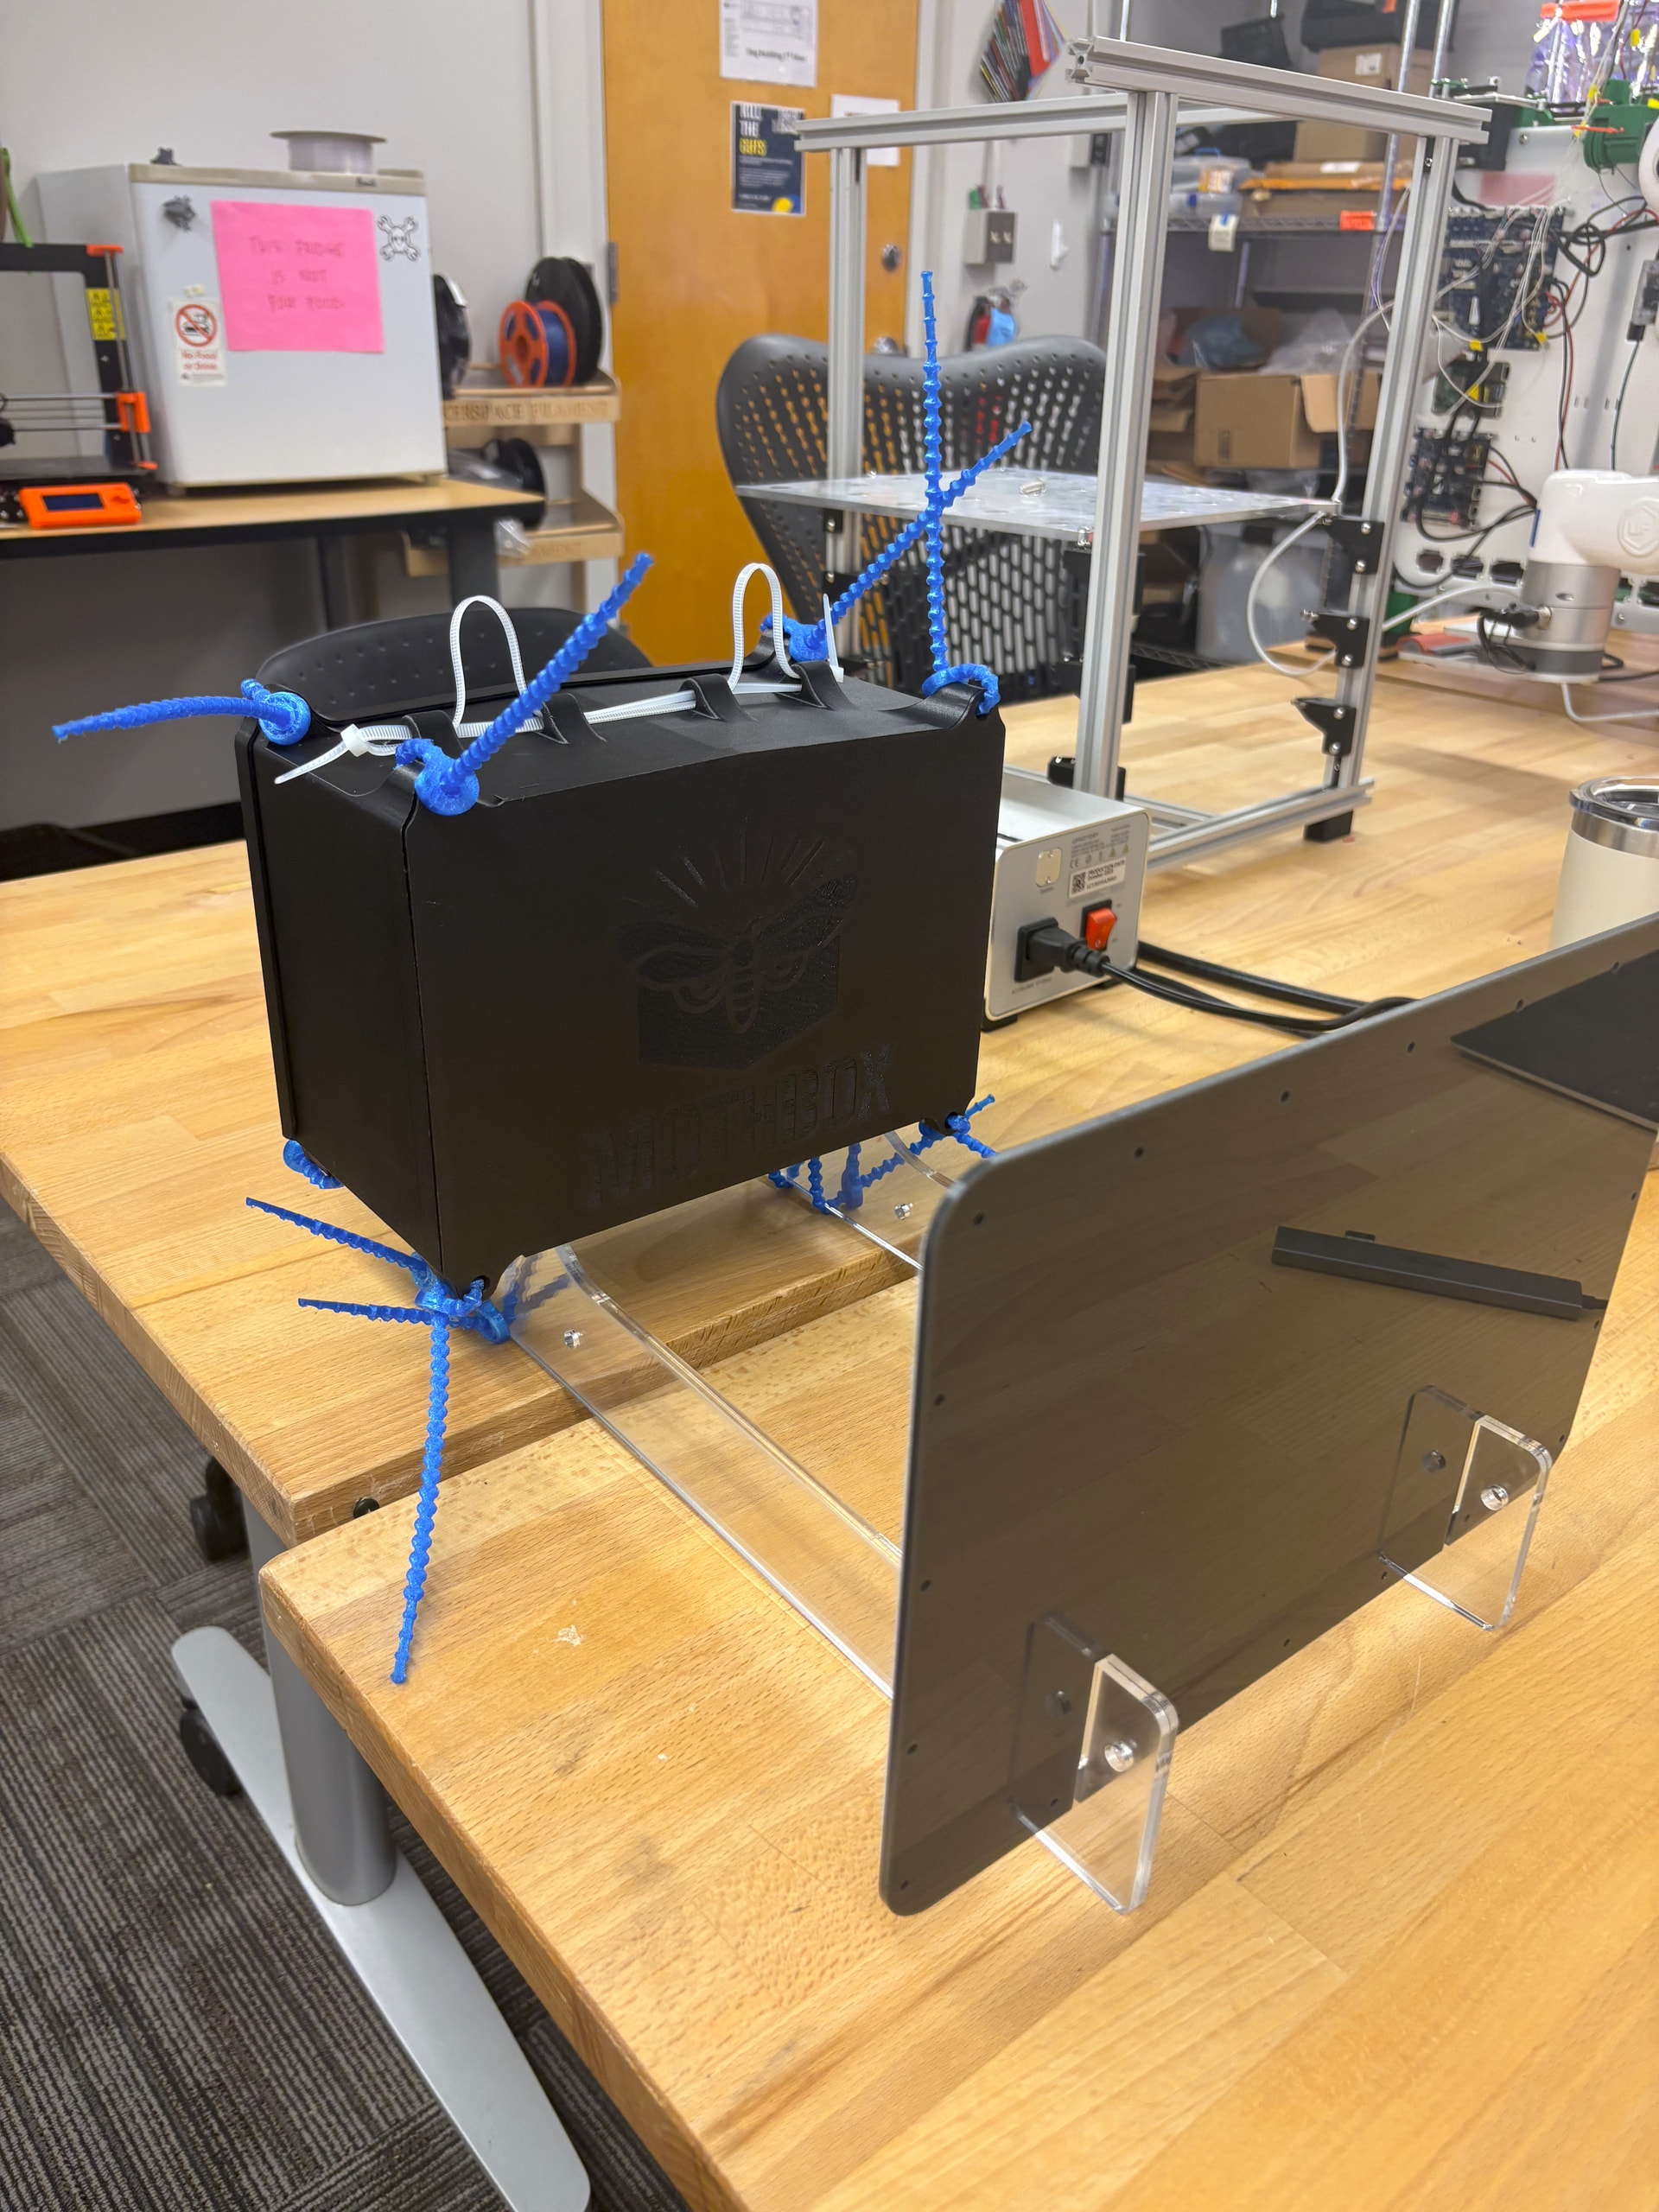
The overall process took about 5-6 days of work to build. It would have been completed sooner, but I was only worked on it a few hours each day. Most of the time that went into the assembly was the laser cutting and 3D printing. the actual assembly of the components could be done in an evening. I recon someone who had all of there materials on hand and proficient with all the necessary equipment could fabricate a Mothbox Pro in a day or two.
A few notes on the final assembly steps:
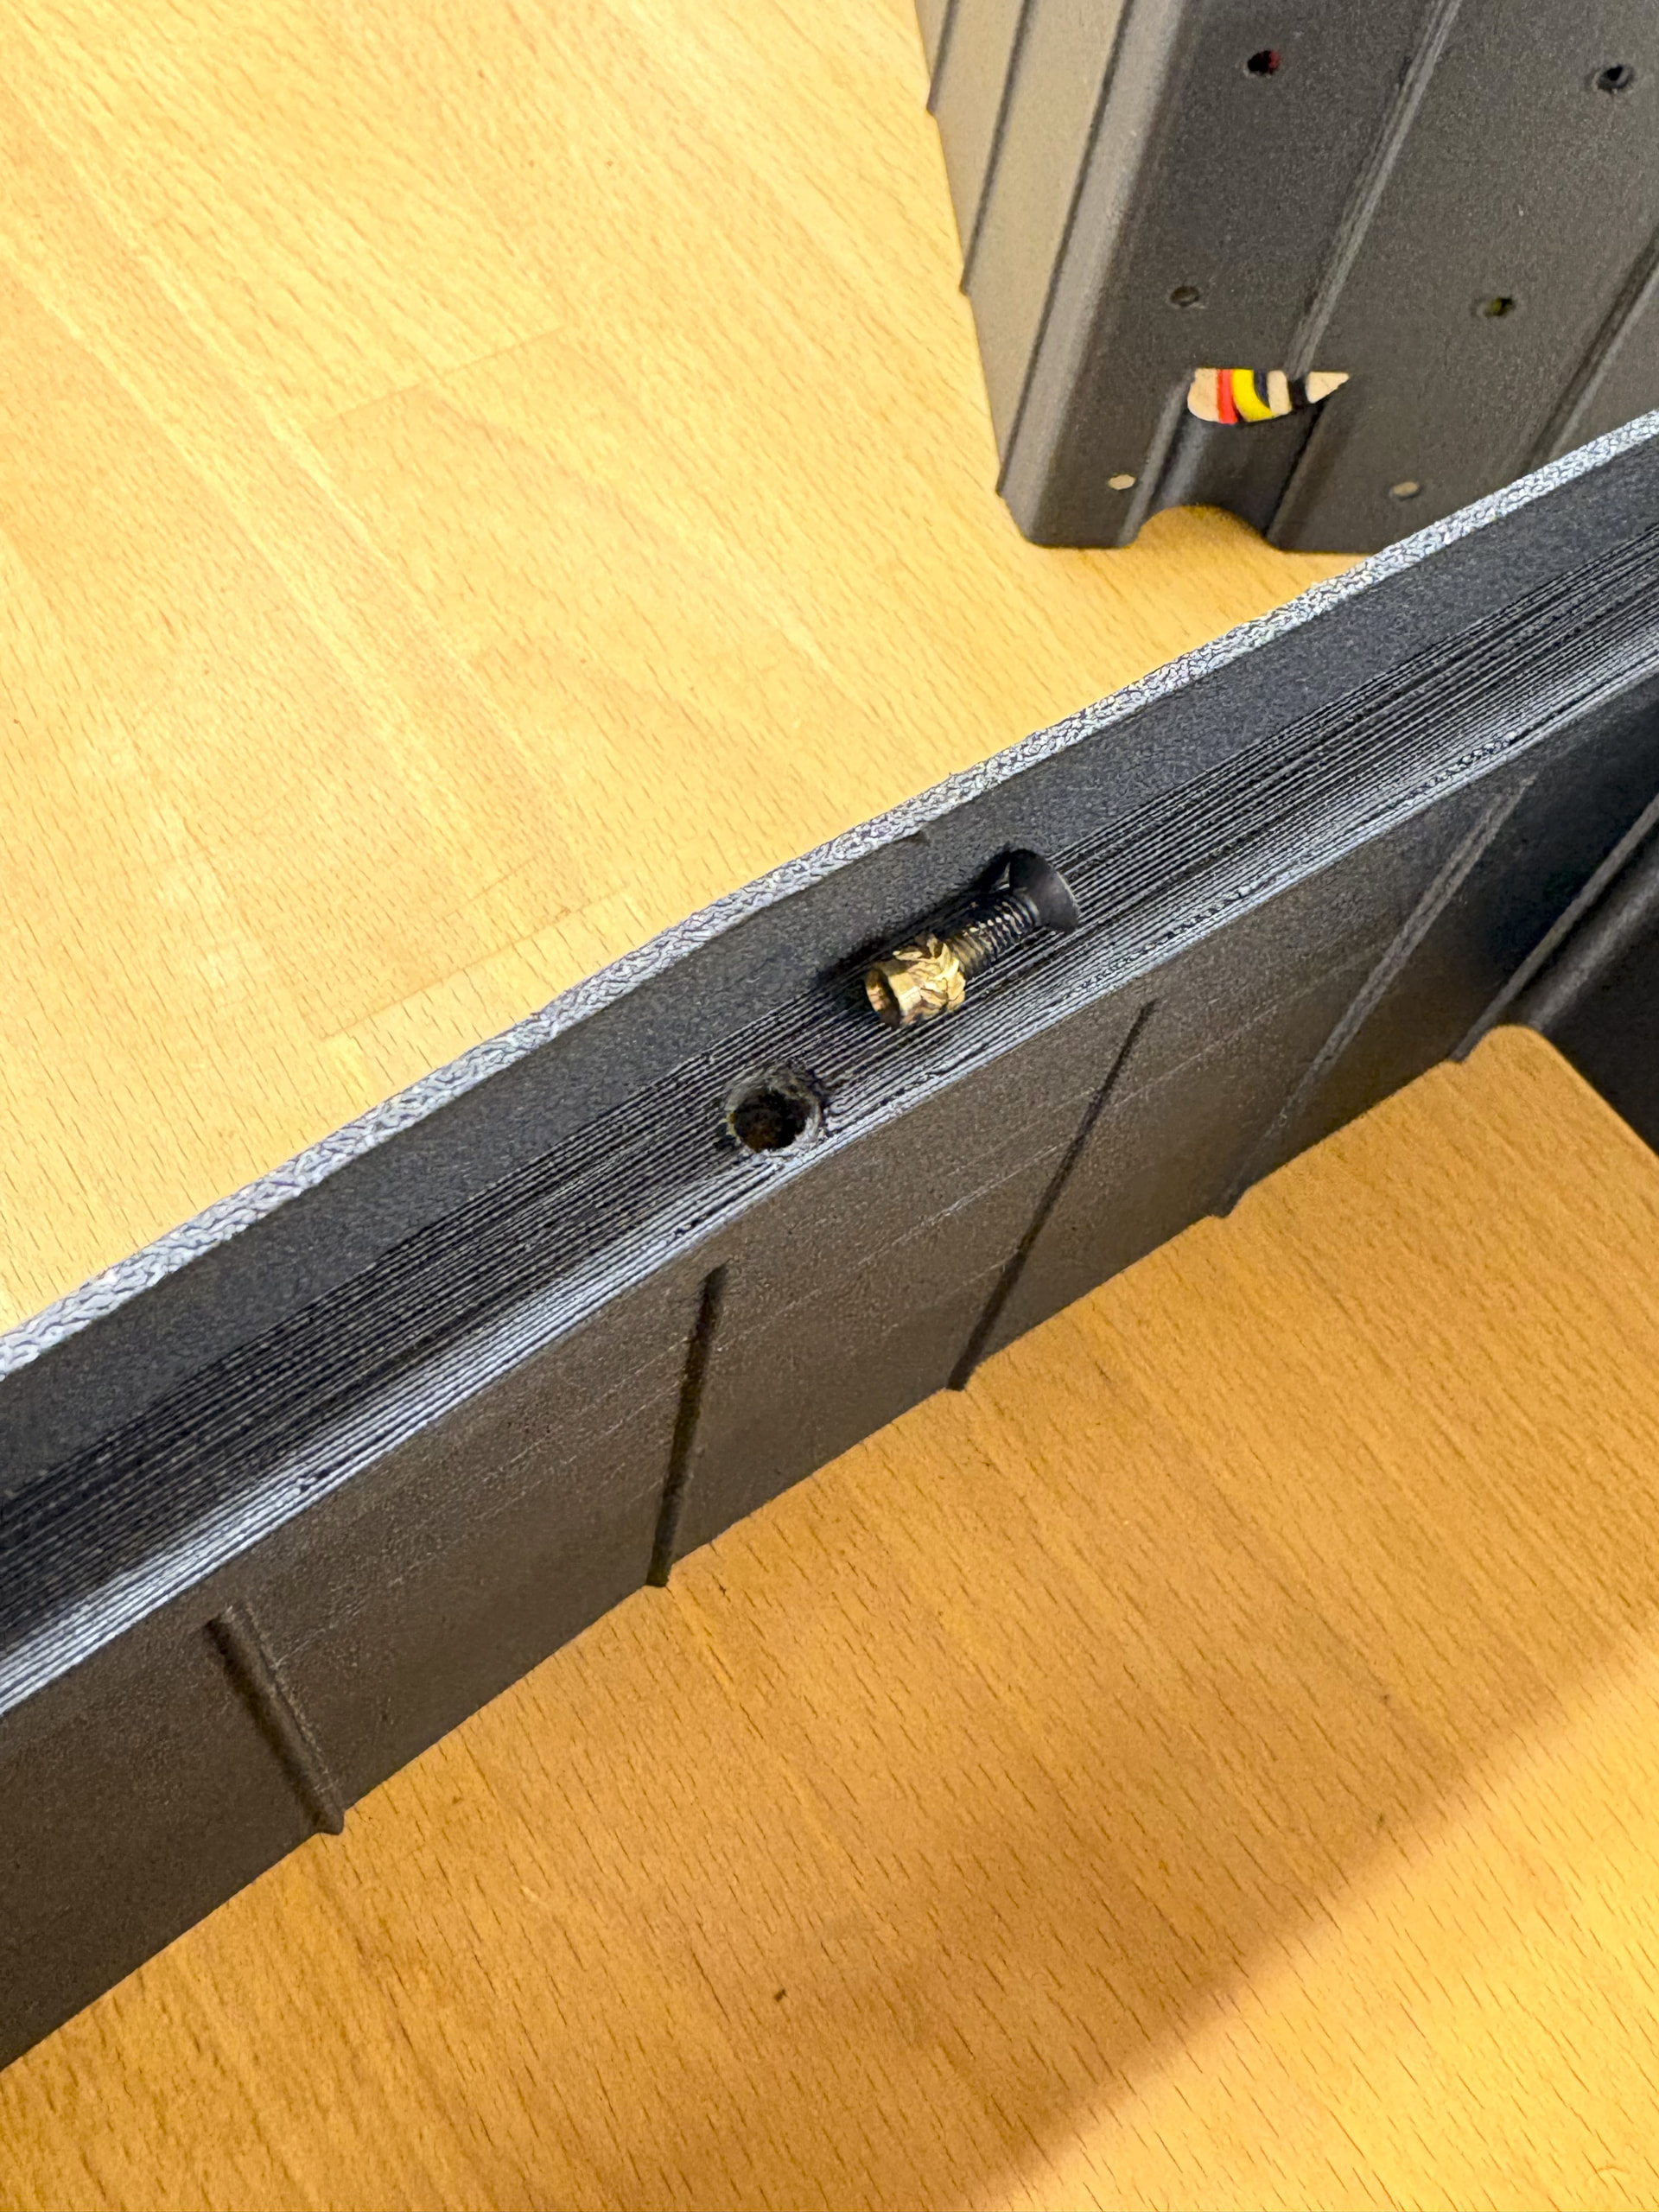
I opted to use heat inserts for attaching my plexi front to the outer shell like I did with the PCB. While screwing the plexi front on, I managed to sheer one of the heat inserts out from the out shell and had to take the plexi front off to reevaluate. I tried widening the screw hole a tad and inserting a M3 heat insert but that took sheered out. I ended up hot gluing the insert in and called it good enough.
I would say that if you are to use heat inserts rather than screws, defiantly look at the outer shell STL file and confirm that your heat inserts are compatible with the screw hole diameter. I would have made the screw holes slightly smaller.
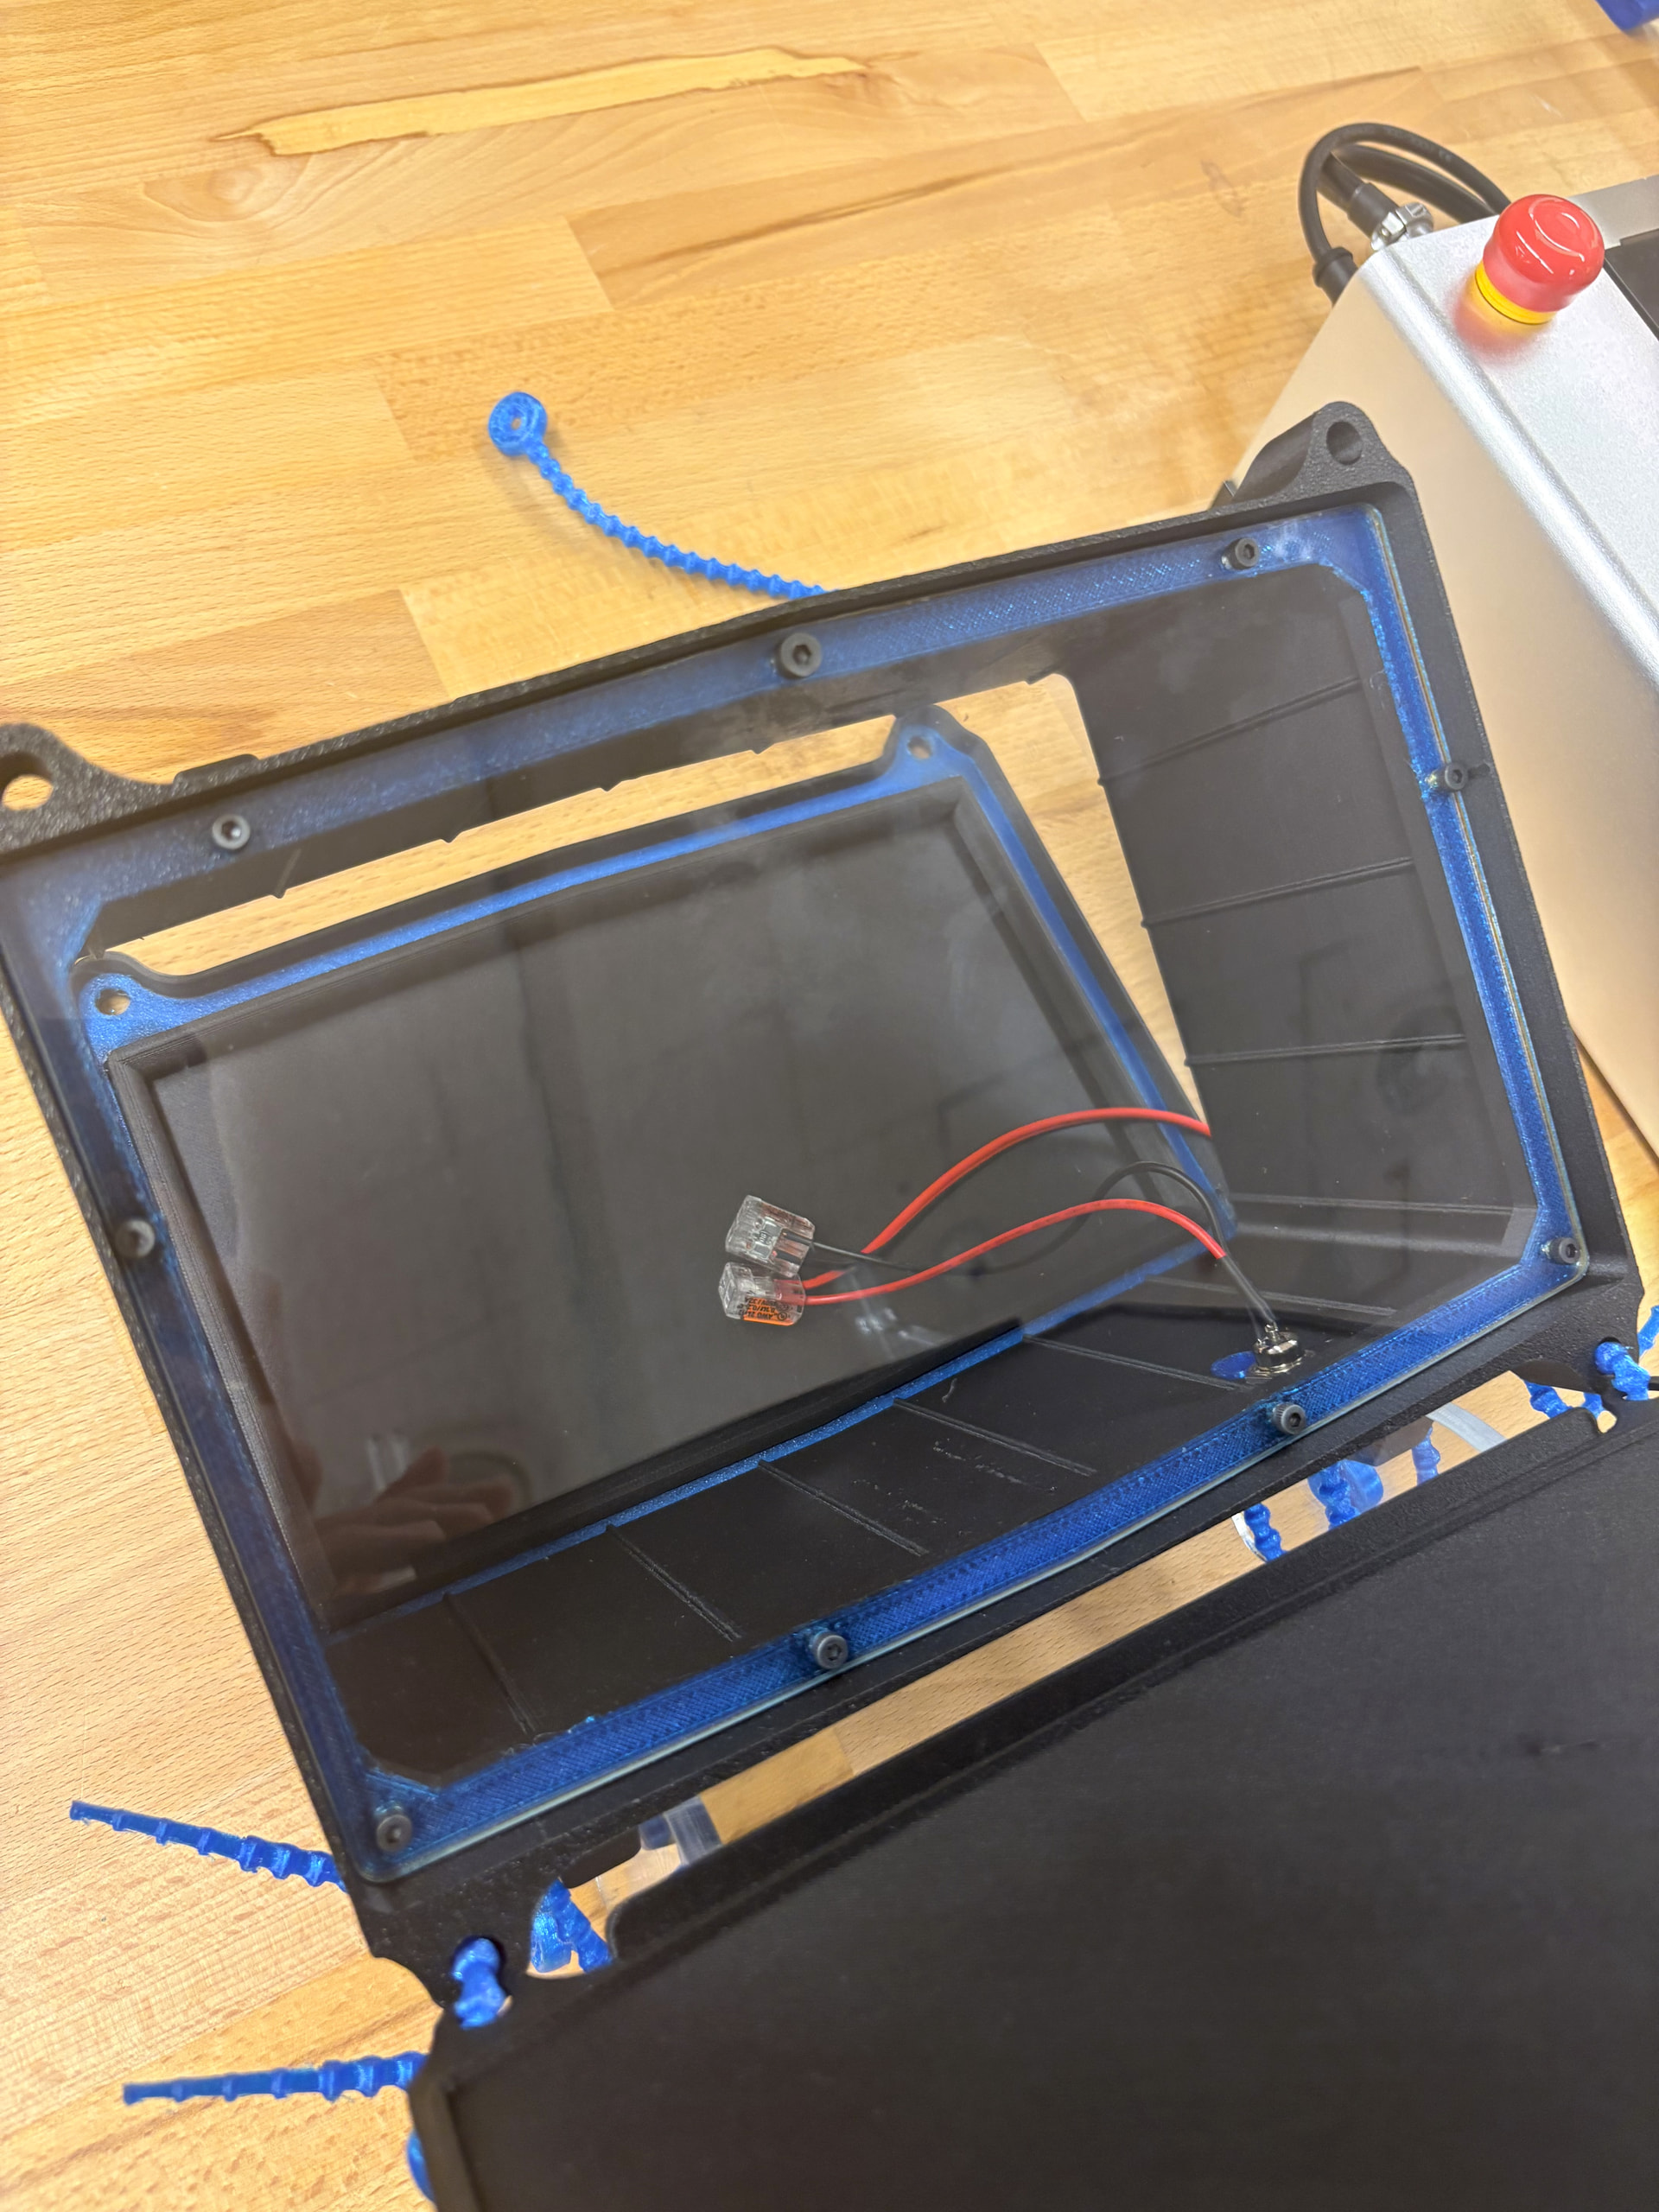
I had to use a glue stick to attach my felt to the target because I unexpectedly ran out of spray adhesive.
I also had to go back and cut out another 2 arms. The photo of Mothbox Pro parts shows 2 arms (after looking back at the photo, they might be stacked on each other) but it isn’t until I got to the External Parts - Arms step where is mentions that each arm consists of 2 arm pieces.
I cleaned up the zip ties that were covering a few of the LEDs on the PCB.
I am also a HUGE fan of the TPU reusable zip ties.
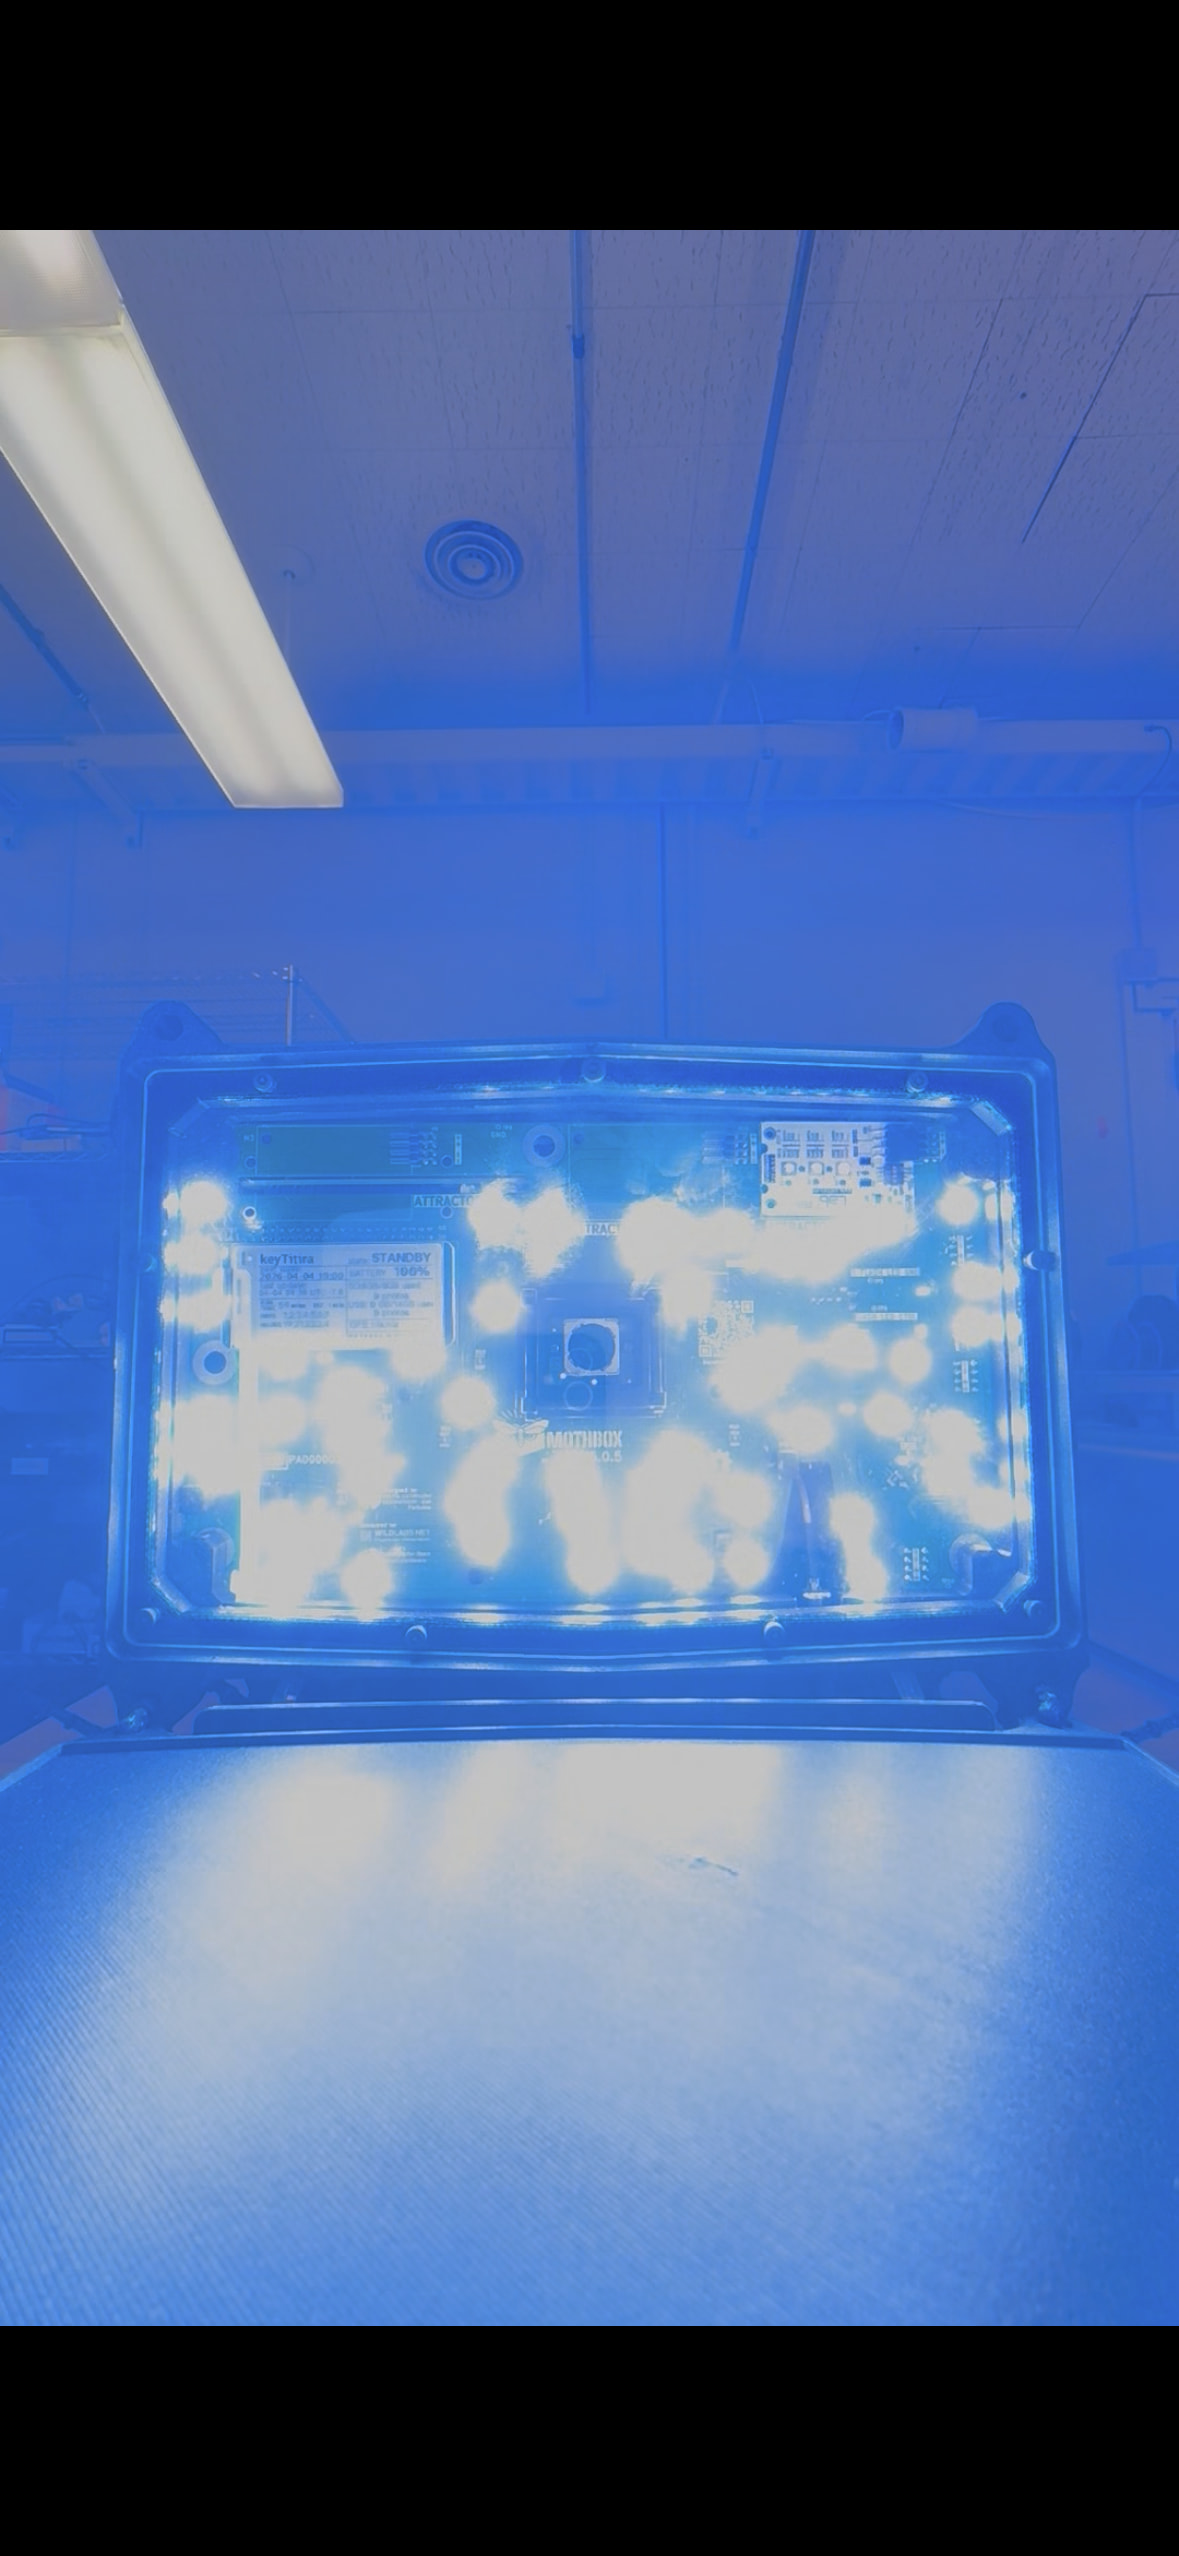
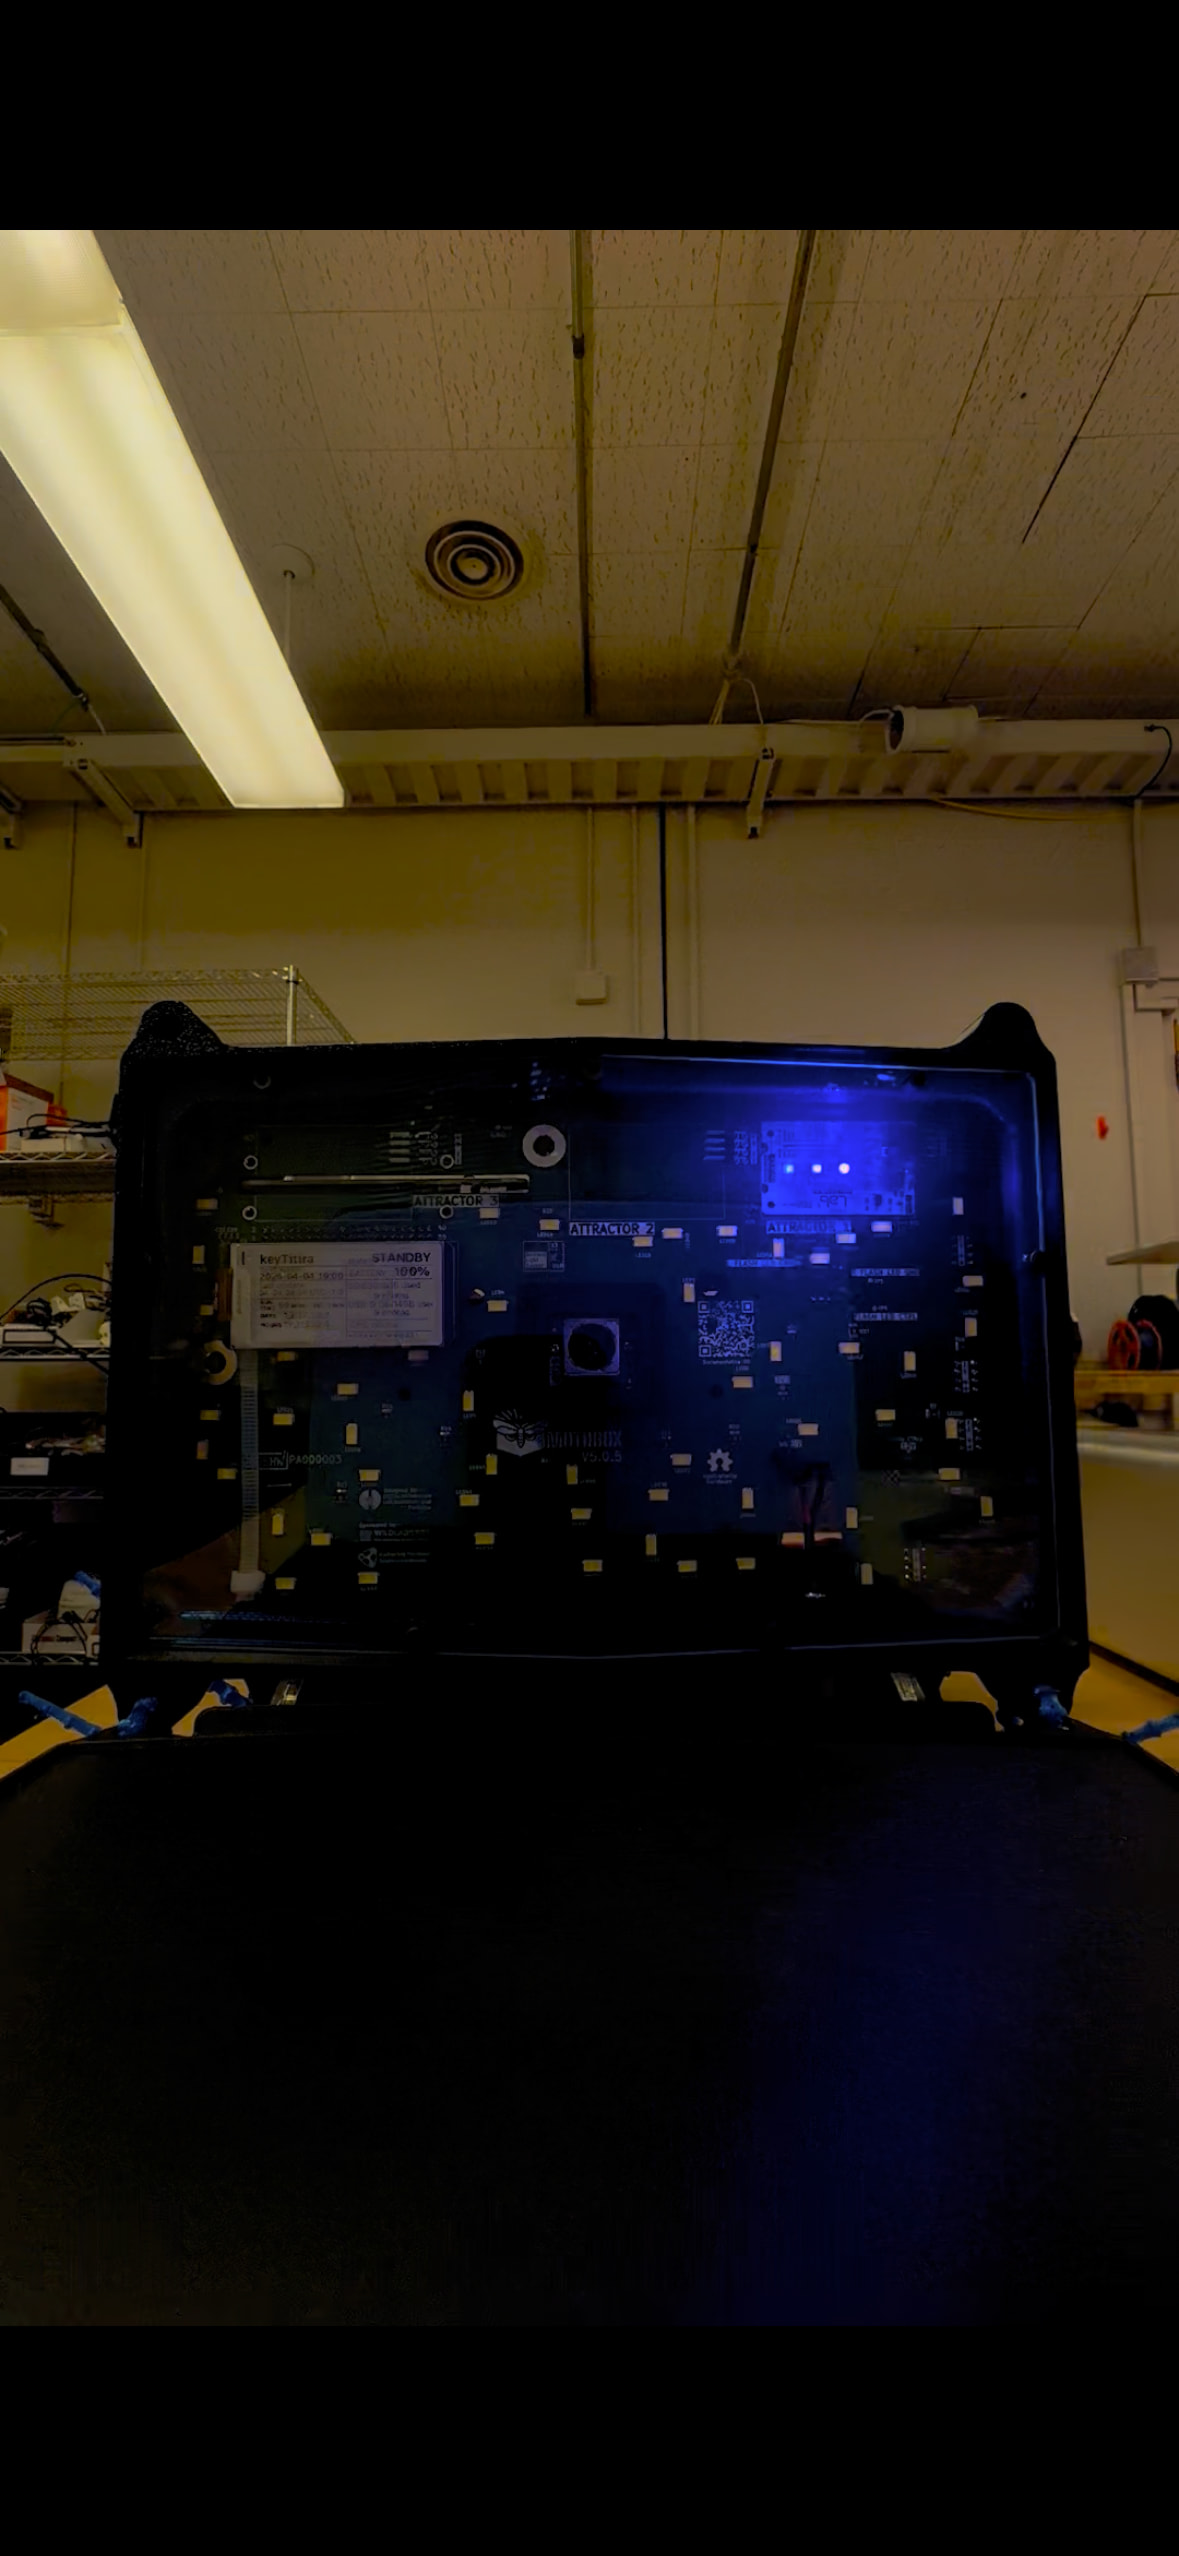
I tested out both the LEDs and Mothbeam and they seem to have no issues!
1 Like
Setting the Time
I am looking to deploy my mothbox in my backyard tonight to see what critters I attract.
I have everything set up to run over night but the one issue I am running into is trying to set the time “using the internet”. I set up my iphone to display a hotspot showing DINALAB with the password iloveyardpigs, as per the instructions. I was in the DEBUG mode and had changed my timezone to US/Pacific yet I still couldnt get the mothbox to connect/ display the correct time.
I ended up setting the time manually so I could get some photos tonight.
Curious if anyone knows if I am setting something up wrong or forgetting something obvious. I dont have the RTC battery connected yet, should be coming in this week. I don’t think this is the issue but it could be!
1 Like
I also struggled to get my Mothbox to sync the time initially. If I remember correctly my issue was that I didn’t have the Mothbox set to ACTIVE mode - even DEBUG needs ACTIVE to be enabled first. Otherwise it turns off (red LED on Pi) before it gets a chance to connect to the WiFi hotspot. The other thing to check is to make sure you have the battery fully charged before you start!
2 Likes
Thanks garrit! I was able to get it to connect. I tried again with a fully charged battery and made sure the display showed “DEBUG” mode. I am pretty sure when I was trying to set it in the past, the battery wasn’t fully charged. Thanks for the help!
2 Likes
First Usage
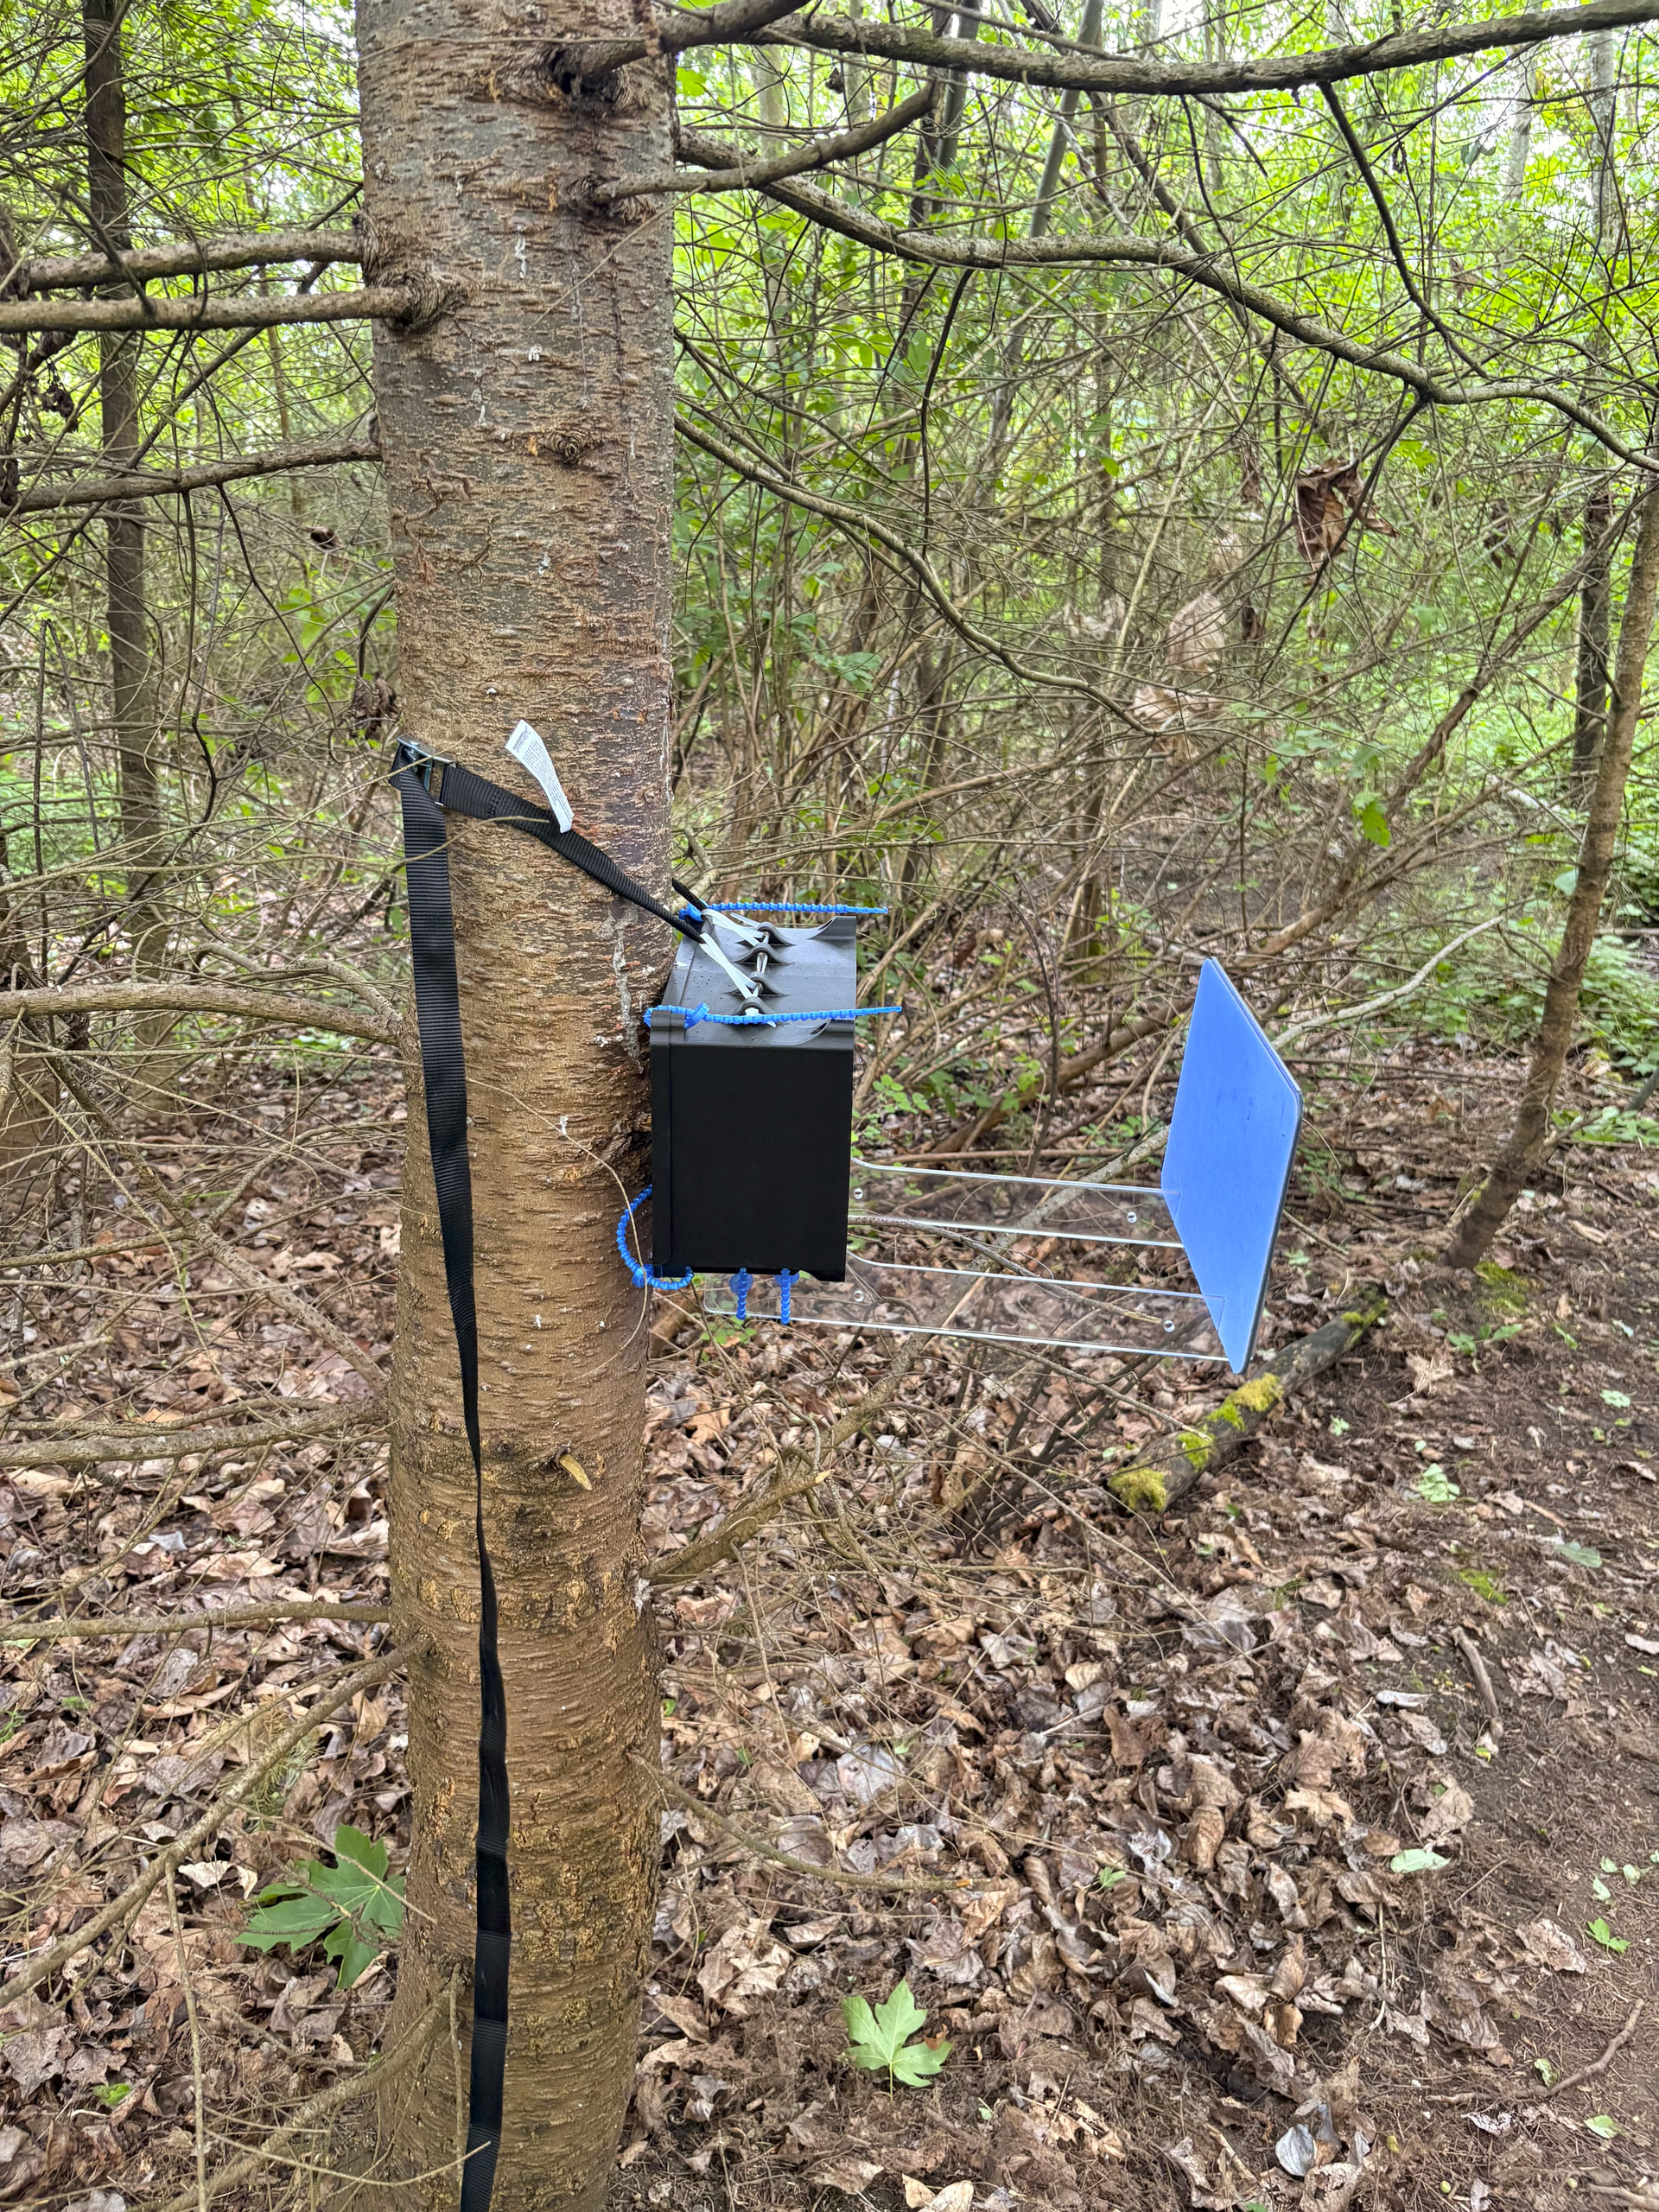
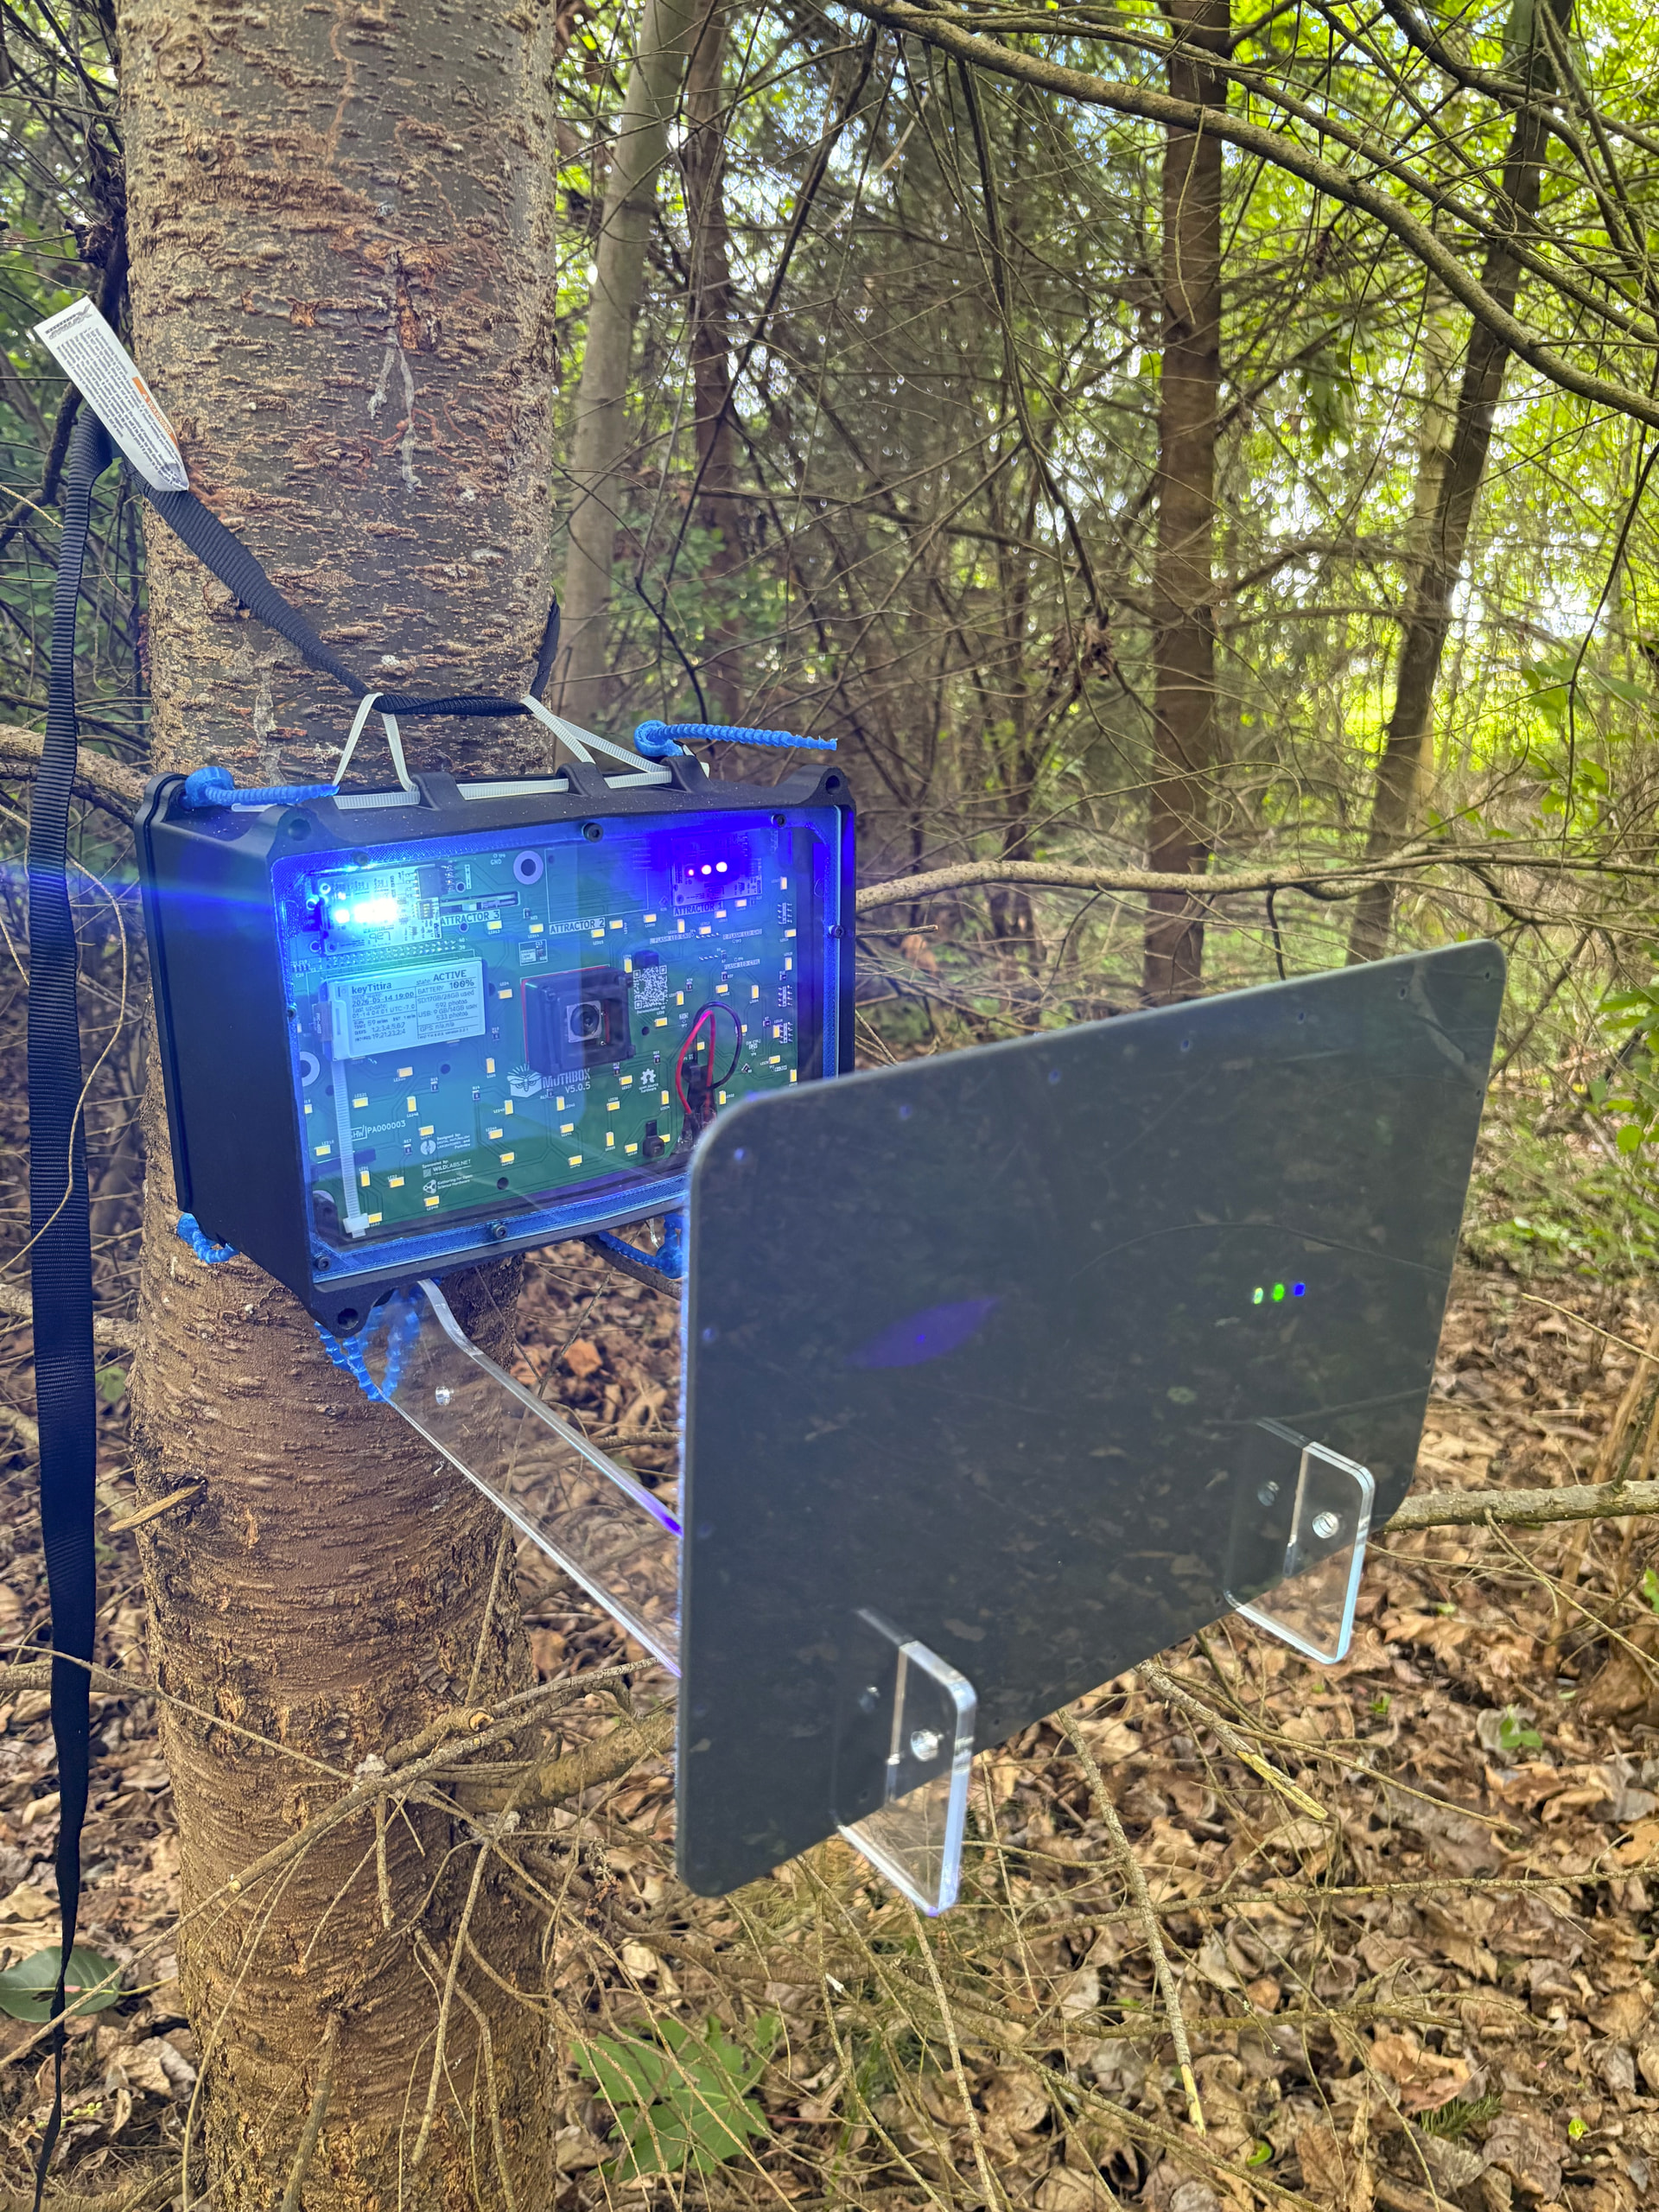
I went into a park behind my house for my mothbox’s maiden voyage.
I added another mothbeam for a total of 2. Both of them are configured to be at “minimal power” and I was surprised to see them at different intensities. I plan on redeploying it tonight with them both set to the “standard bright” mode.
I had an issue with the internal pi clock since I have been setting the time manually and still havent received my RTC battery. I ended up taking photos from 12am to 10am instead of the 7pm to 5am schedule I intended. Since then, I have been able to set the time using the internet, and am making sure not to turn the battery off until I collect the box in the morning to make sure the clock does not shift.
Unfortunate, due to crazy winds last night, moth activity was quite minimal. I managed to capture a mosquito though! very exciting stuff.
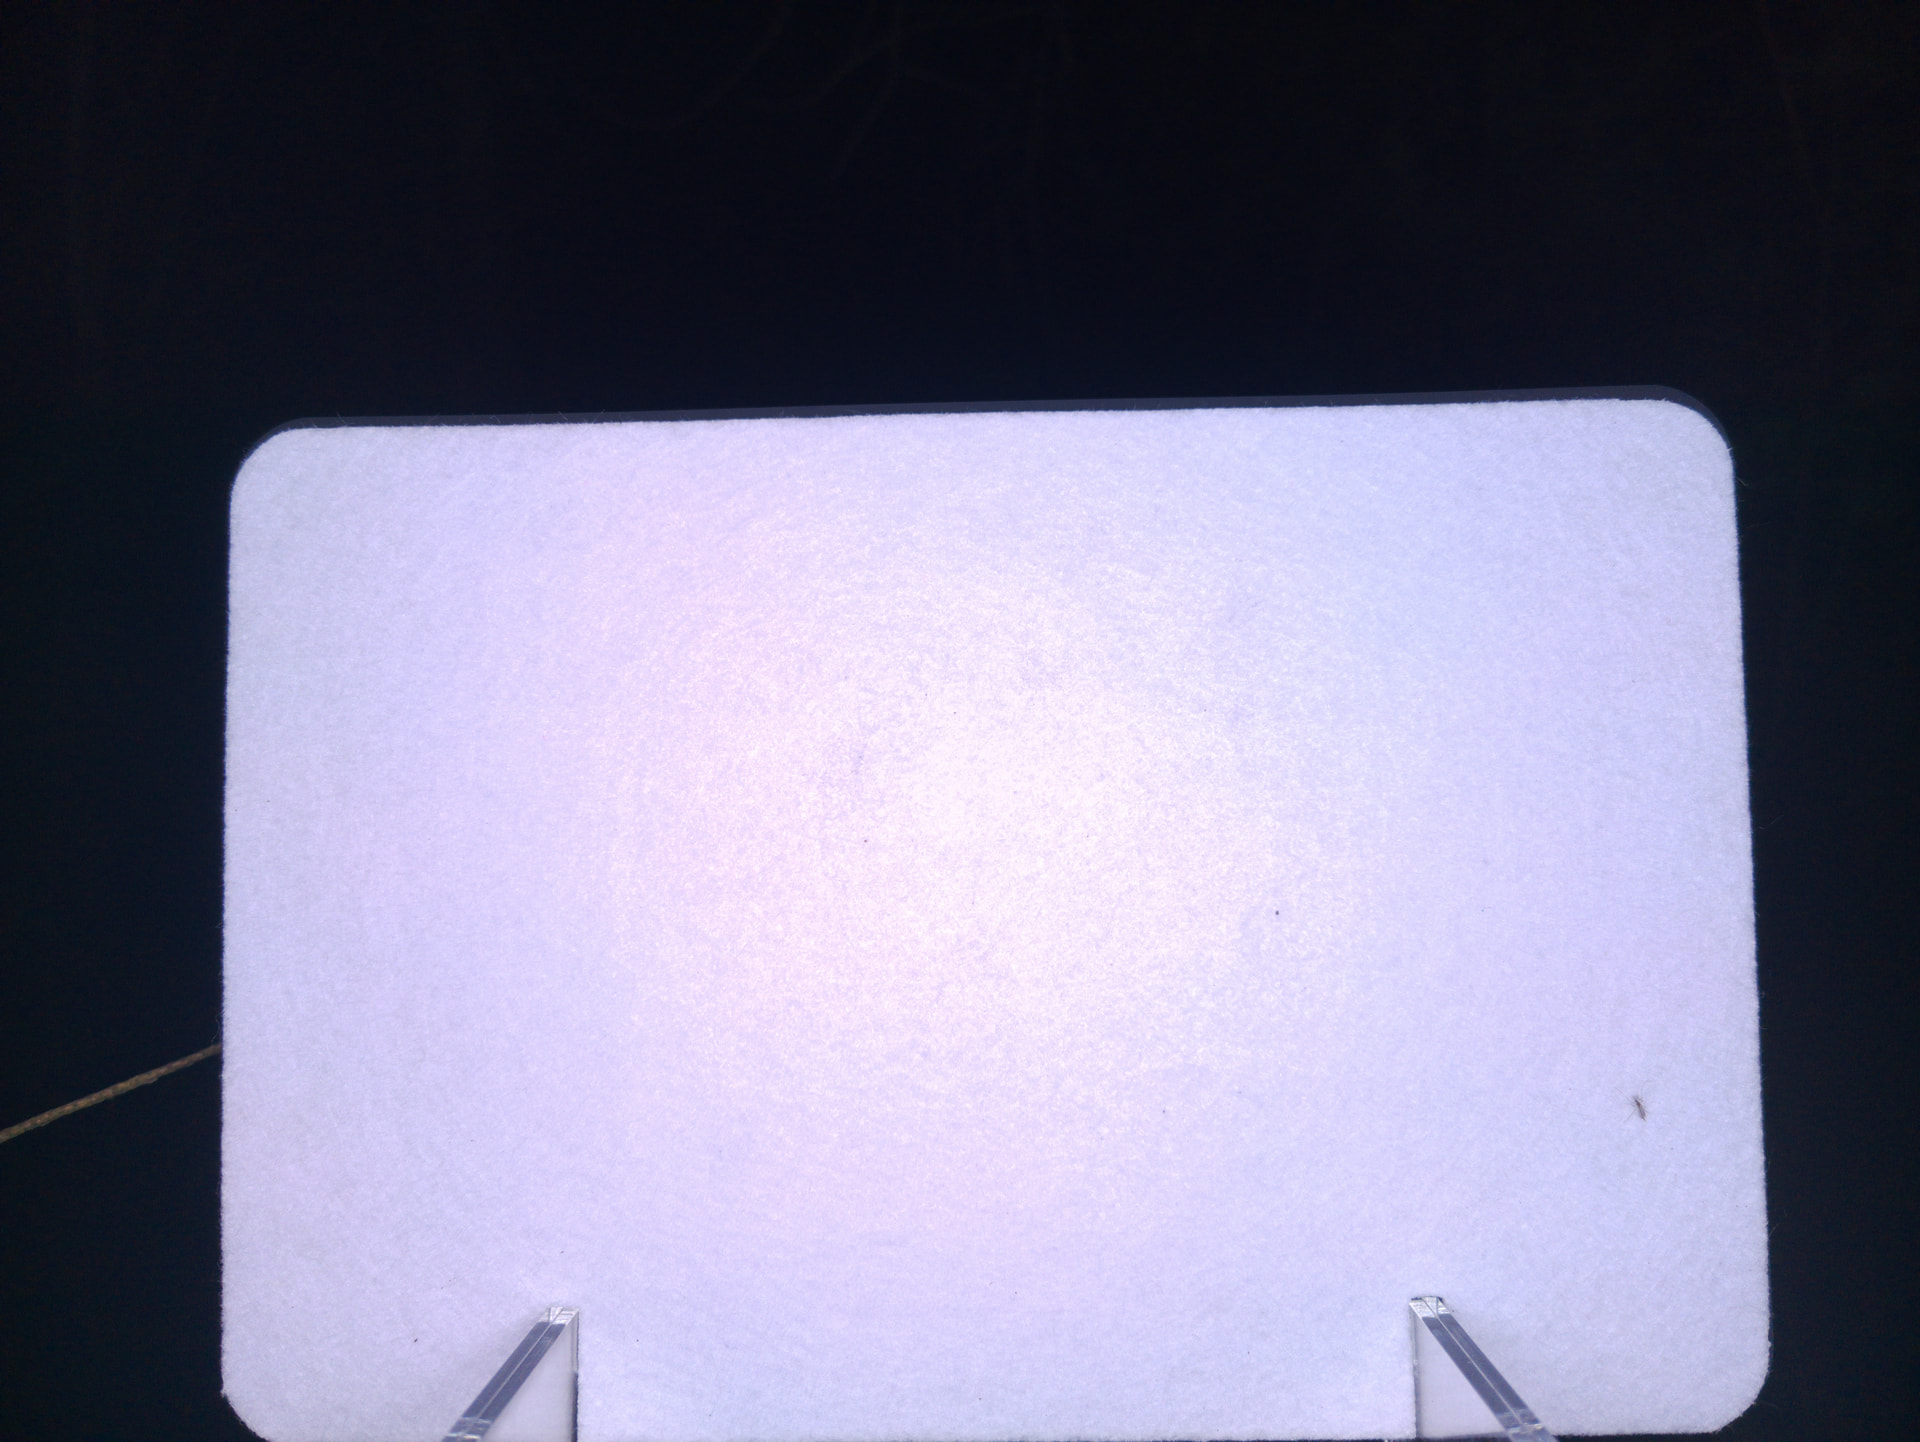
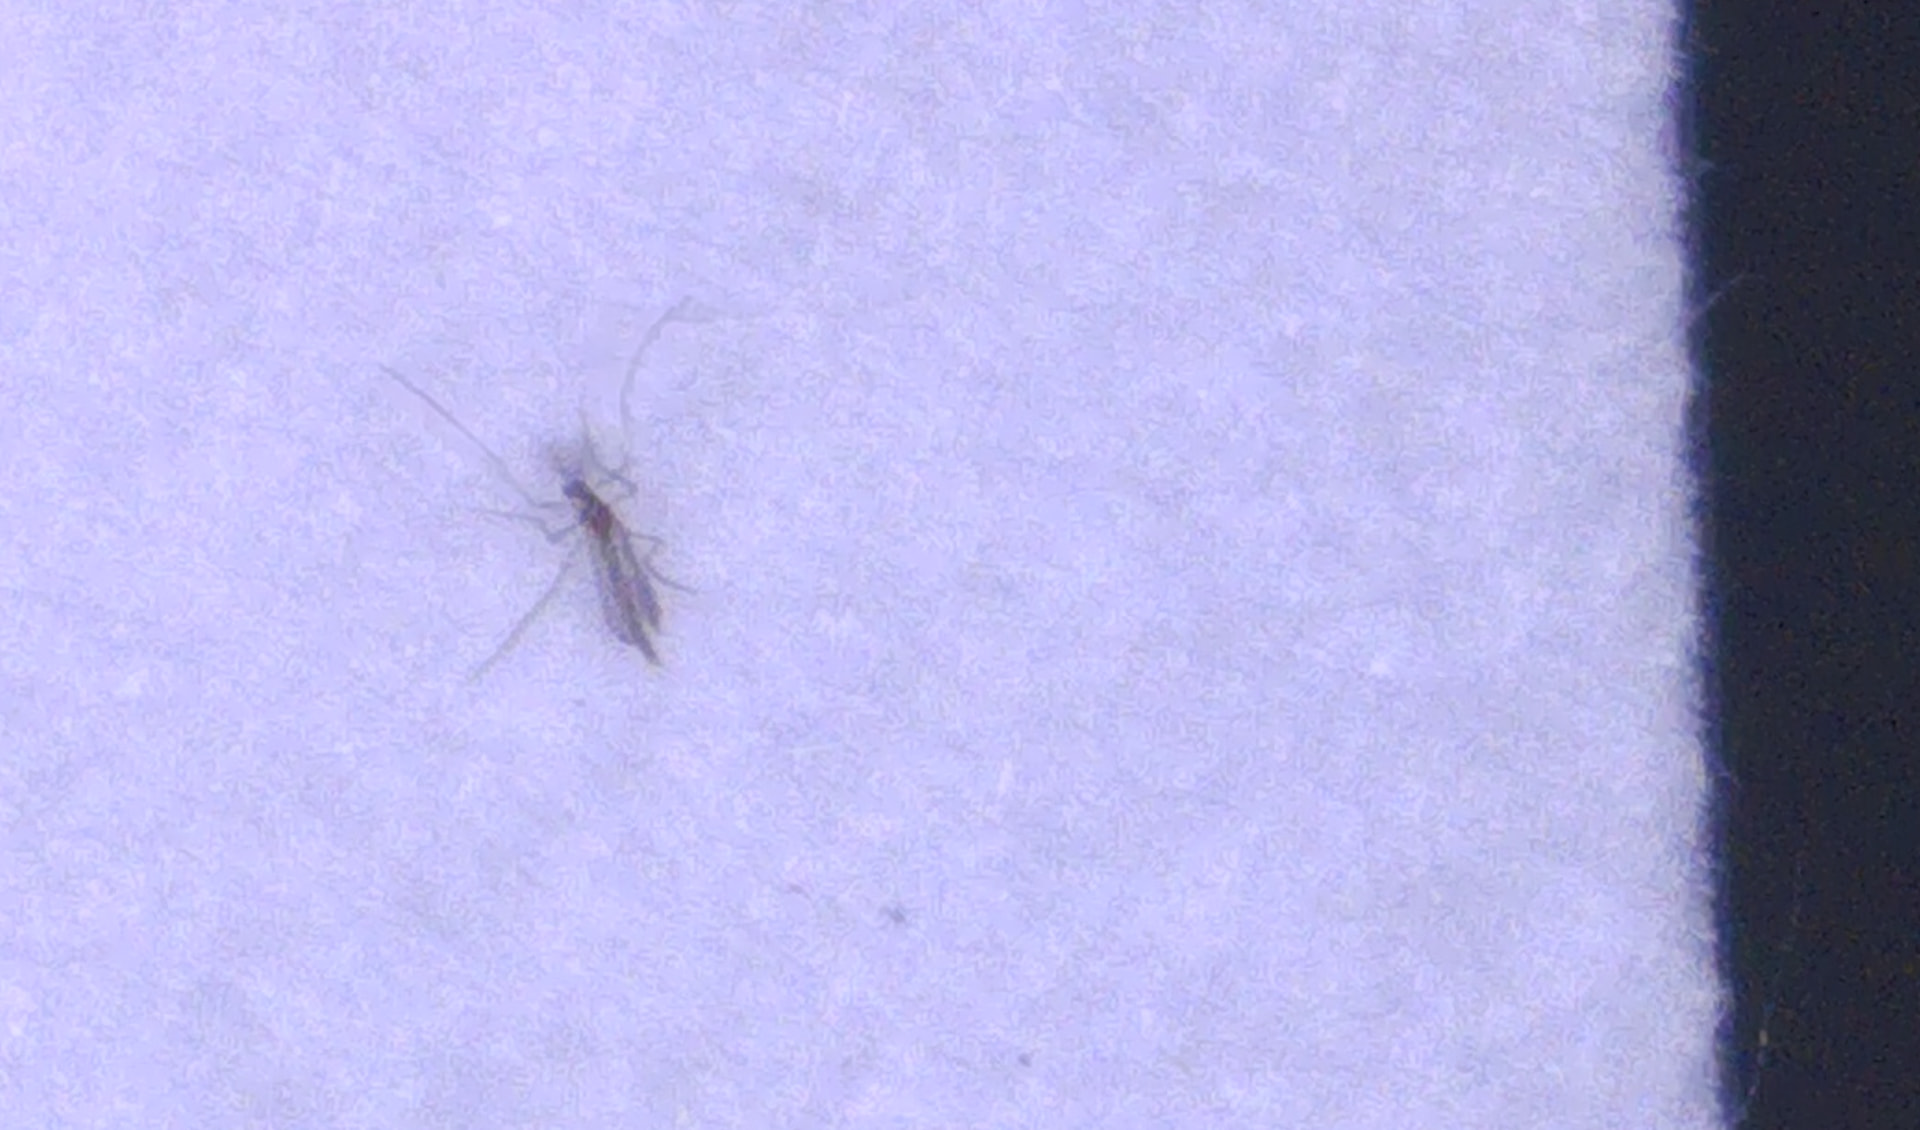
Going to deploy again tonight. Its going to be equally as windy and a little rainy so we shall see.
Congratulations! You are rocking it! When i get more time I will look through all your awesome documentation! But wanted to say, way to go!
Also 2 things
1- while you are waiting you can try to use the post processing workflow to go through your data and see finds that mosquito for you automatically!
2 - you can toss some of your original images into this folder and we will add it to our training data set that we are going to make the next version of the machine learning detection model from.
Just toss in some of your images that have bugs on them into this folder and we will handle the rest
1 Like
Corrupt Images?
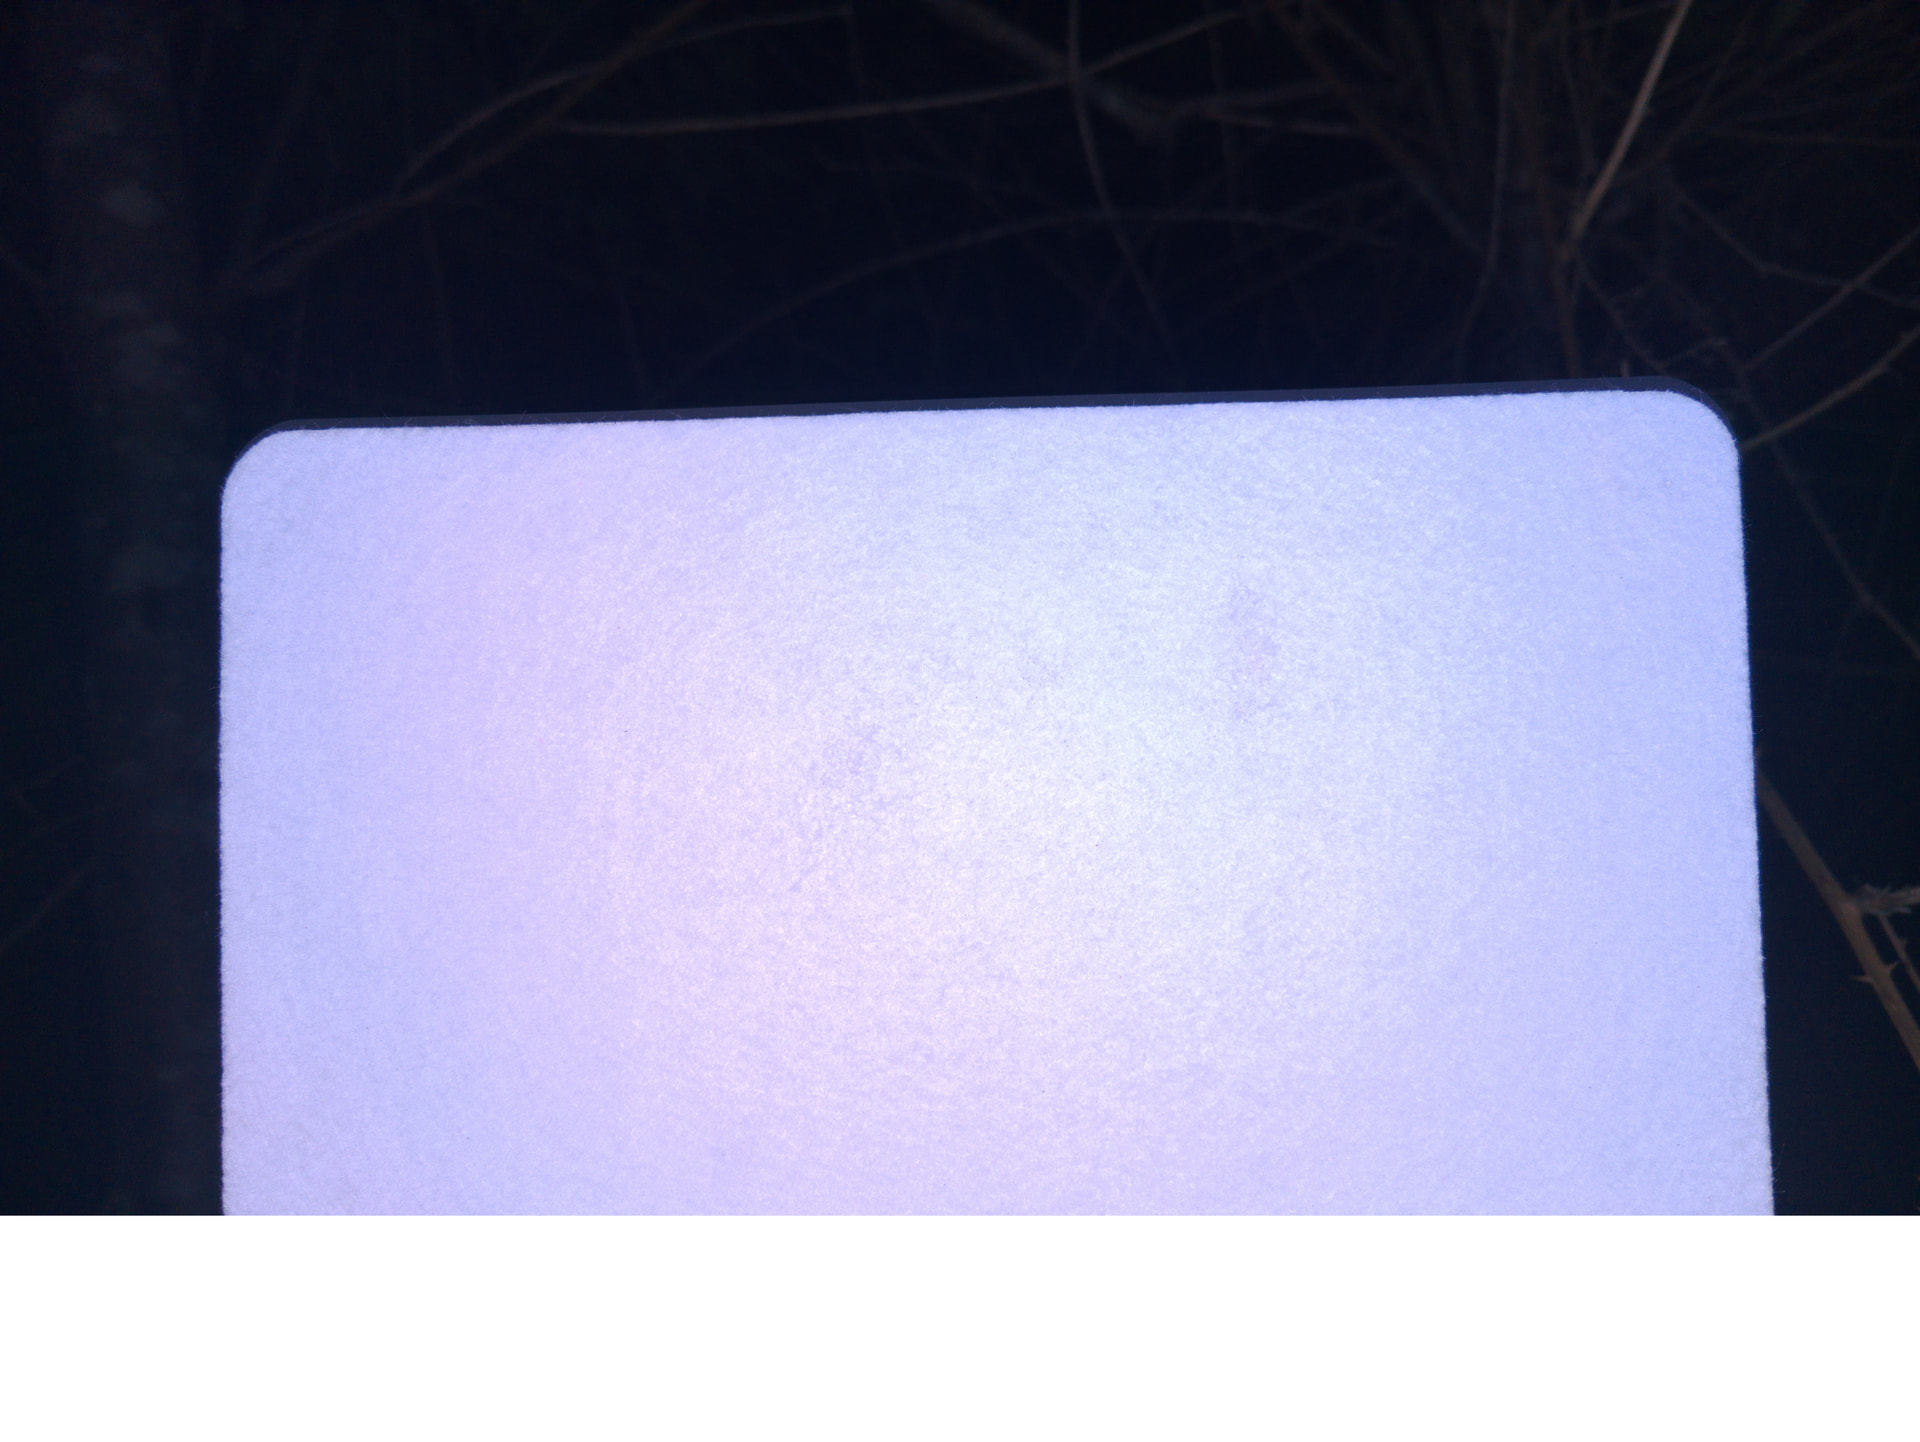
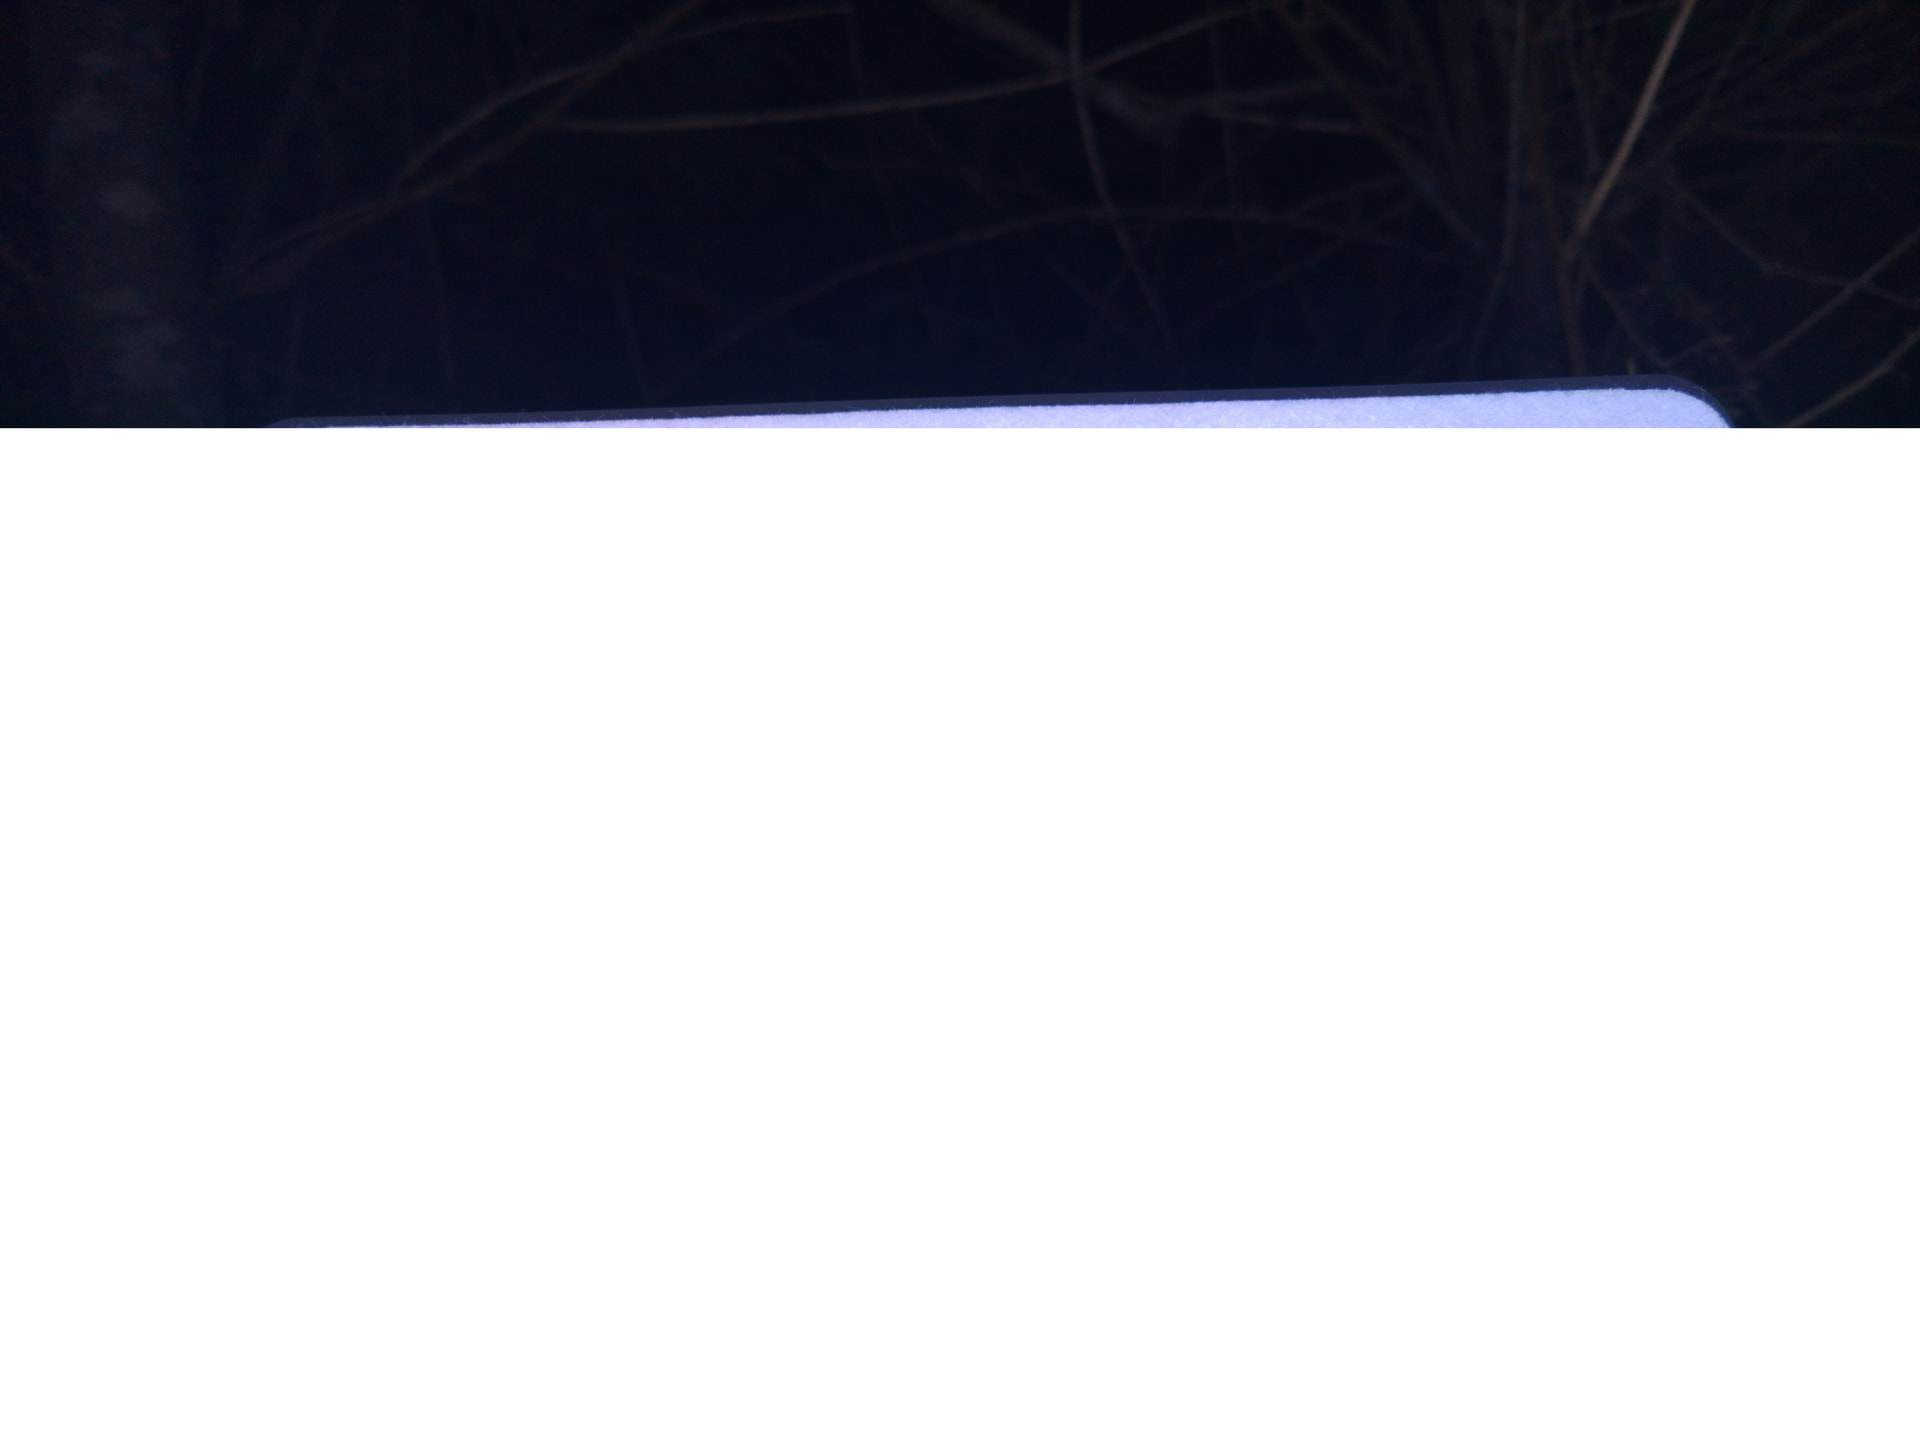
I have been using my mothbox in my backyard/ woods for the last couple days. I finally received the RTC battery I was missing and installed it yesterday before I set it back up. I was combing through the photos today and found that some of the photos have been cropped. One of the files seems to be completely corrupt as well. Has anyone else seen something like this before? They cover the entire bottom of the photo and vary in height. Its only on a few of the photos from the same hour of collection.
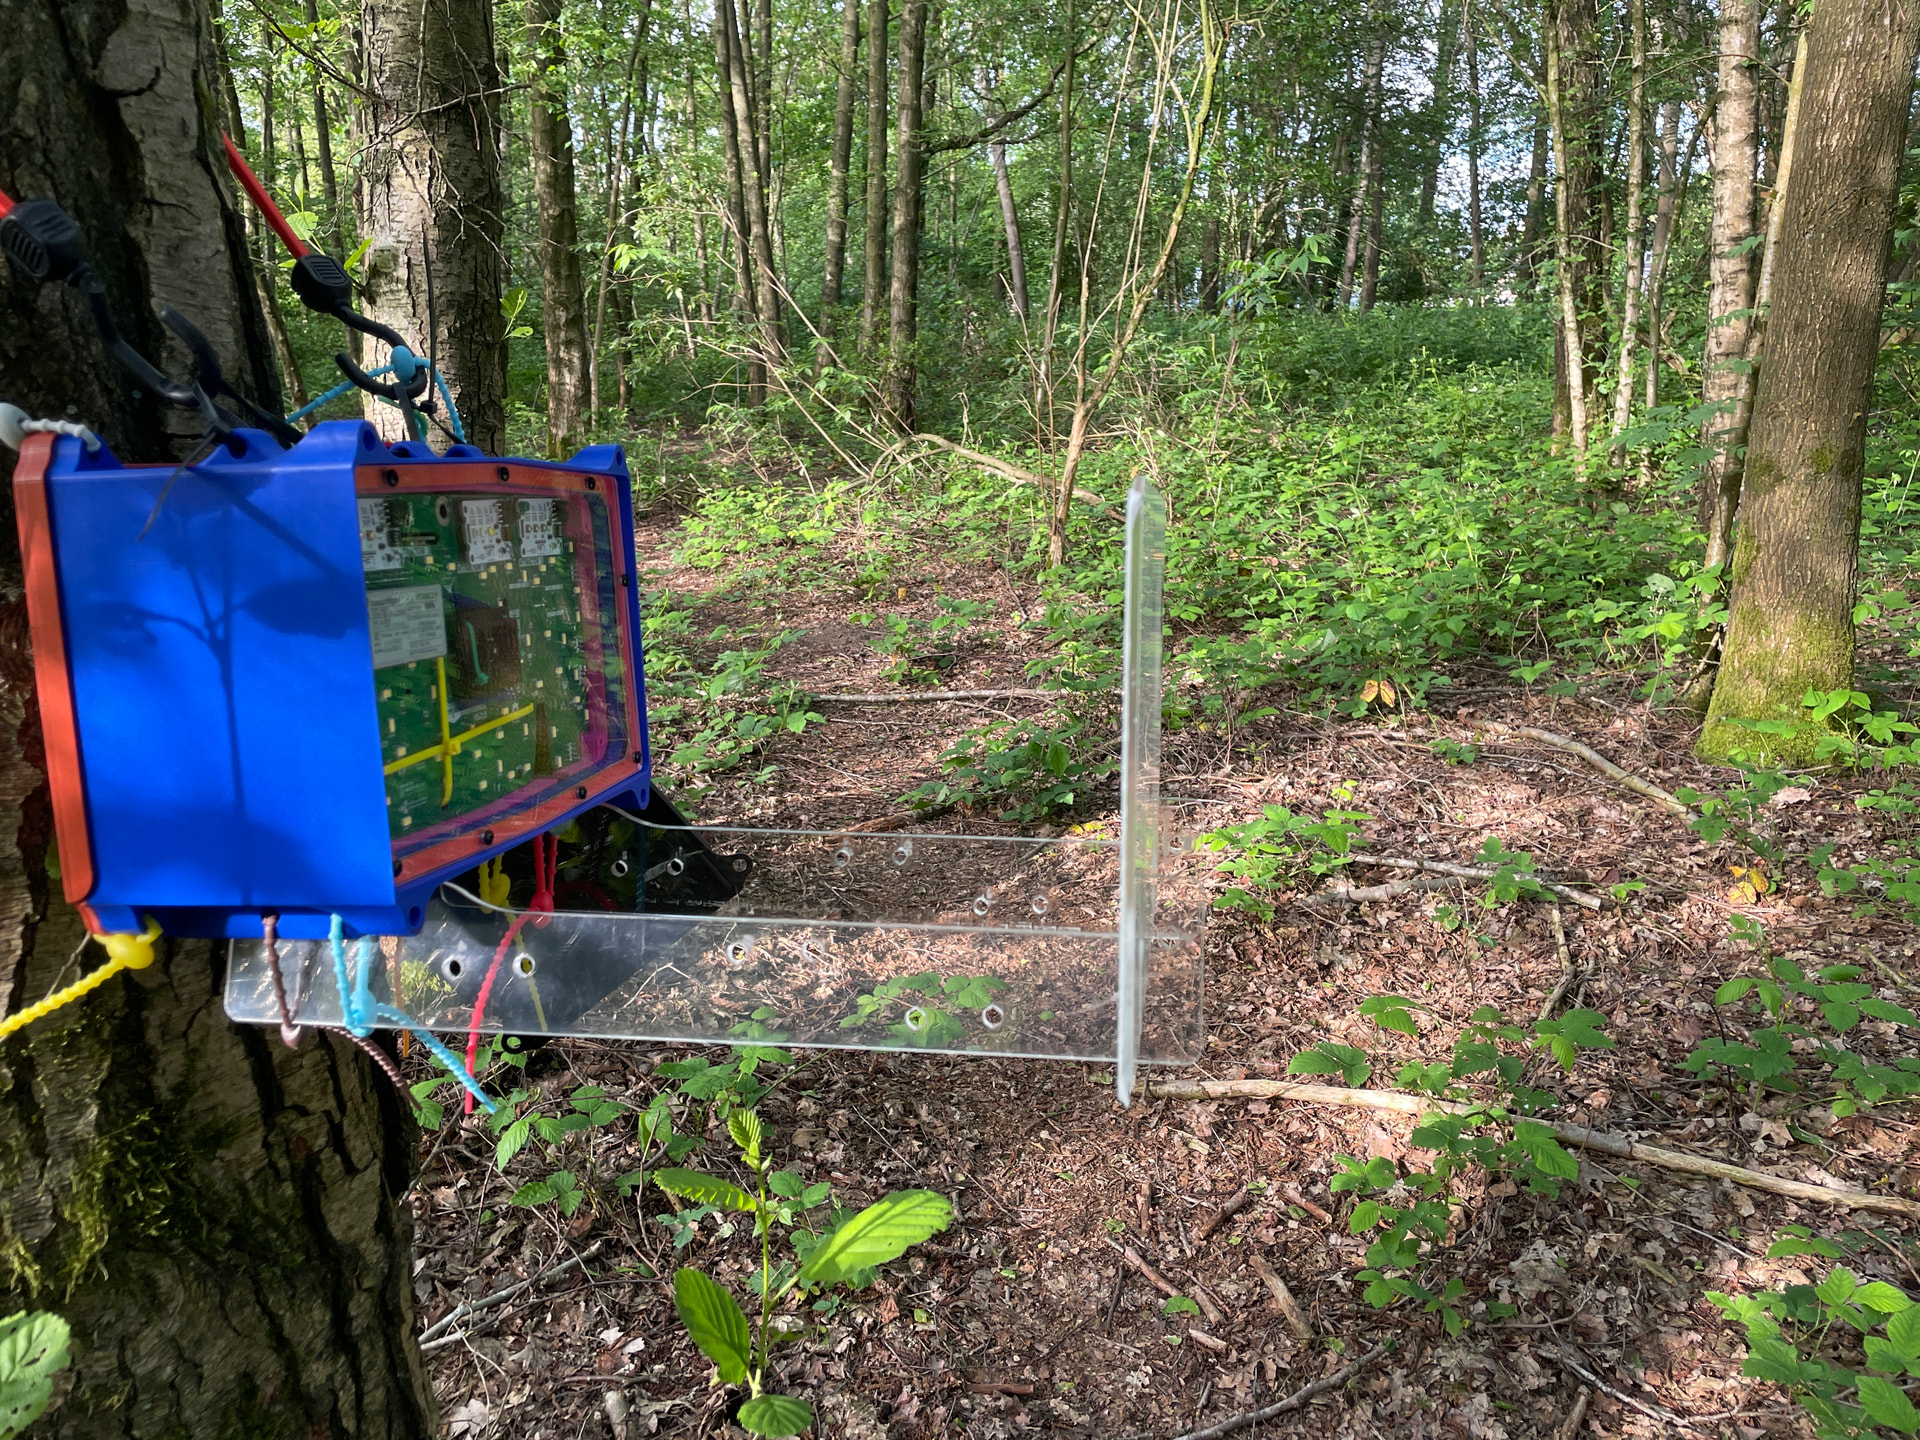
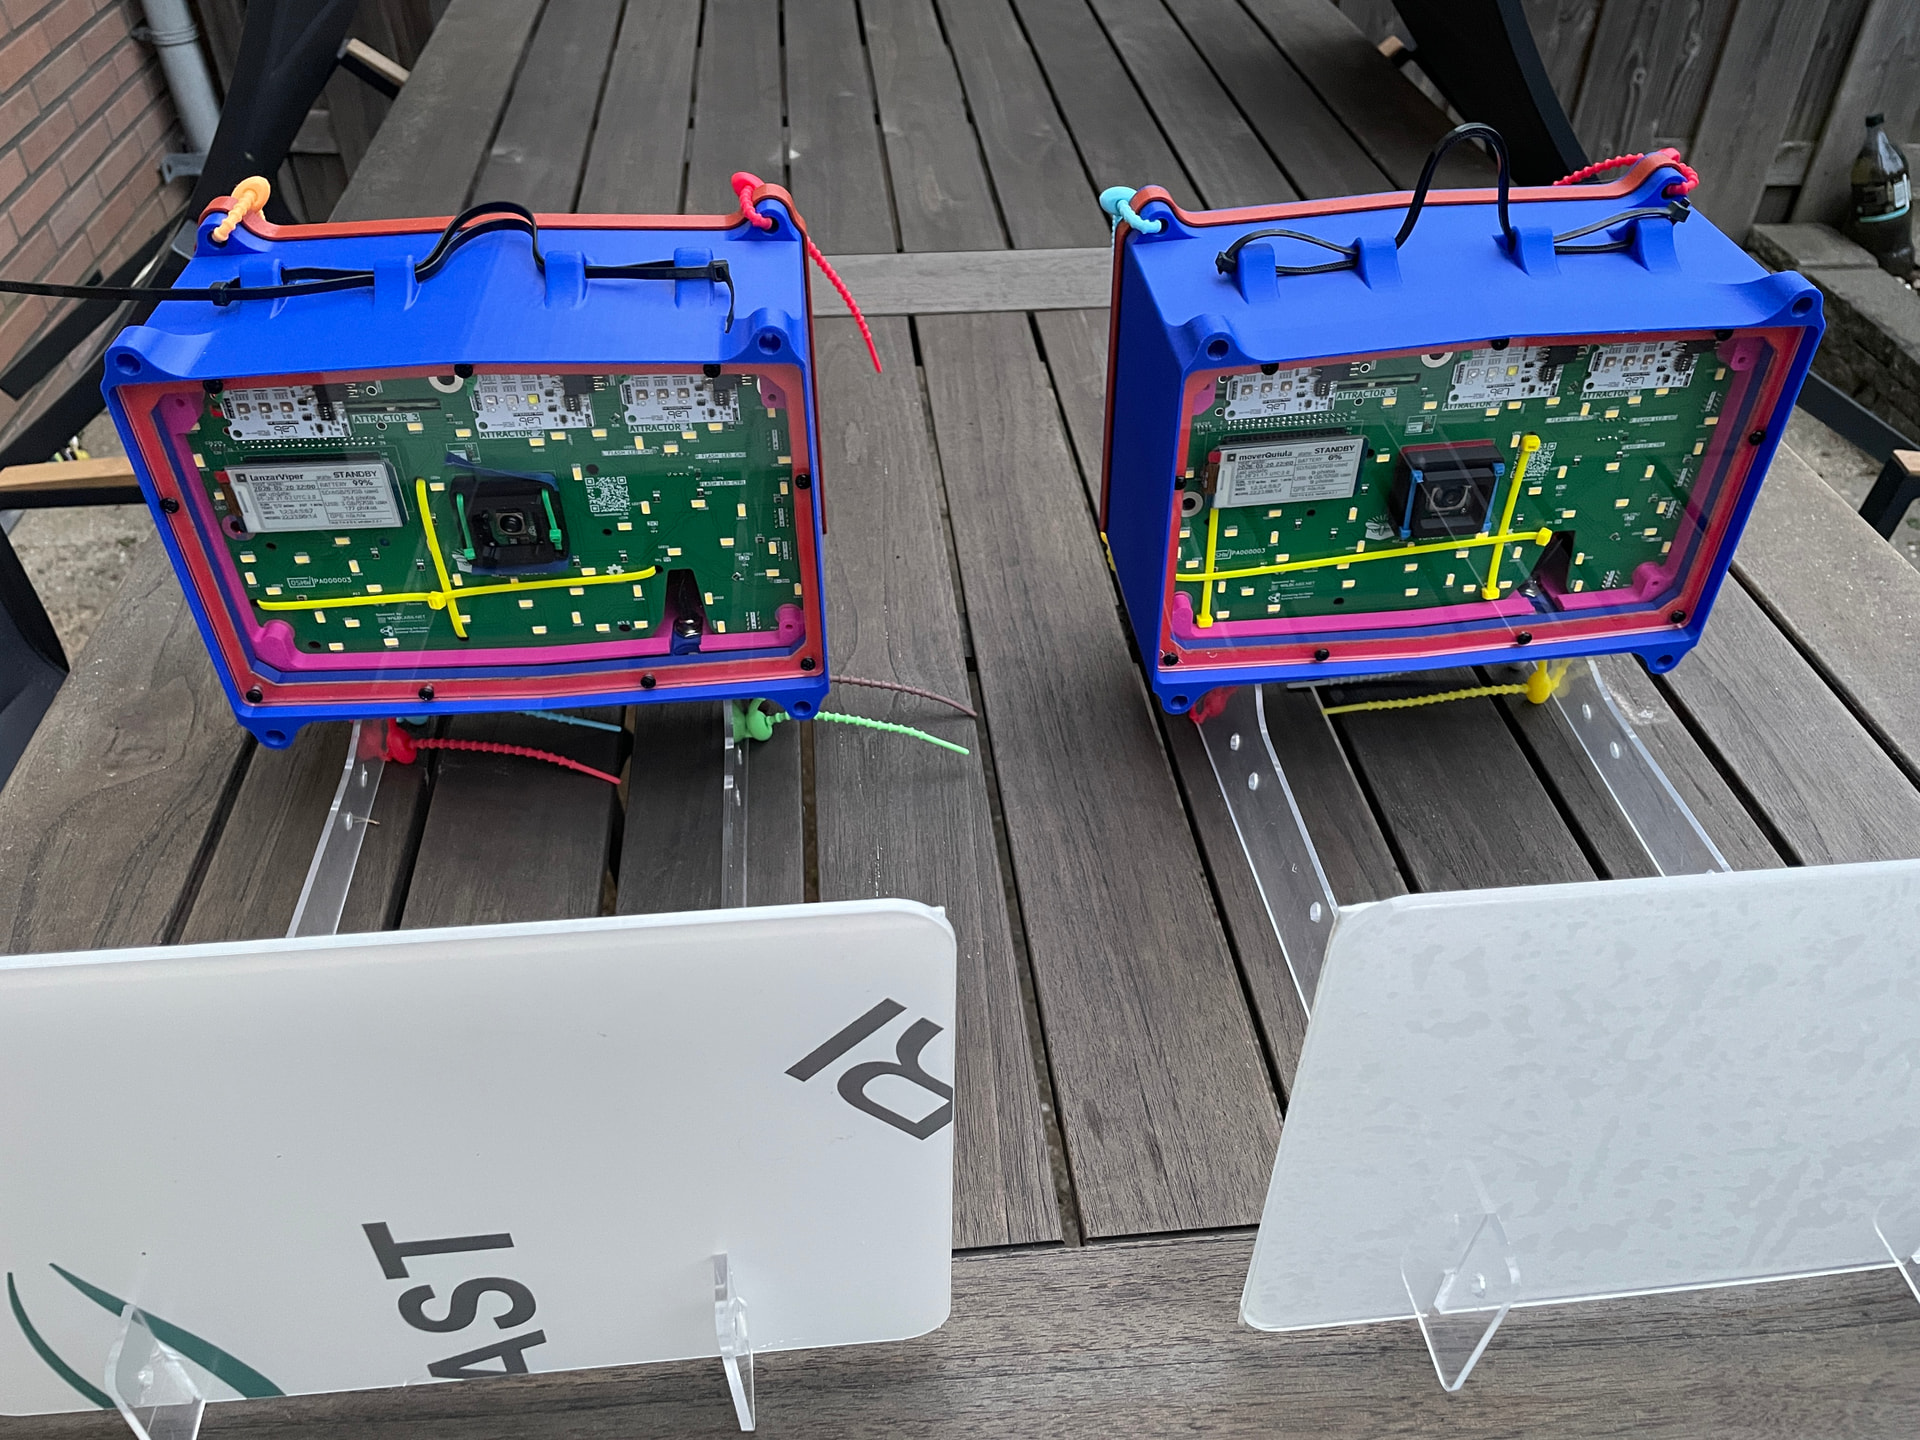
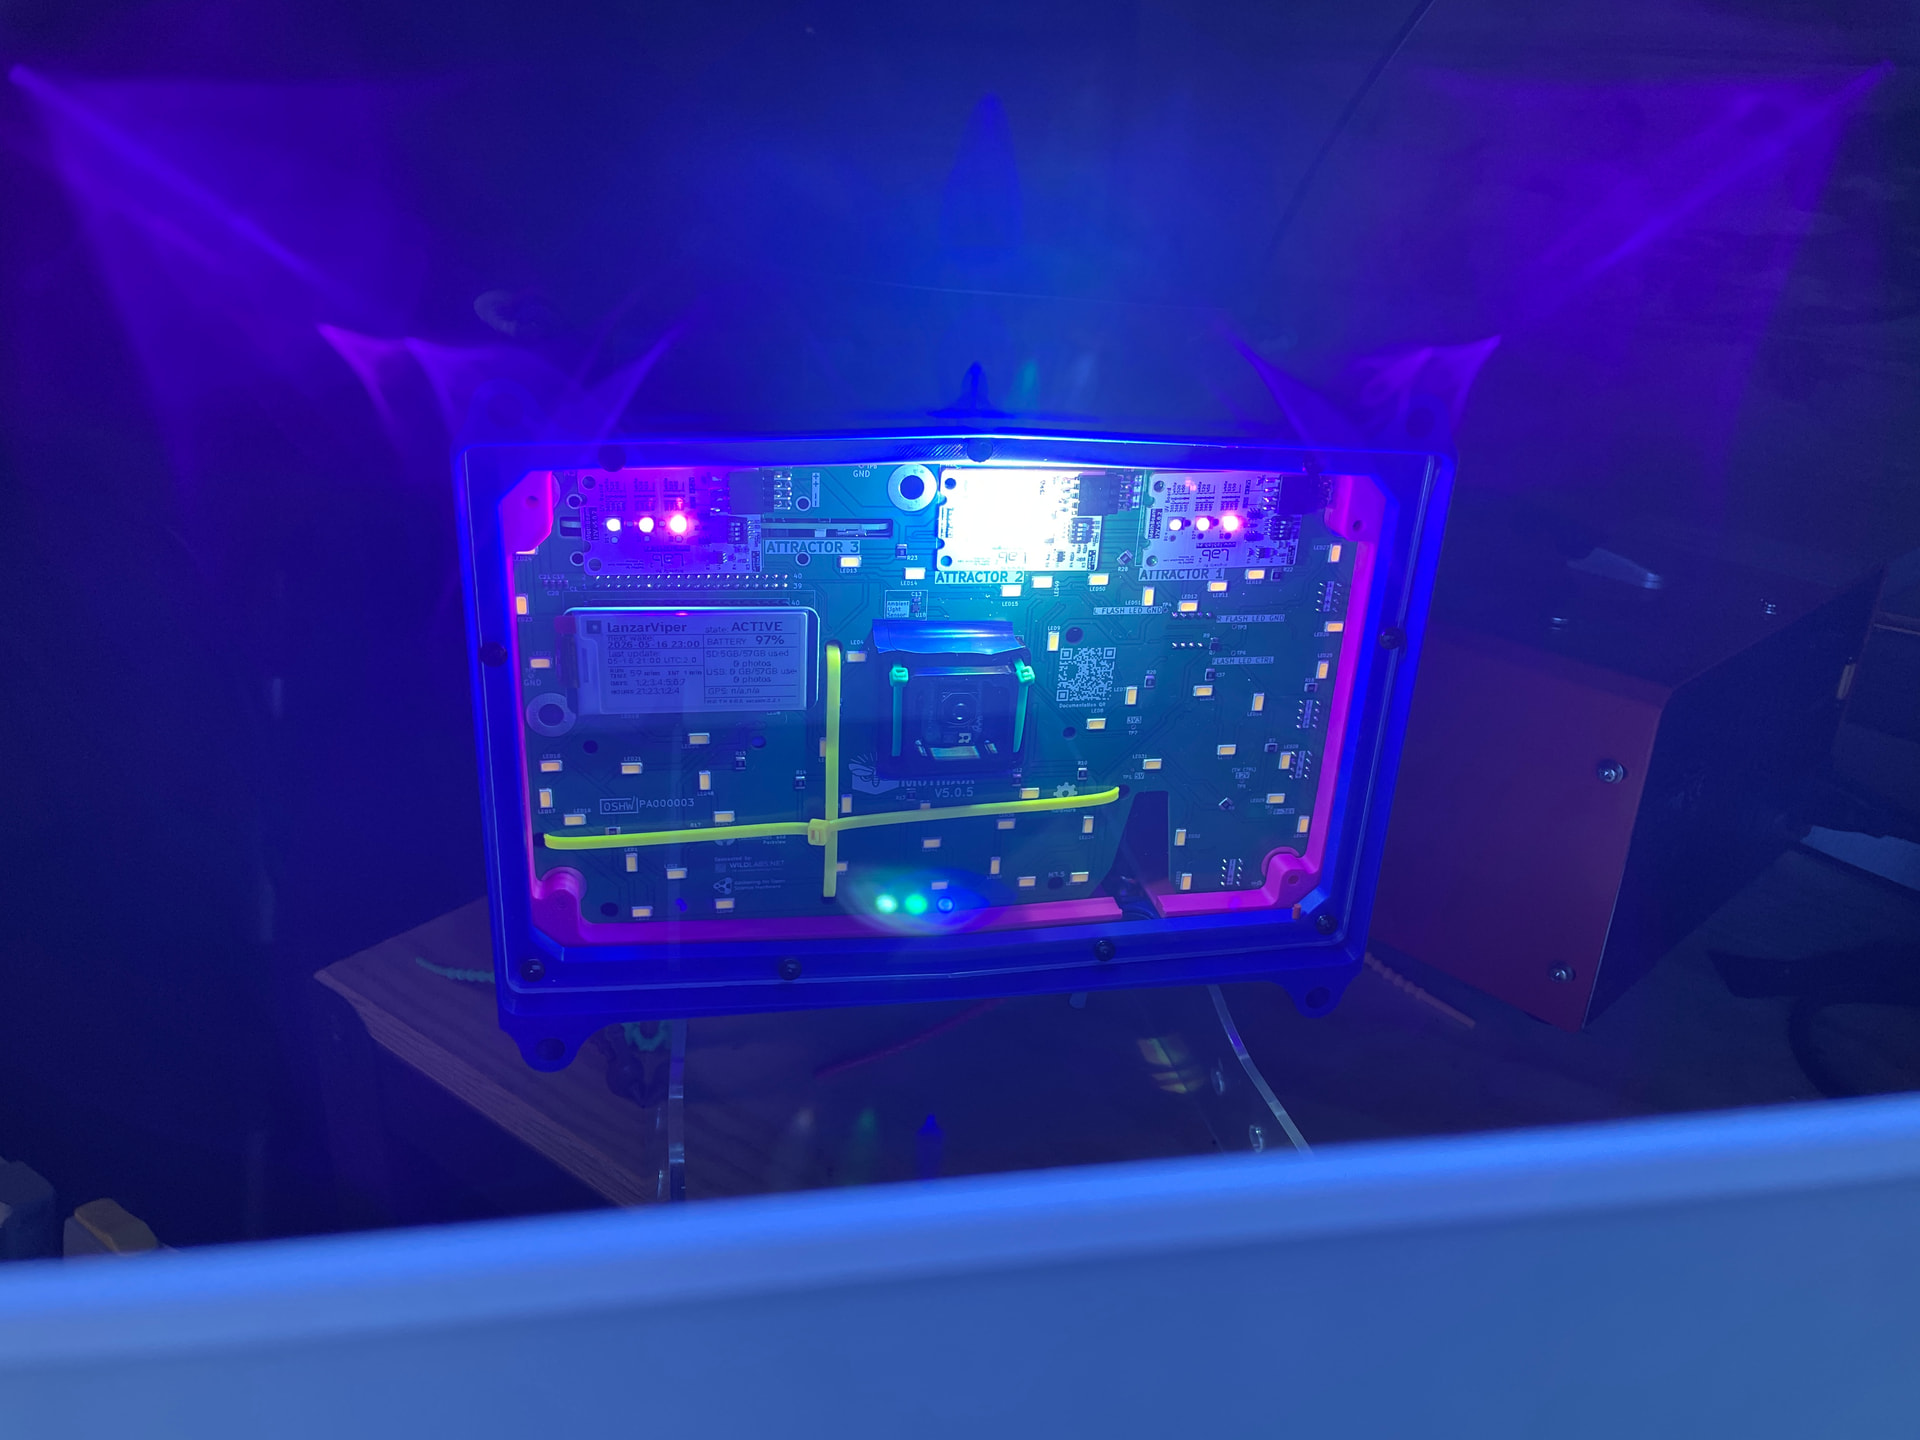
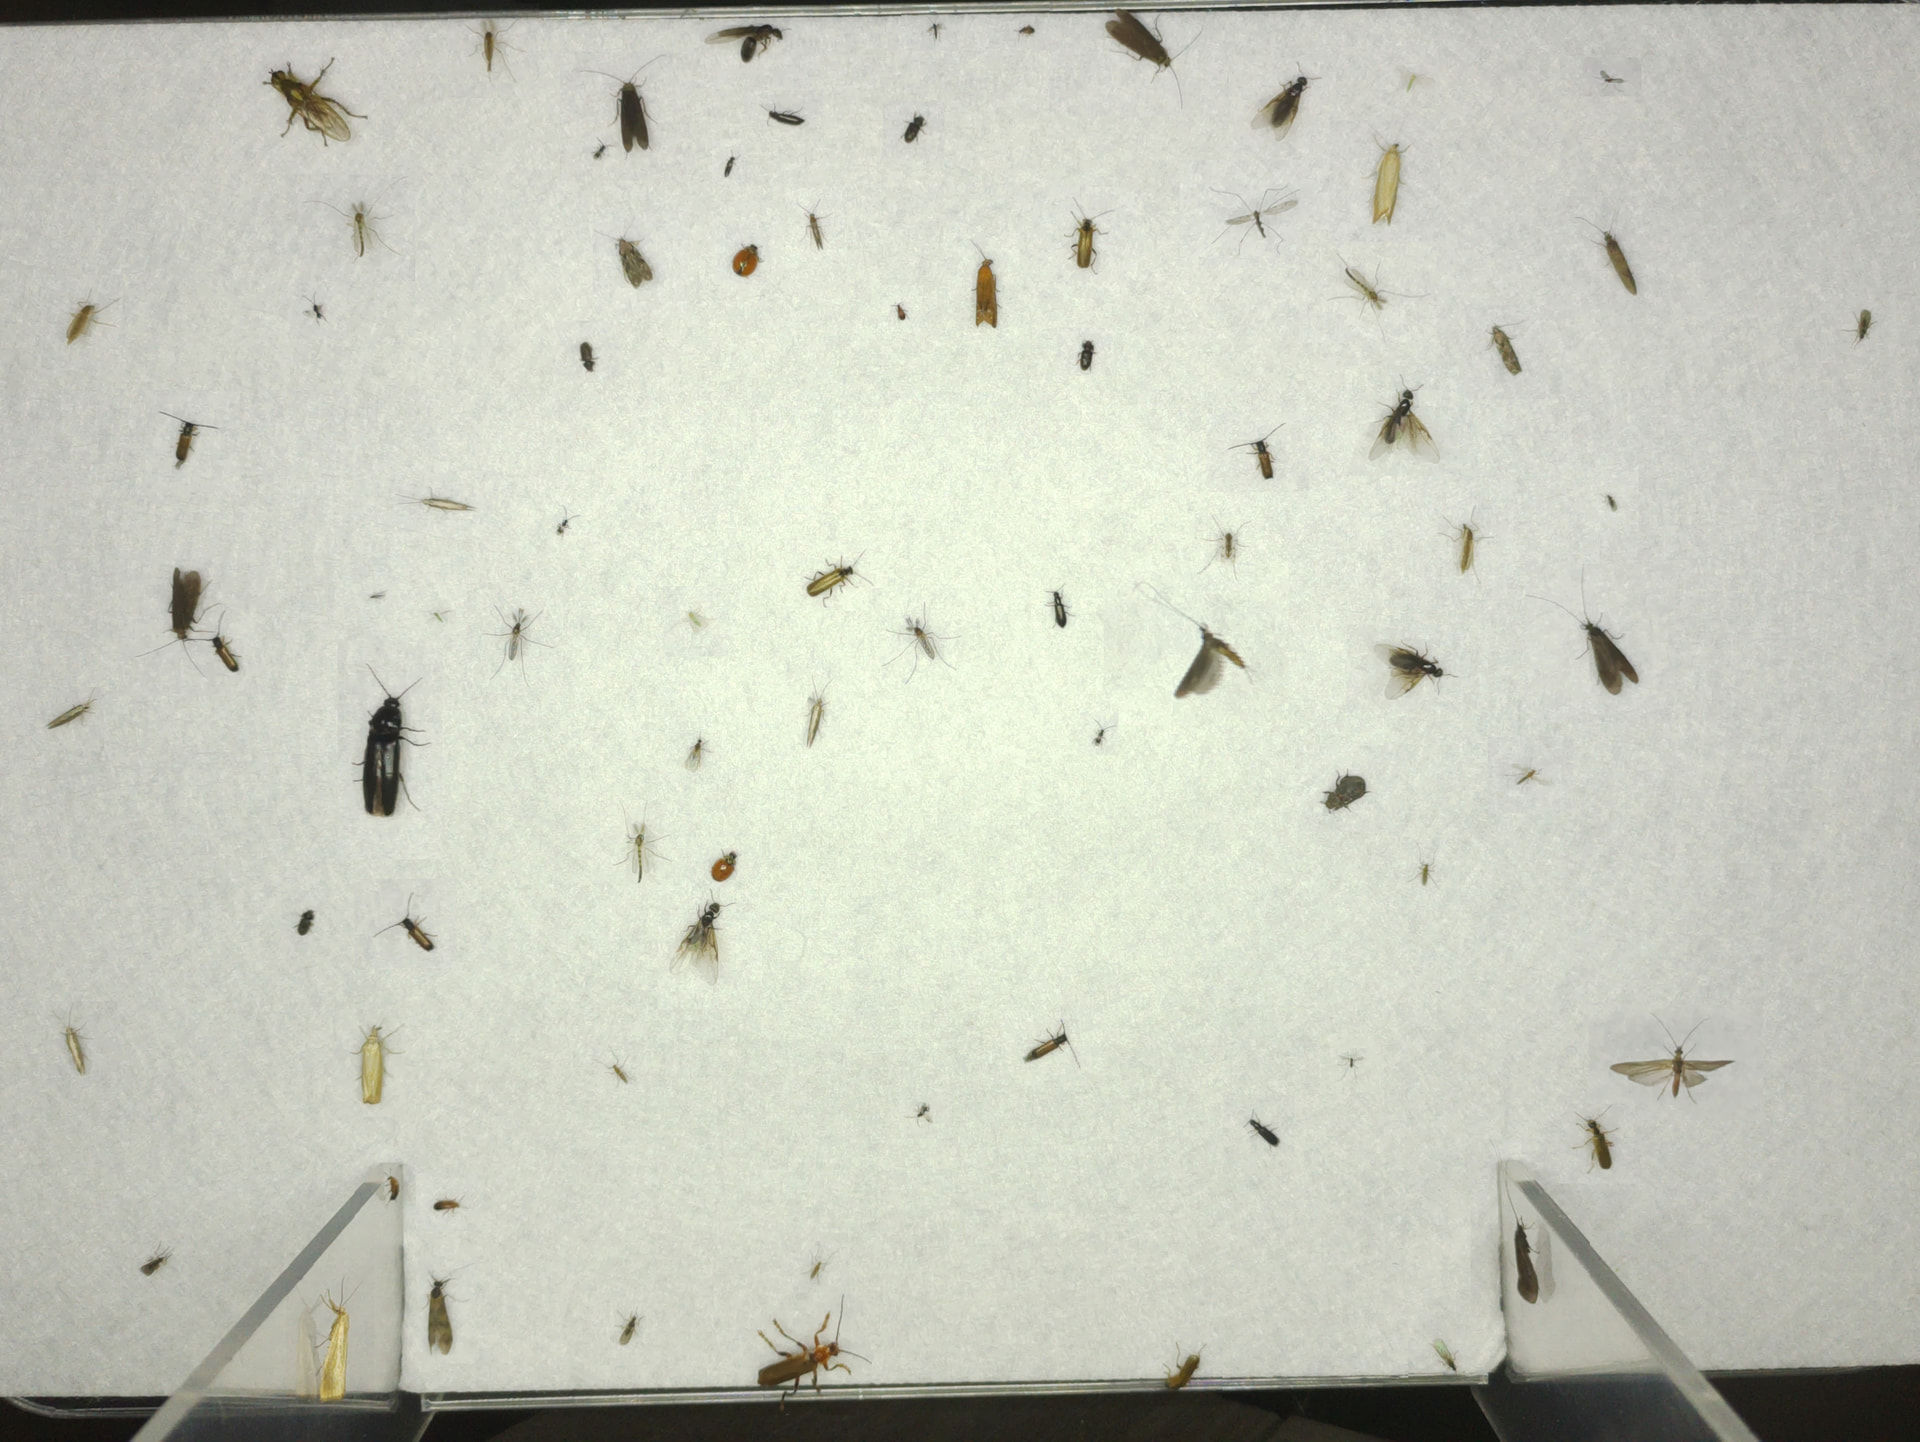
All right, not part of the replication ream, but well, I replicate it here in the Netherlands as well. I did one version with a standard raspberry pi camera v3 and the other one with the arducam 64. Both work ok (I honestly prefer the v3 camera) but weirdly enough the rpi cam needs to be on the camera slot 1 and not the slot 0, which may be reserved.
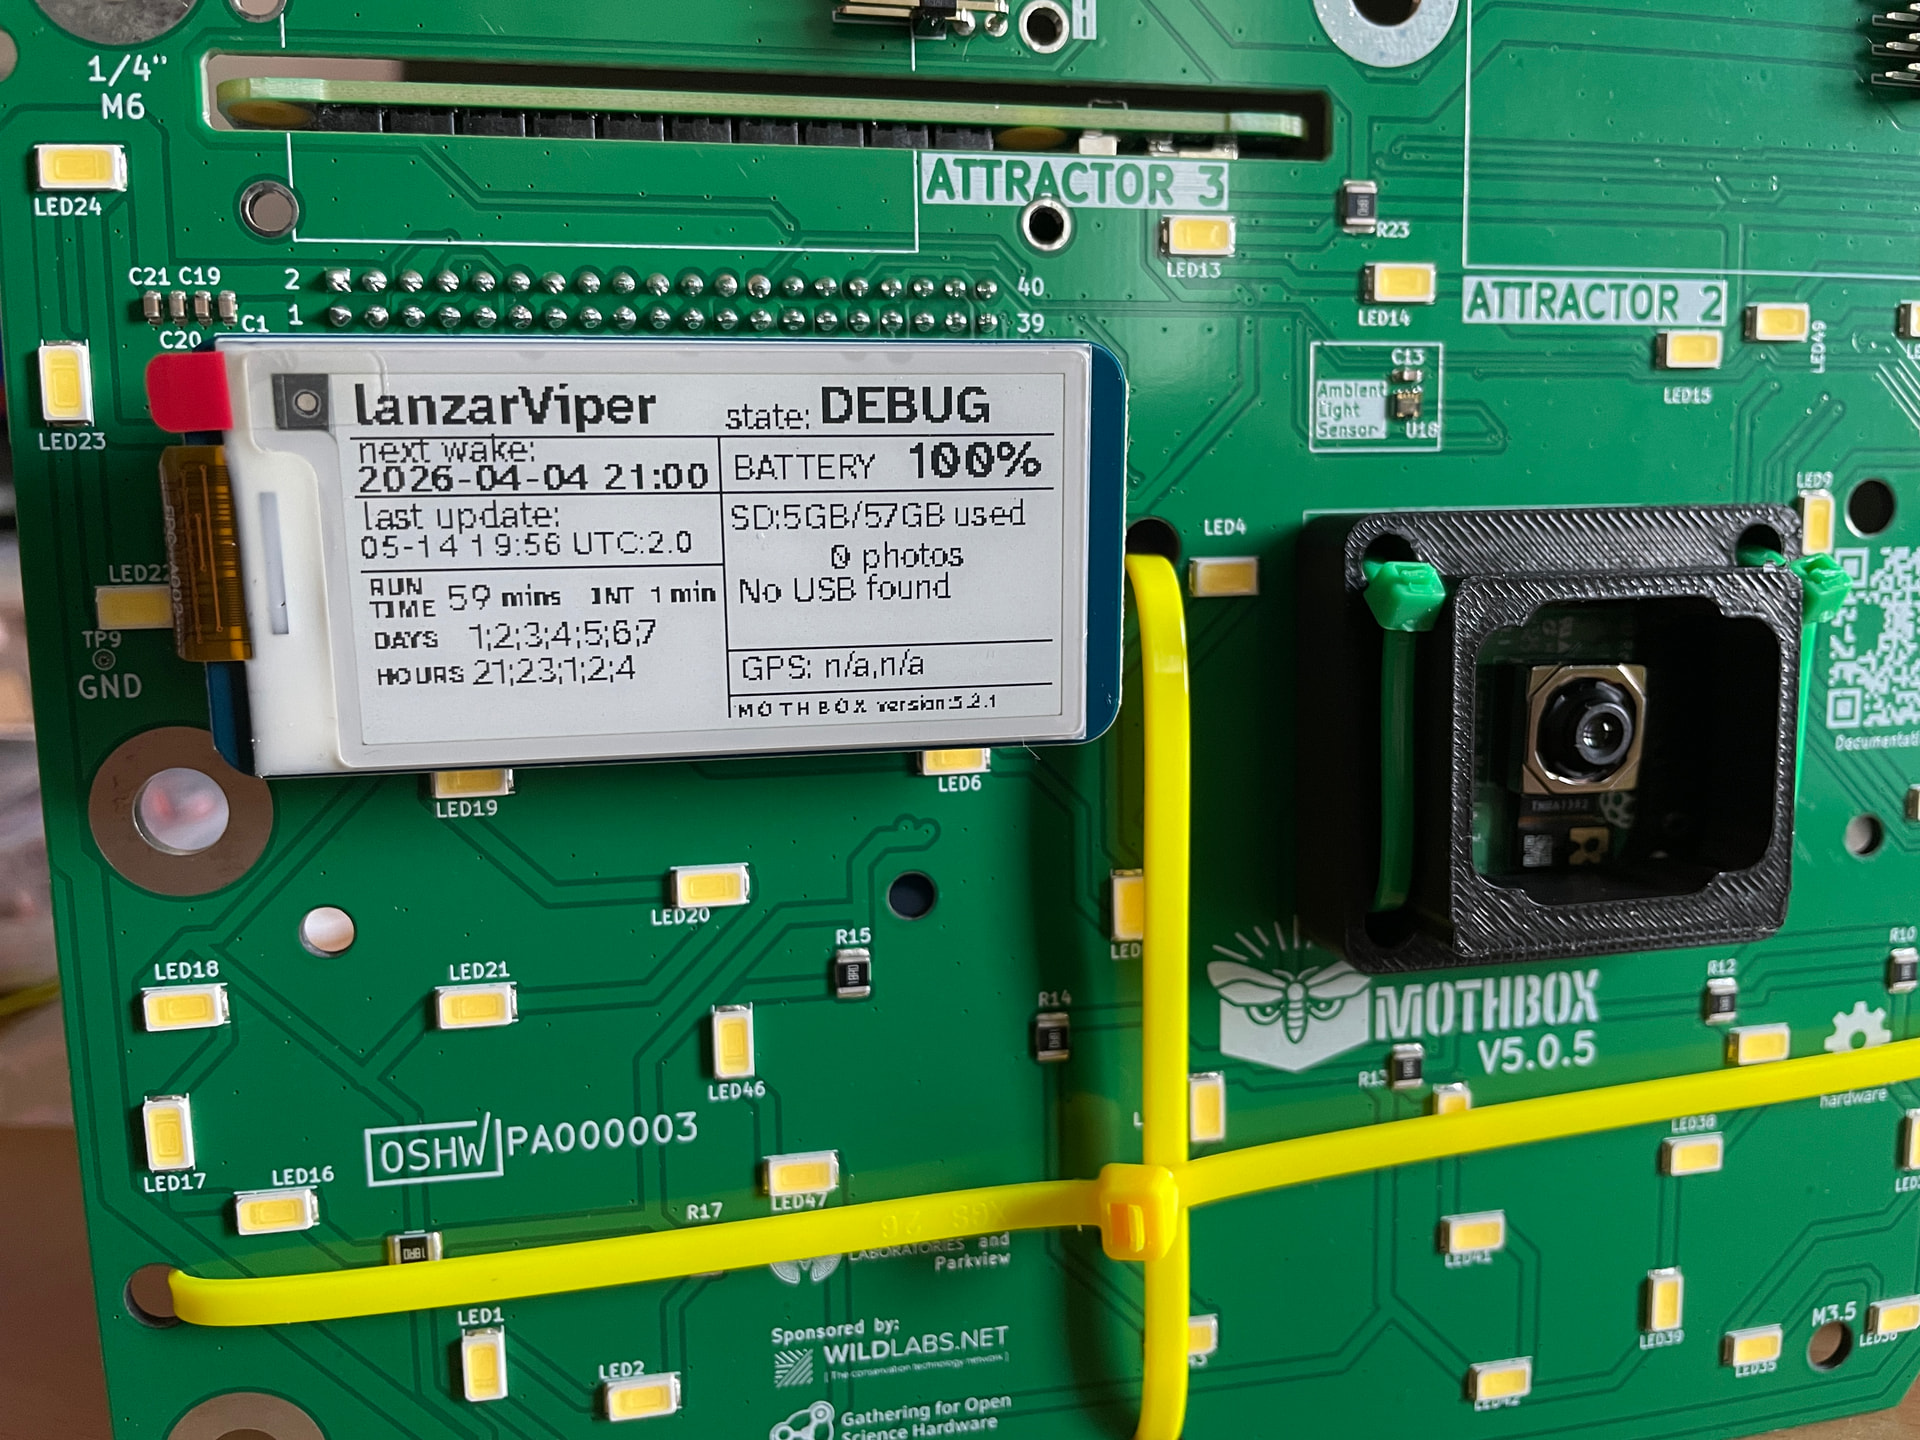
And that was my main problem, a part from the two flashes, there is no way to know if everything works fine, especially with the camera. I had to find the wifi (which is on older instructions but not the newer one (so if someone needs to SSH the wifi is mothboxwifi and the password: lunaluna)) and SSH to check if the camera was working. A better solution maybe would be start a http server and have a webpage to check and setting up everything without the need of picking up the microSD.
In the netherlands I had some problems in finding the battery, so I went for the cheapest version which are the 6 or 9 18650 lithium battery. That was more than enough for a few hours for a couple of days.
For the PCB I had no problem with the mainboard but there were no instructions for the attractors, so I had to improvise and obviously I f*ked up something and the female connector could have not placed in there because of the heat of soldering. I am lazy, so instead of redoing all the ordering, I order them, thinking I could easily hand solder them….. big mistake, those aluminum boards are a pain to solder -_-
I solved that with solder paste and prayers.
last point was the PMMA laser cut parts. I didn’t see anywhere how much the thickness of the plates should be. So I did the only reasonable thing I could do: use whatever was laying around. now that I did already everything I can provably say that the correct thickness is 3mm (as I used 4 and 5mm and two arms cannot fit the target).
software side is little bit more complex, also because it is not well described in the repository.
It works, I like it a lot, I will be using it a lot (I may build 5 of them), but the documentation can be improved (and obviously that’s a lot of time). An amazing project overall 
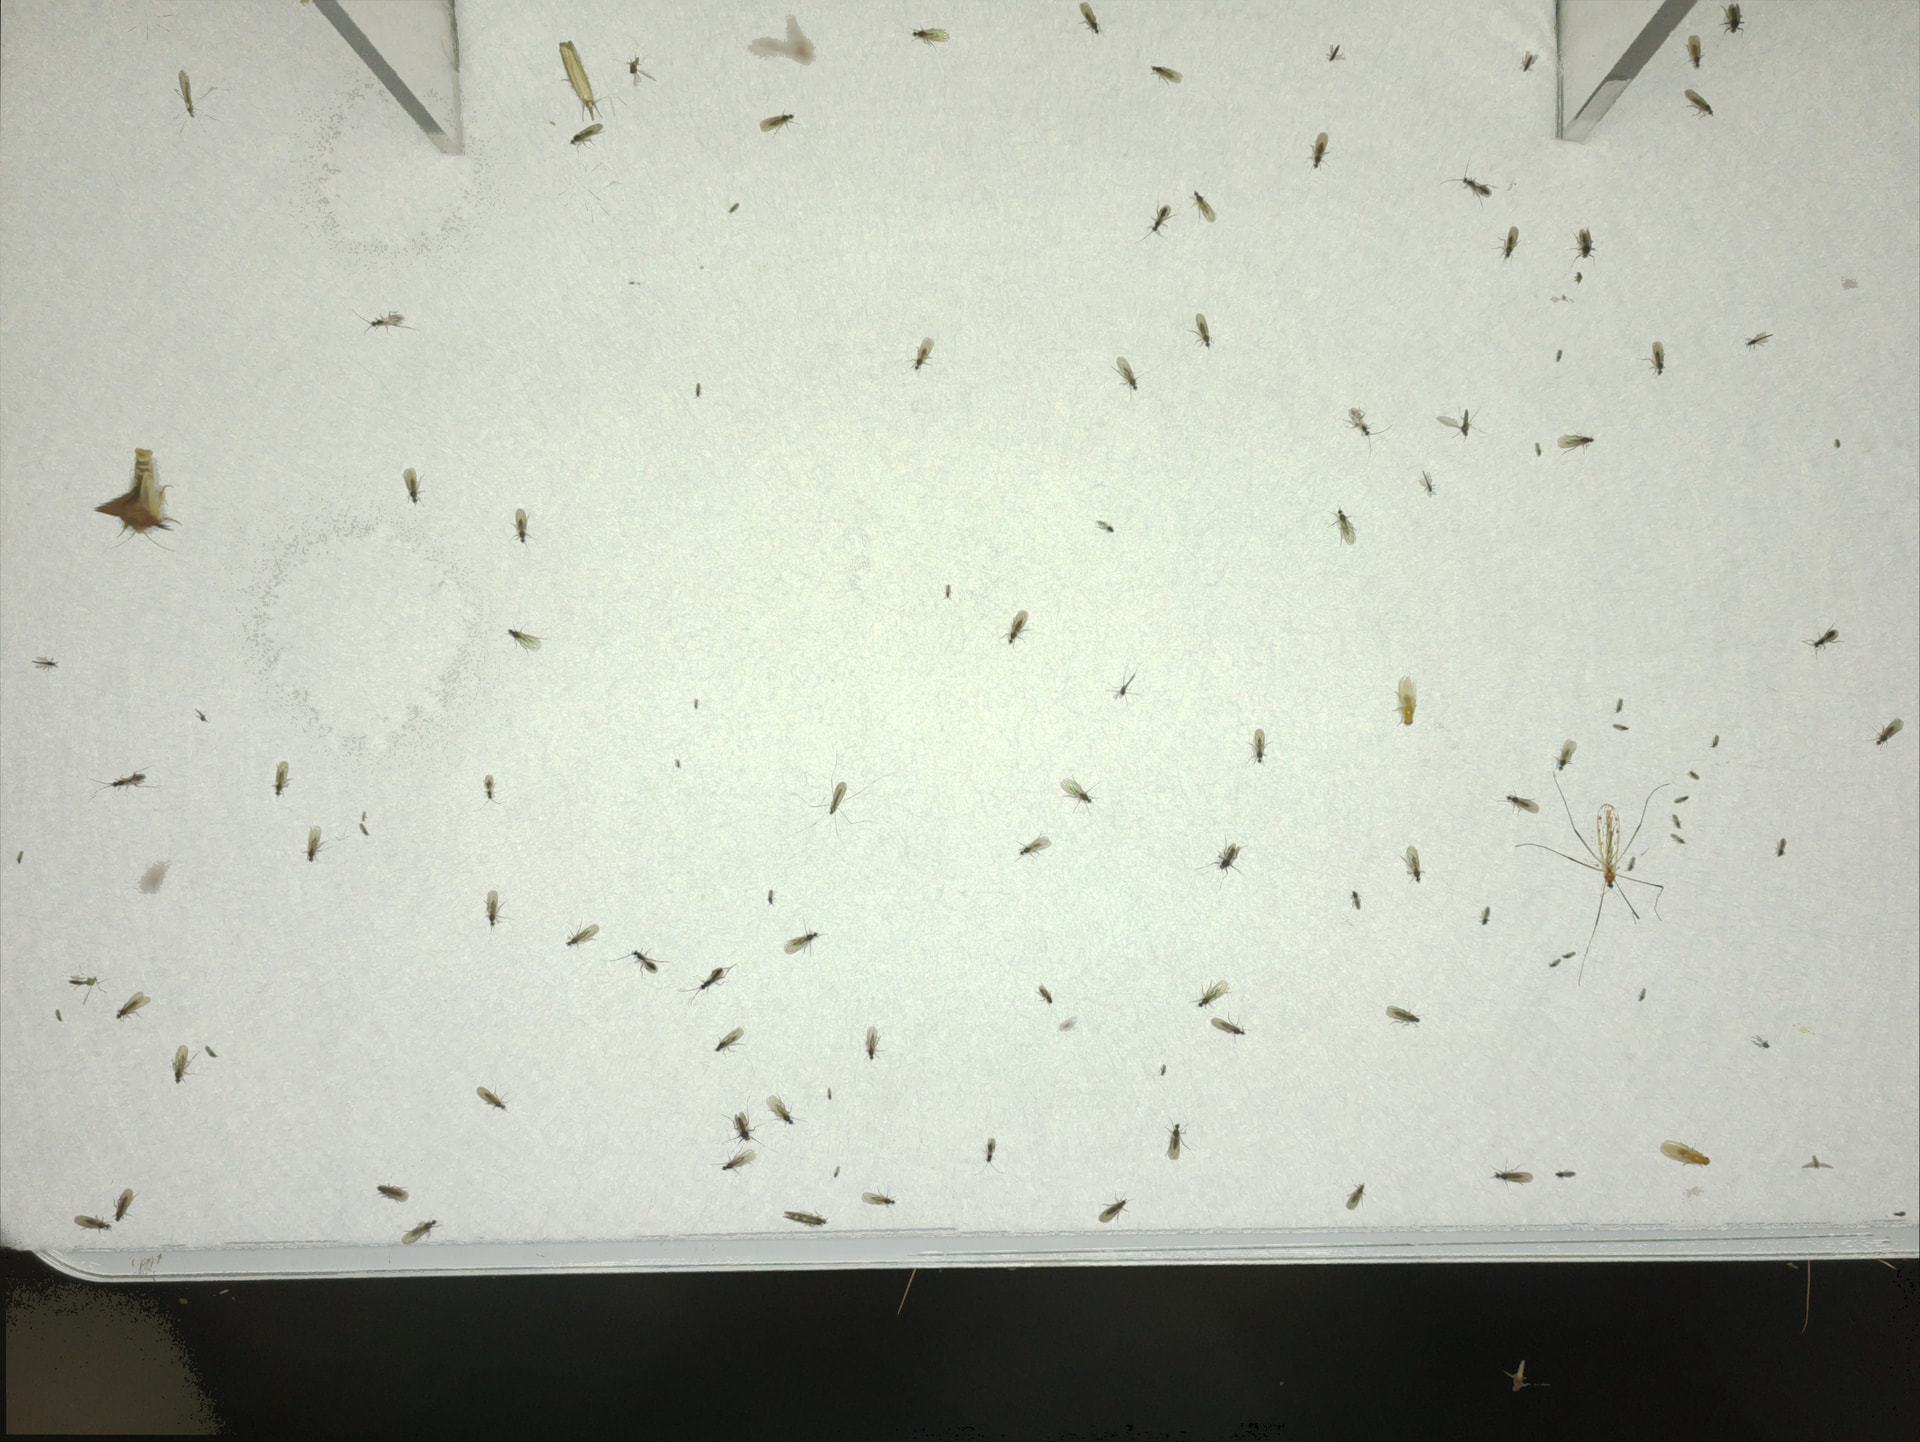
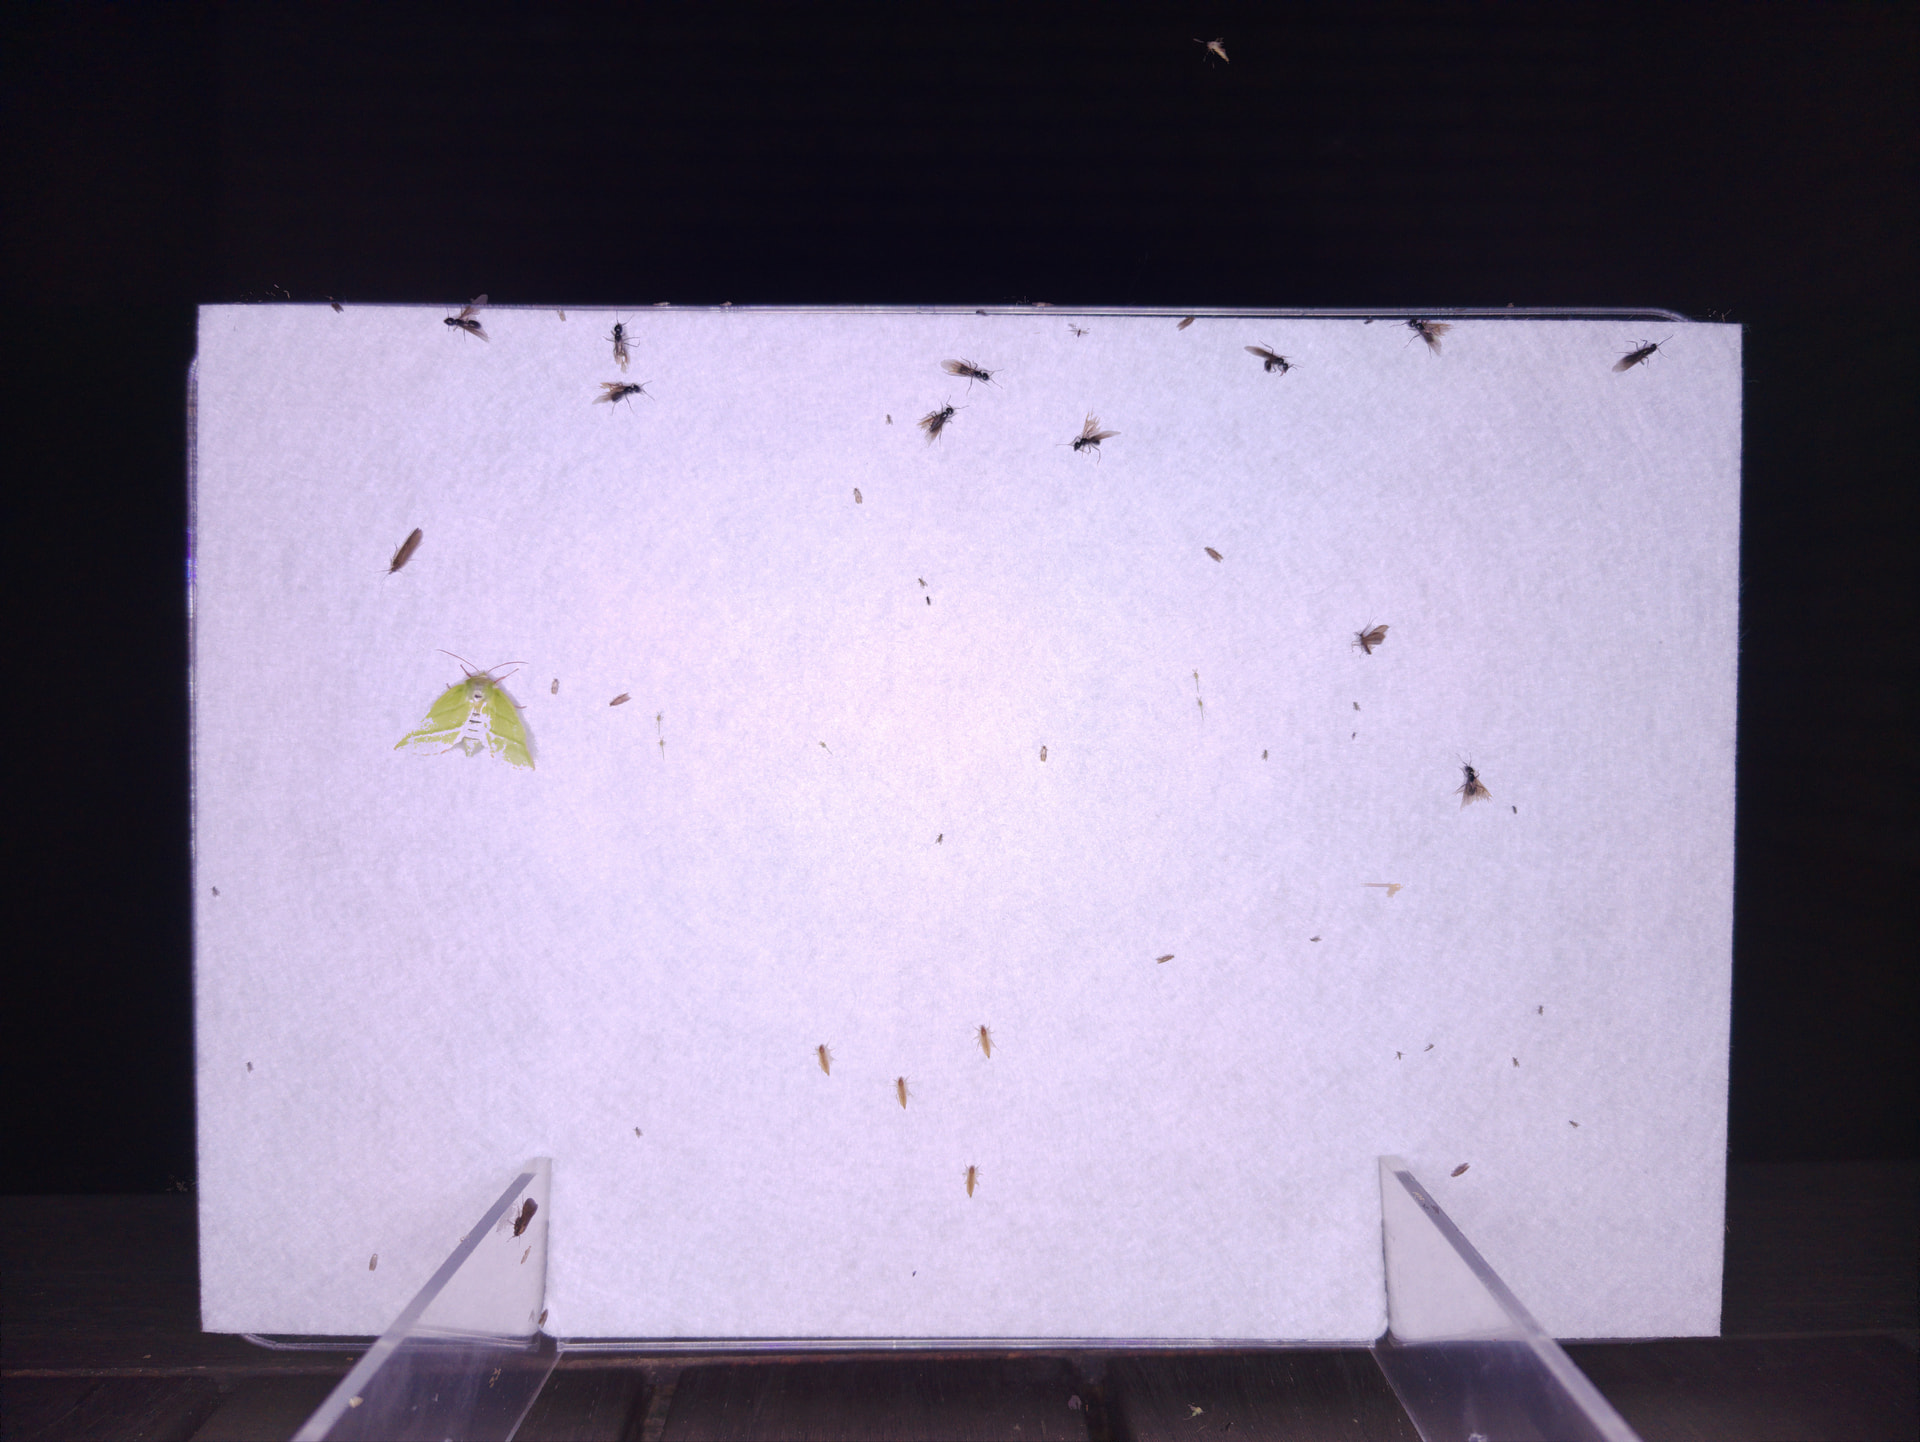
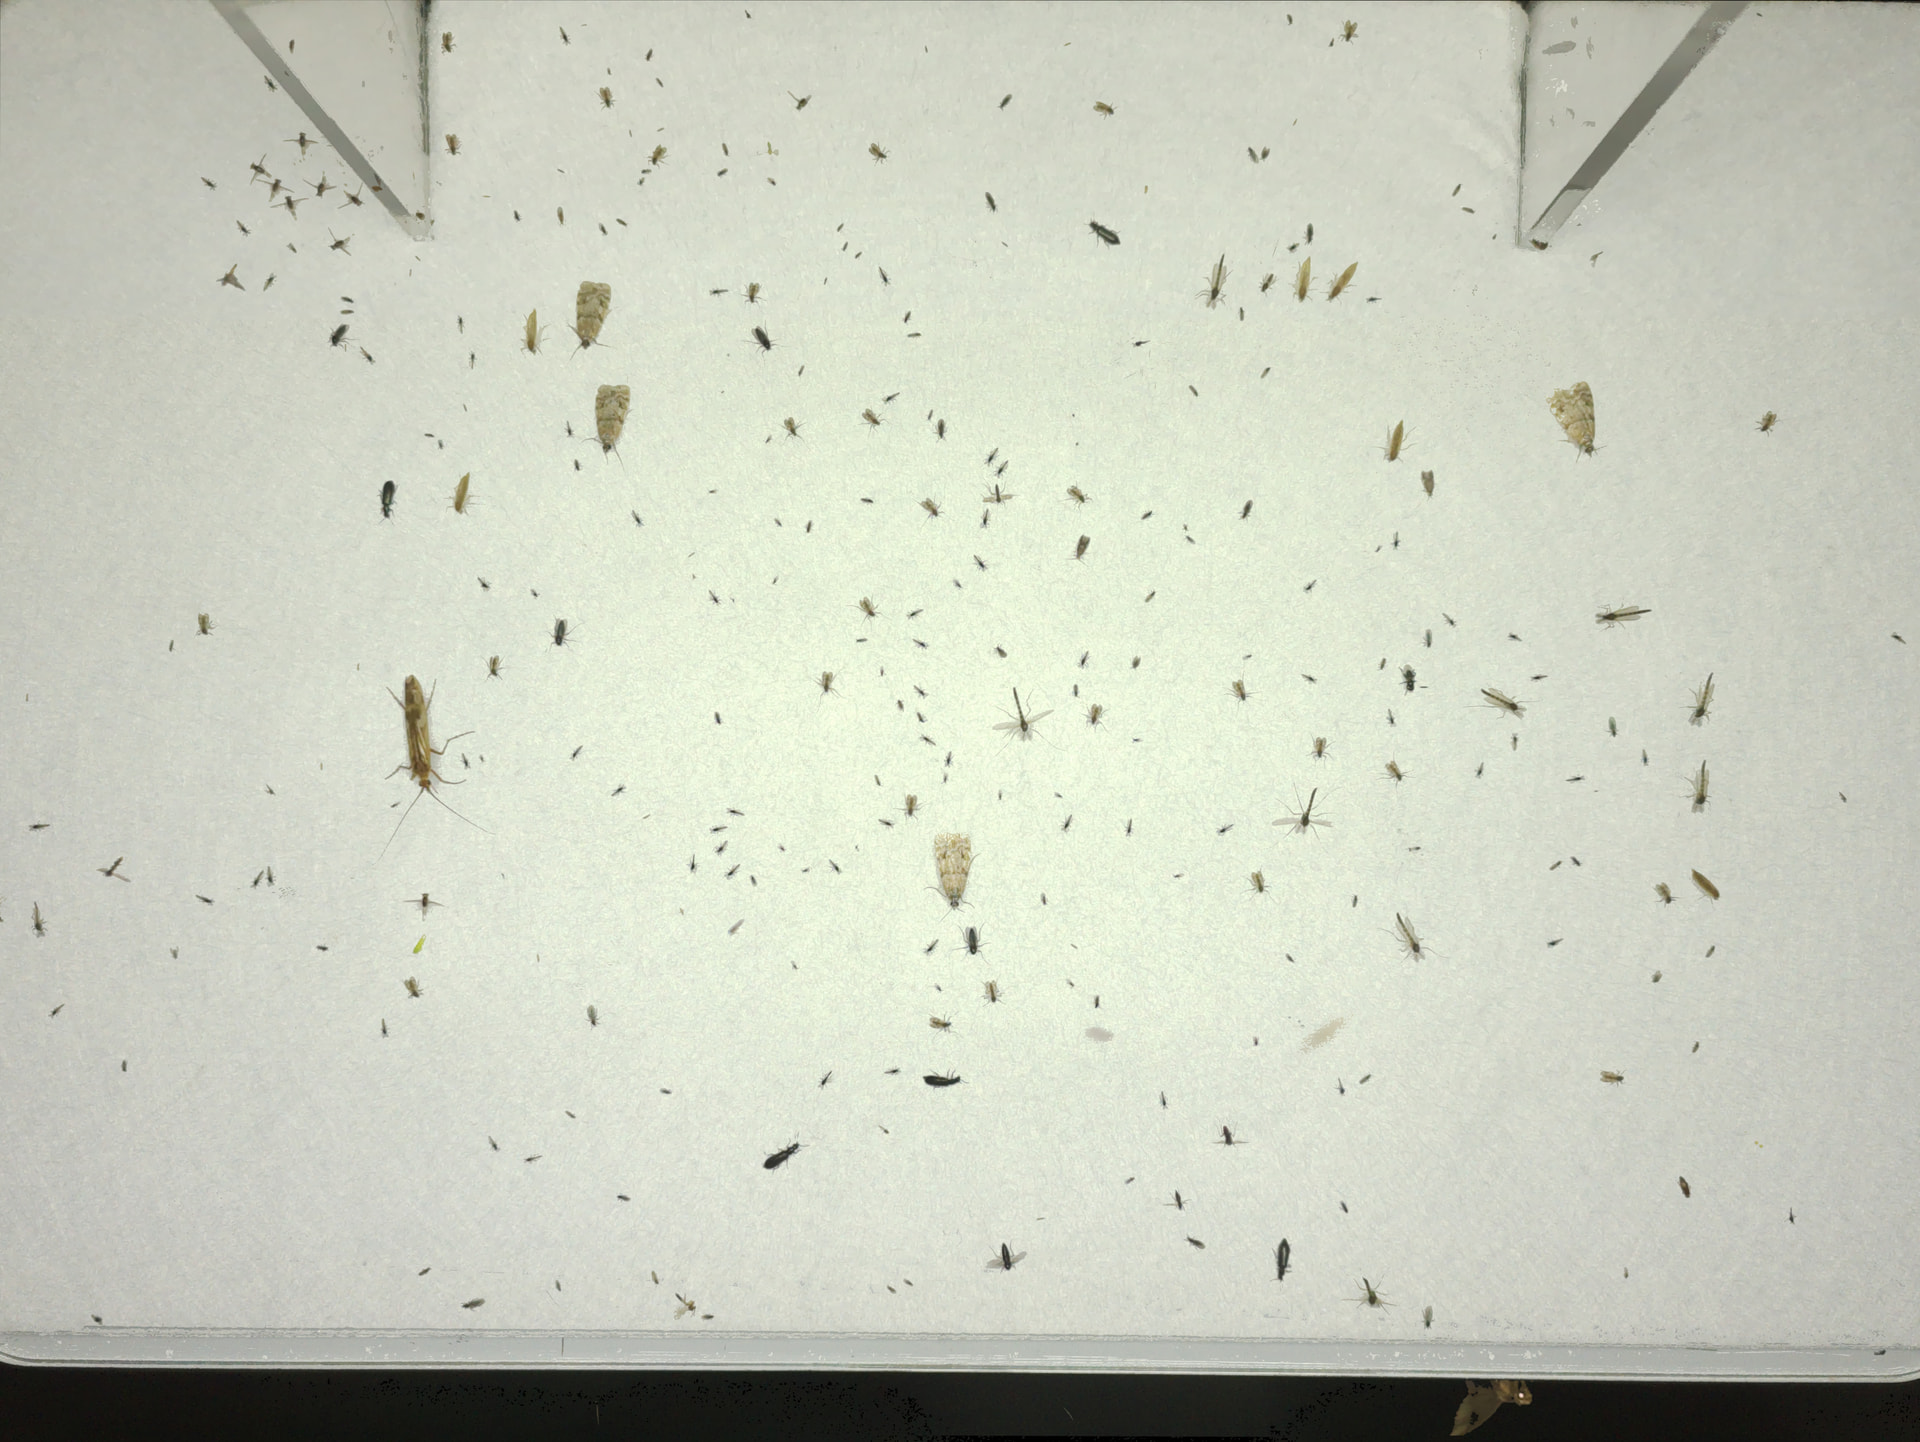
2 Likes
Looks great! Ive been working with the software/ data processing portion myself. I agree it is a little unclear for certain parts. Hoping to make a pull request once I finish debugging some hardware issues and actually find a decent spot to collect some moths!
1 Like
Looks like when I connected my RTC battery post assembly, I managed to dislodge a portion of the camera connection. Hopefully It should work now.
1 Like
Image Storing Issue
Ever since I detacted my raspberry pi from the PCB to reconnect the camera and RTC battery, I have been having some struggles with getting photos to save onto the flash drive.
Once I collect my box and bring it inside, I turn off the battery and begin charging. I then transfer the photos I collected to my laptop and remove them from the flash drive to free up storage.
On the last few collections, the mothbox has not been saving the new photos and has just been repopulating the drive with the photos I deleted. My display shows that the SD card contains 561 photos. I am assuming that these are the photos my box is taking, but I cant seem to find them when I look through the SD card.
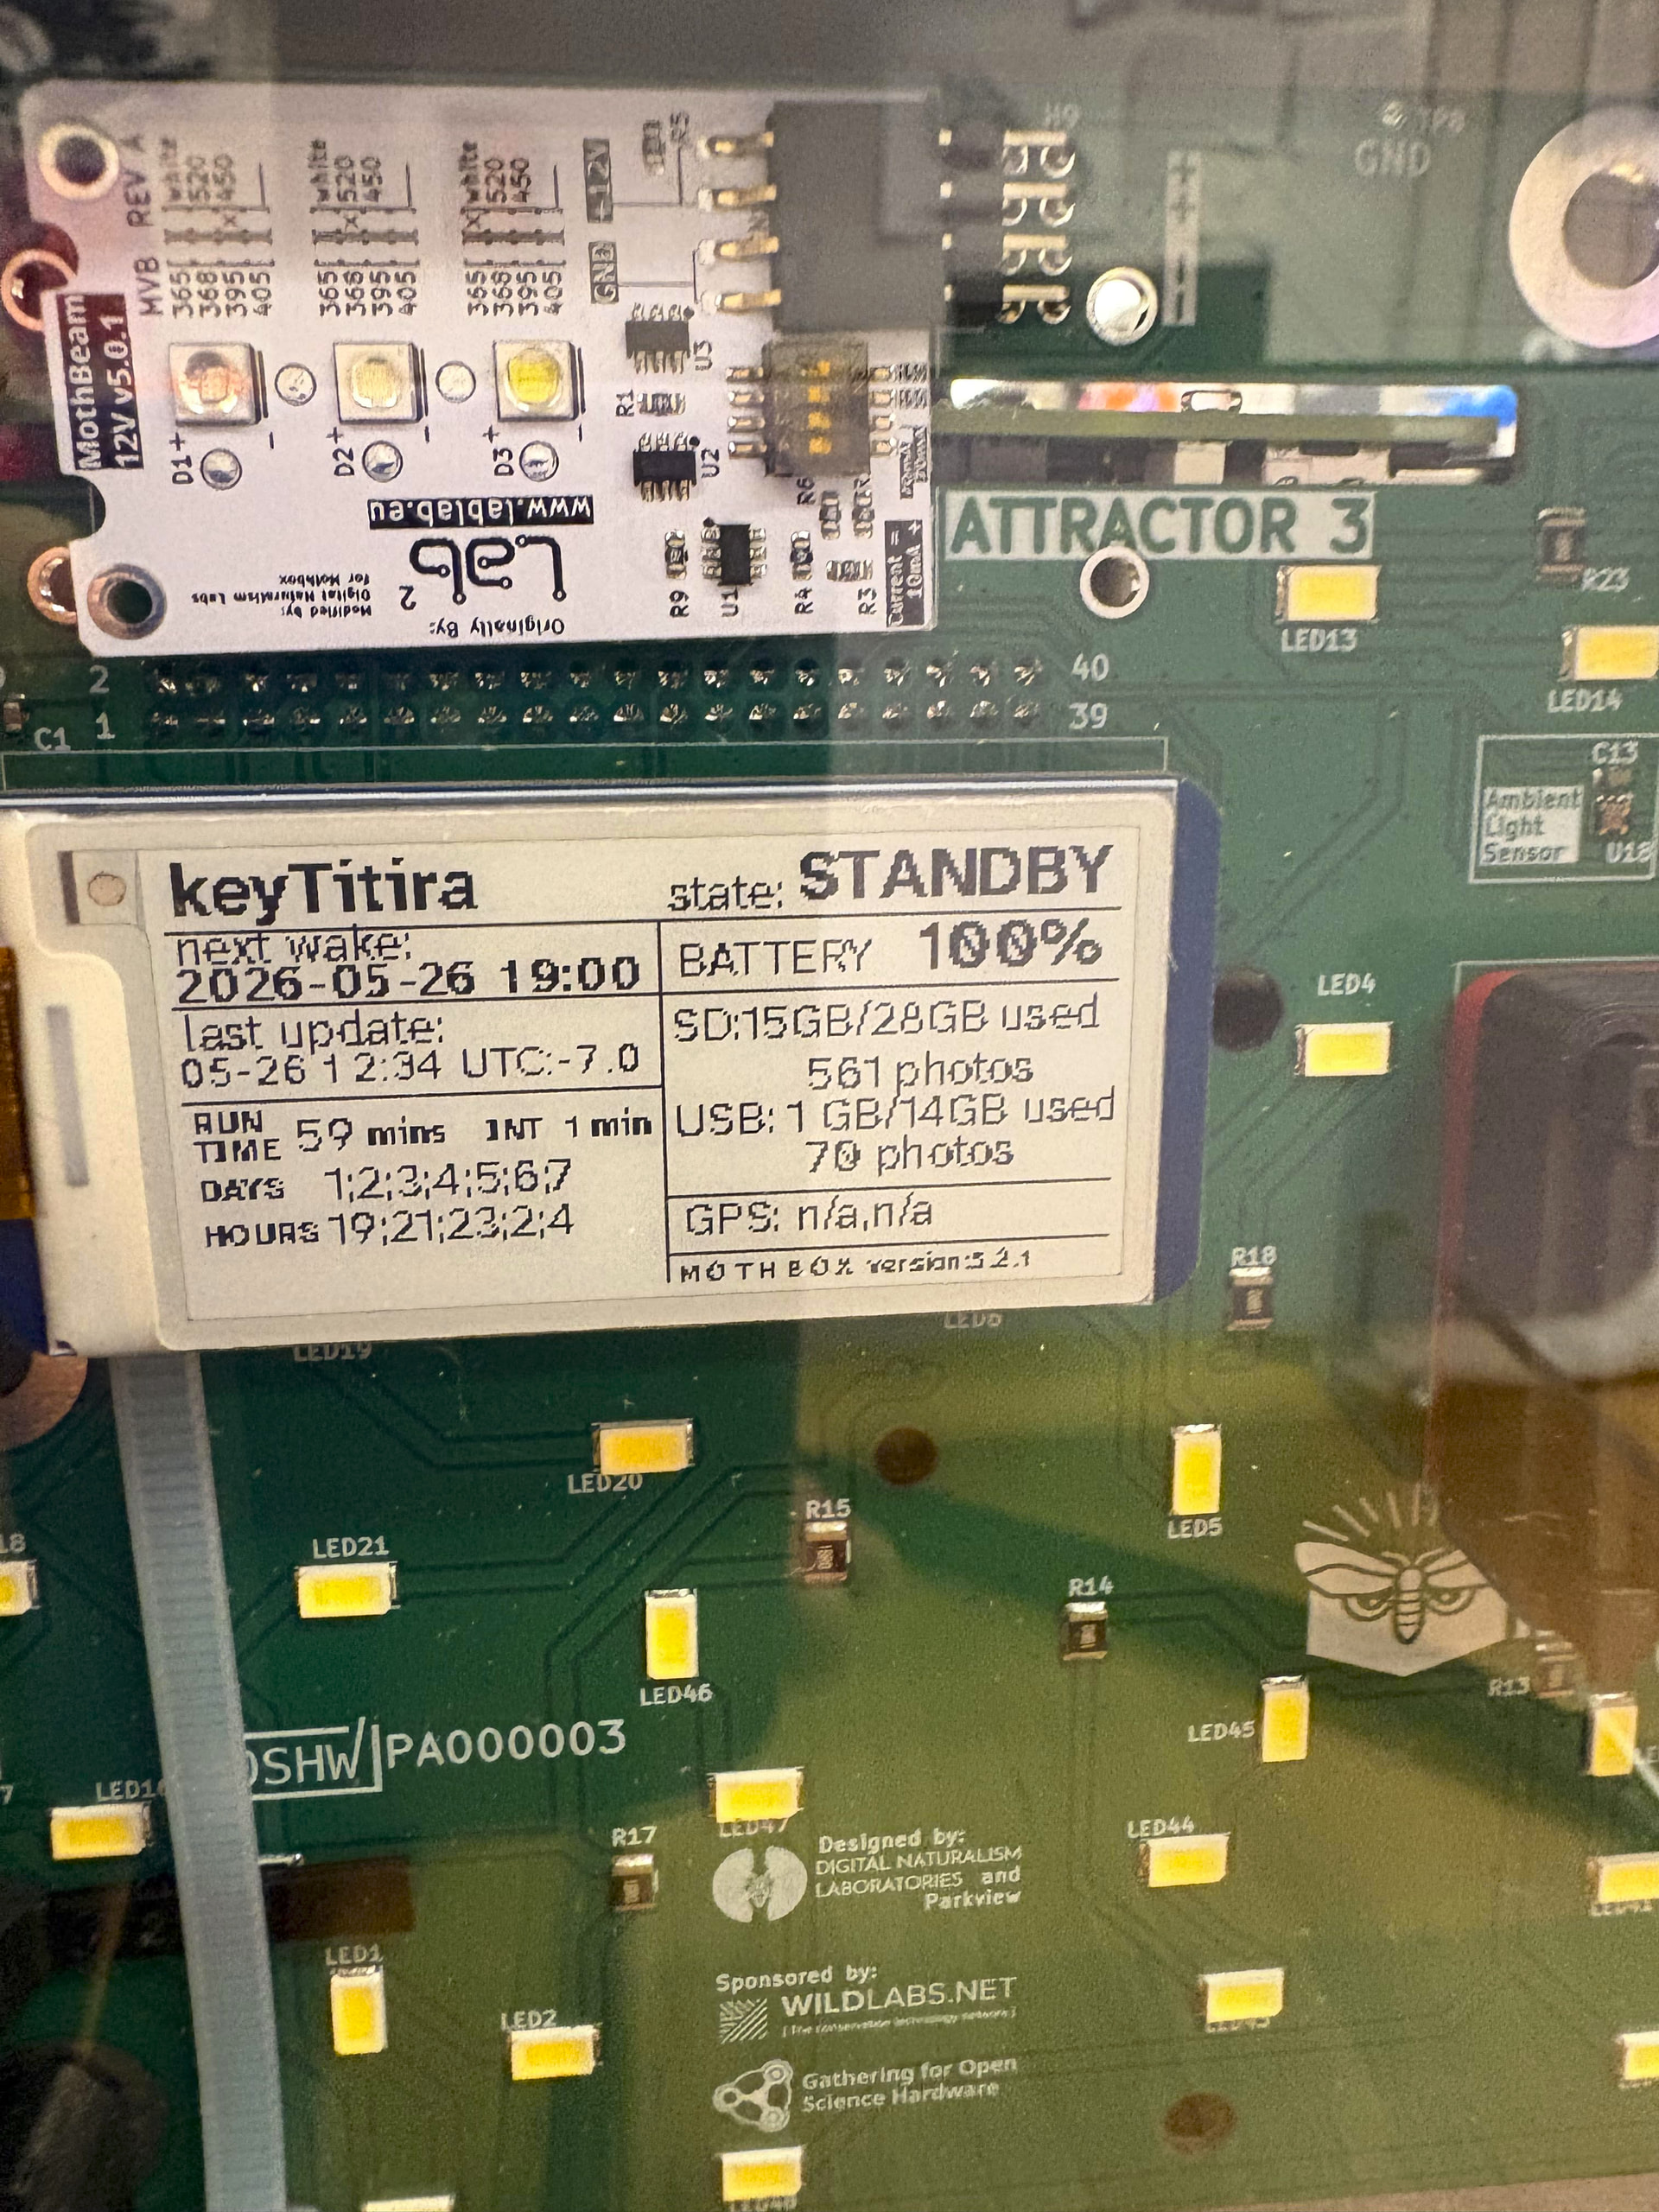
Ive tested/ observed the lights and camera working on schedule so I know it is taking photos.
Right before this started occurring, there was a night that the flashdrive was not fully plugged in and did not save any photos. Not sure if this was the start of this issue.
I am planning on rewriting the SD card and putting it back out tonight.
1 Like
Image processing
I set up my box to run over the weekend on a pillar outside of my lab over the weekend. Finally captured some photos of some moths and started using the Mothbot program to process the images!
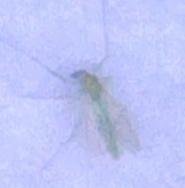
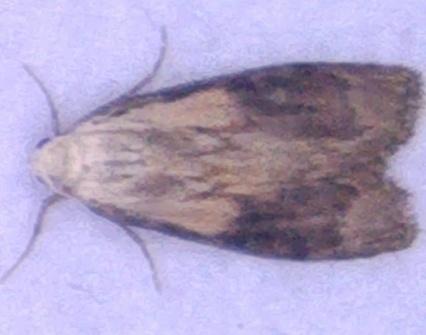
The process is only semi documented on the Mothbox page, So I had to do some digging to find the correct files to use.
I had filled out the metadata sheet google form but did not have access to open the cvs needed for processing. I ended up copying the metadata csv from the the example mothbot-classify repo and changed it to match my experiment.
This is also where I found a species list for the United States.
I used the trained YOLO model found in the Mothbot_Process repo.
I had been running the default time schedule of 19:00-04:00 but because the days are getting much longer here in Seattle, the 19:00 photos were taken when it was still a bit light outside. This cause the Mothbot to create patches out of the background of some photos.
It also would sometimes create patches from where the arms attached to the target
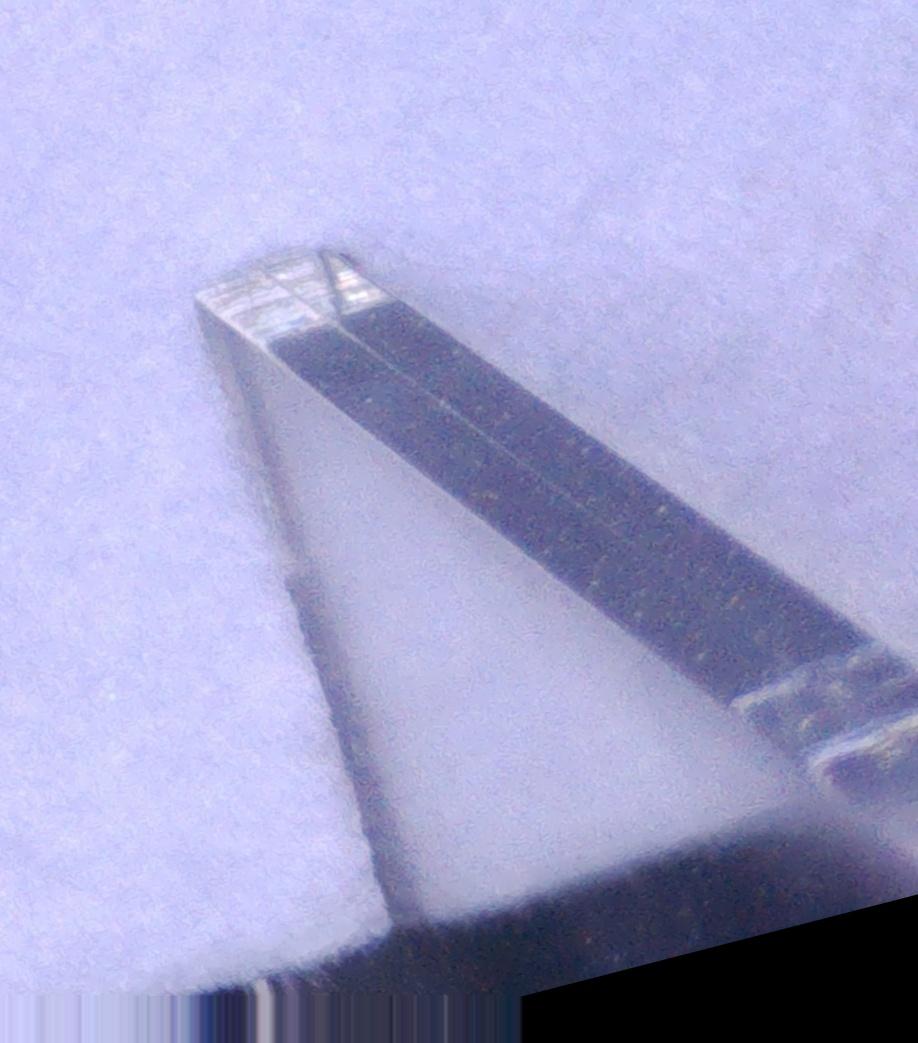
Despite some of these “incorrect” patches, the software did create patches of every moth/bug that I was able to capture over the weekend!
I am starting to play around with the classification process and will update soon!
1 Like
sometimes corrupt images happen from USB drives that are too slow/wonky. We found a brand of USB thumb drives we have been using and they have been great and got rid of that problem for us. (you can check and see that often times the backup images saved to the SD card are still and not corrupt, then you know it was the USB, not the camera)
1 Like
I was able to go through the classification process after a conversion with Andy! It sounds like the documentation and the process as a whole is still getting perfected but here is what I was able to do.
After processing my images using the Mothbot program, my original folder named “keyTitira_2026-05-26” that held all of my photos from that deployment now contained a .json for each photo and a new folder called “patches” that contained all of the cropped photos of my moths/bugs.
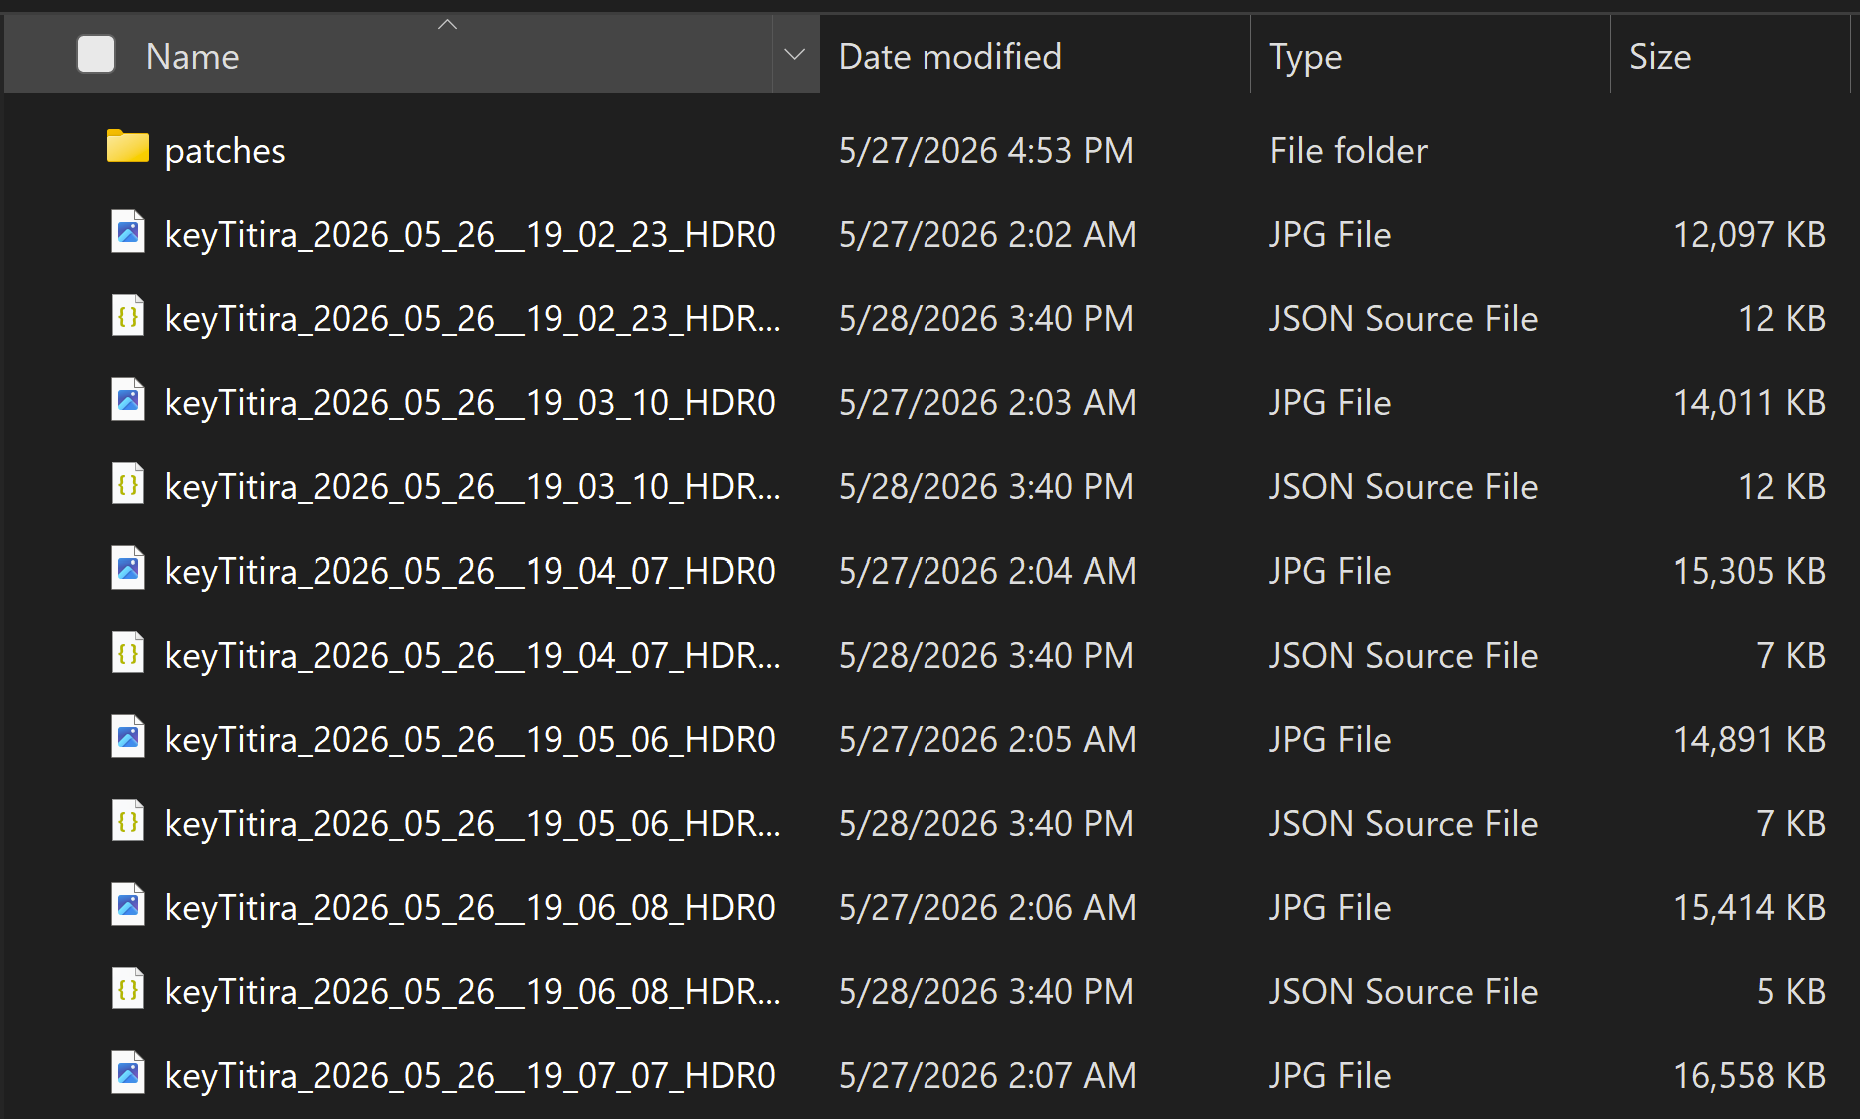
The next step was to use the Mothbot classify program that runs in your browser.
Before running the program, I had to reorganize my files and include a species list. I made a new folder on my desktop called “Mothbox data”. This contained a folder for my processed photos named “Sieg Hall” (the location of my mothbox), and a folder for my species list named “Species”. It is important that the species folder is named “Species” or the program will not load the species list.
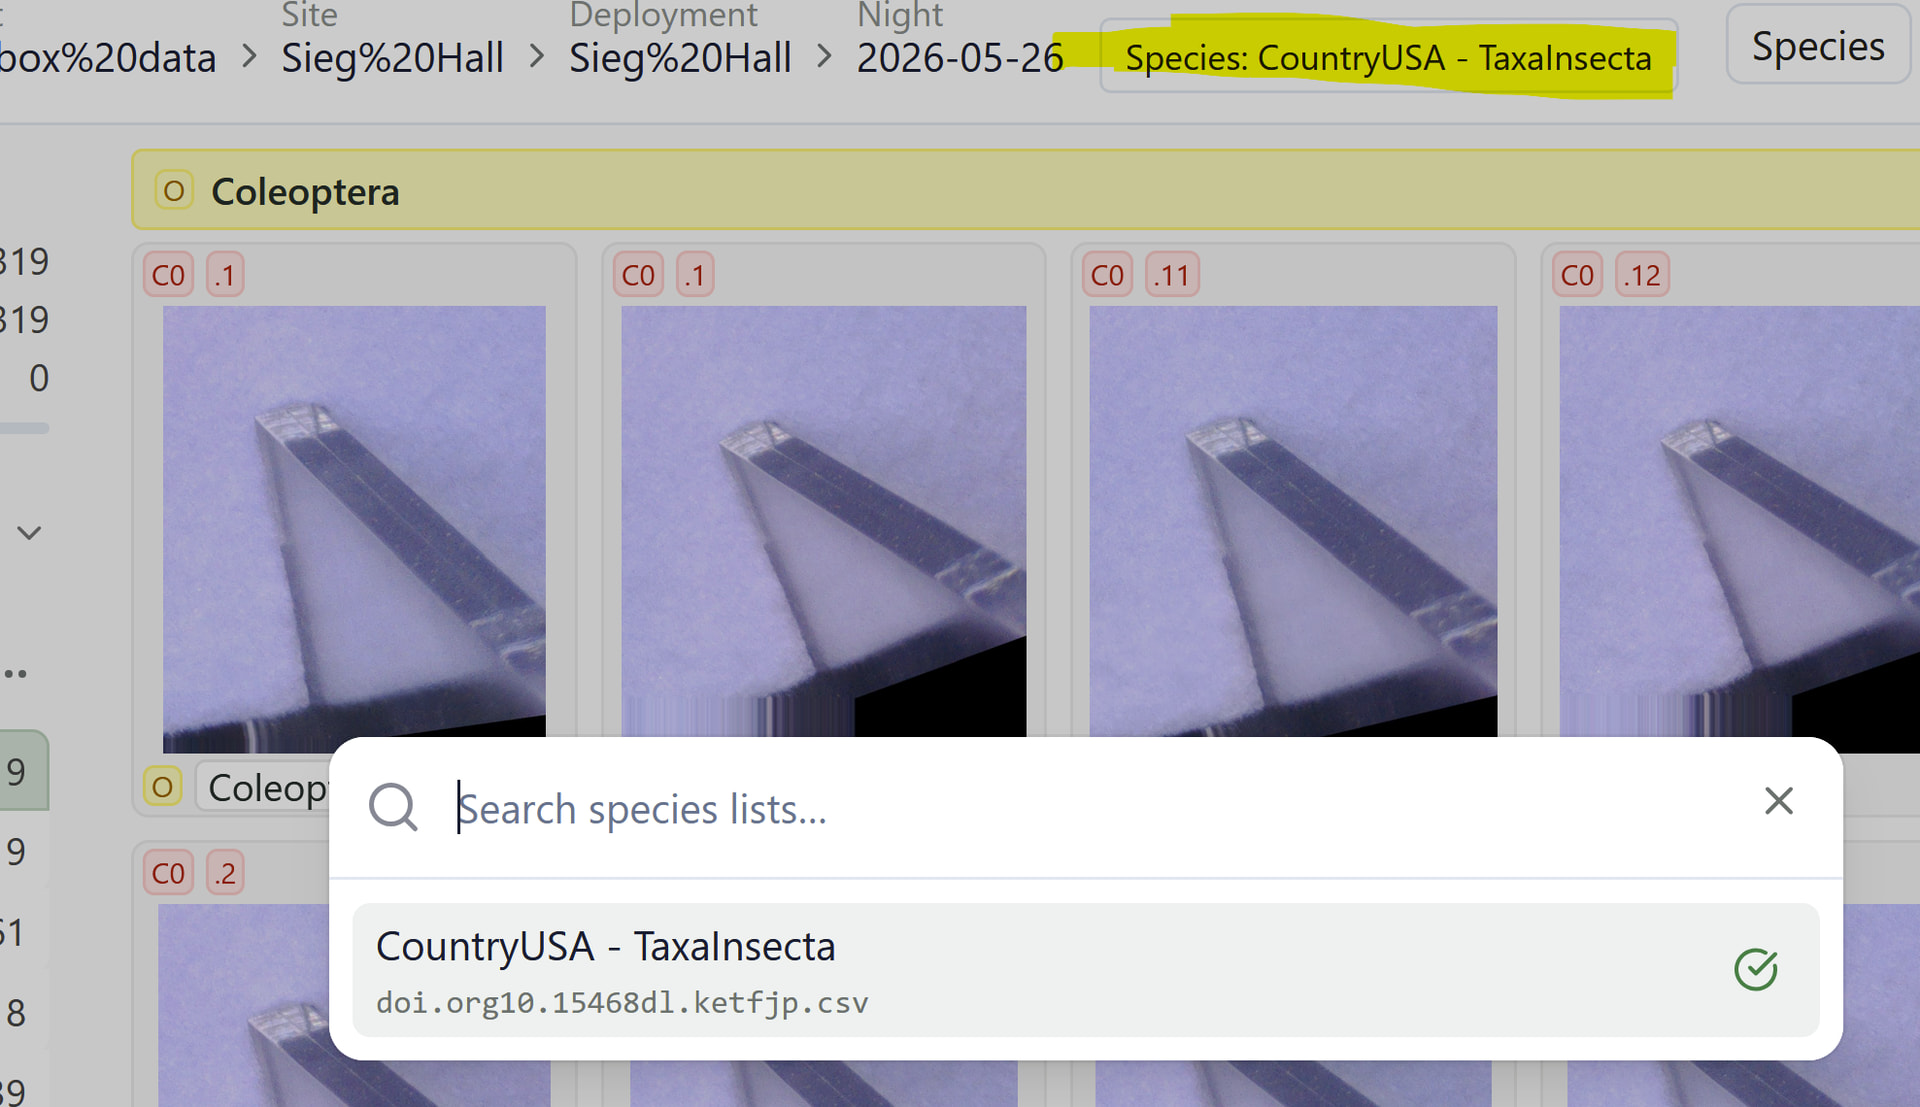
Inside the Sieg Hall folder is the keyTitira_2026-05-26 folder containing my processed photos. In order for the program to work, I had to rename “keyTitira_2026-05-26” to only include the date “2026-05-26”.
Inside the Species folder is the species list (csv) that I used in the processing step.
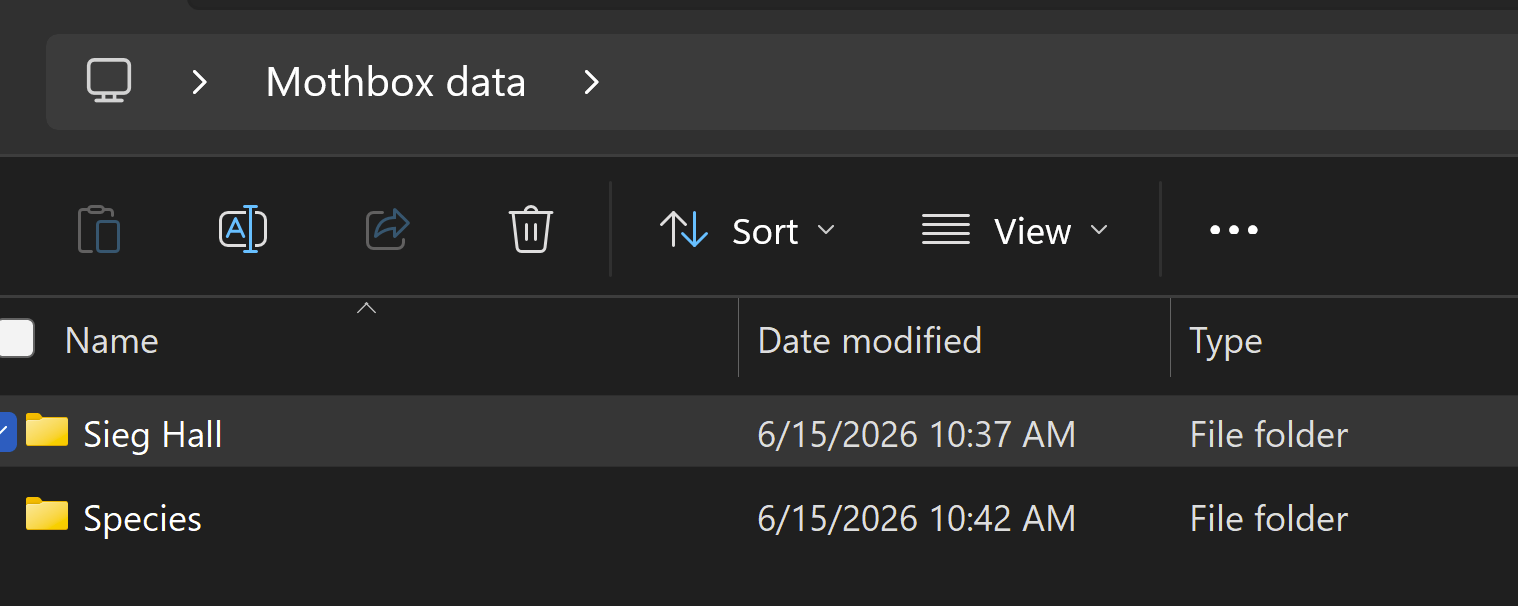
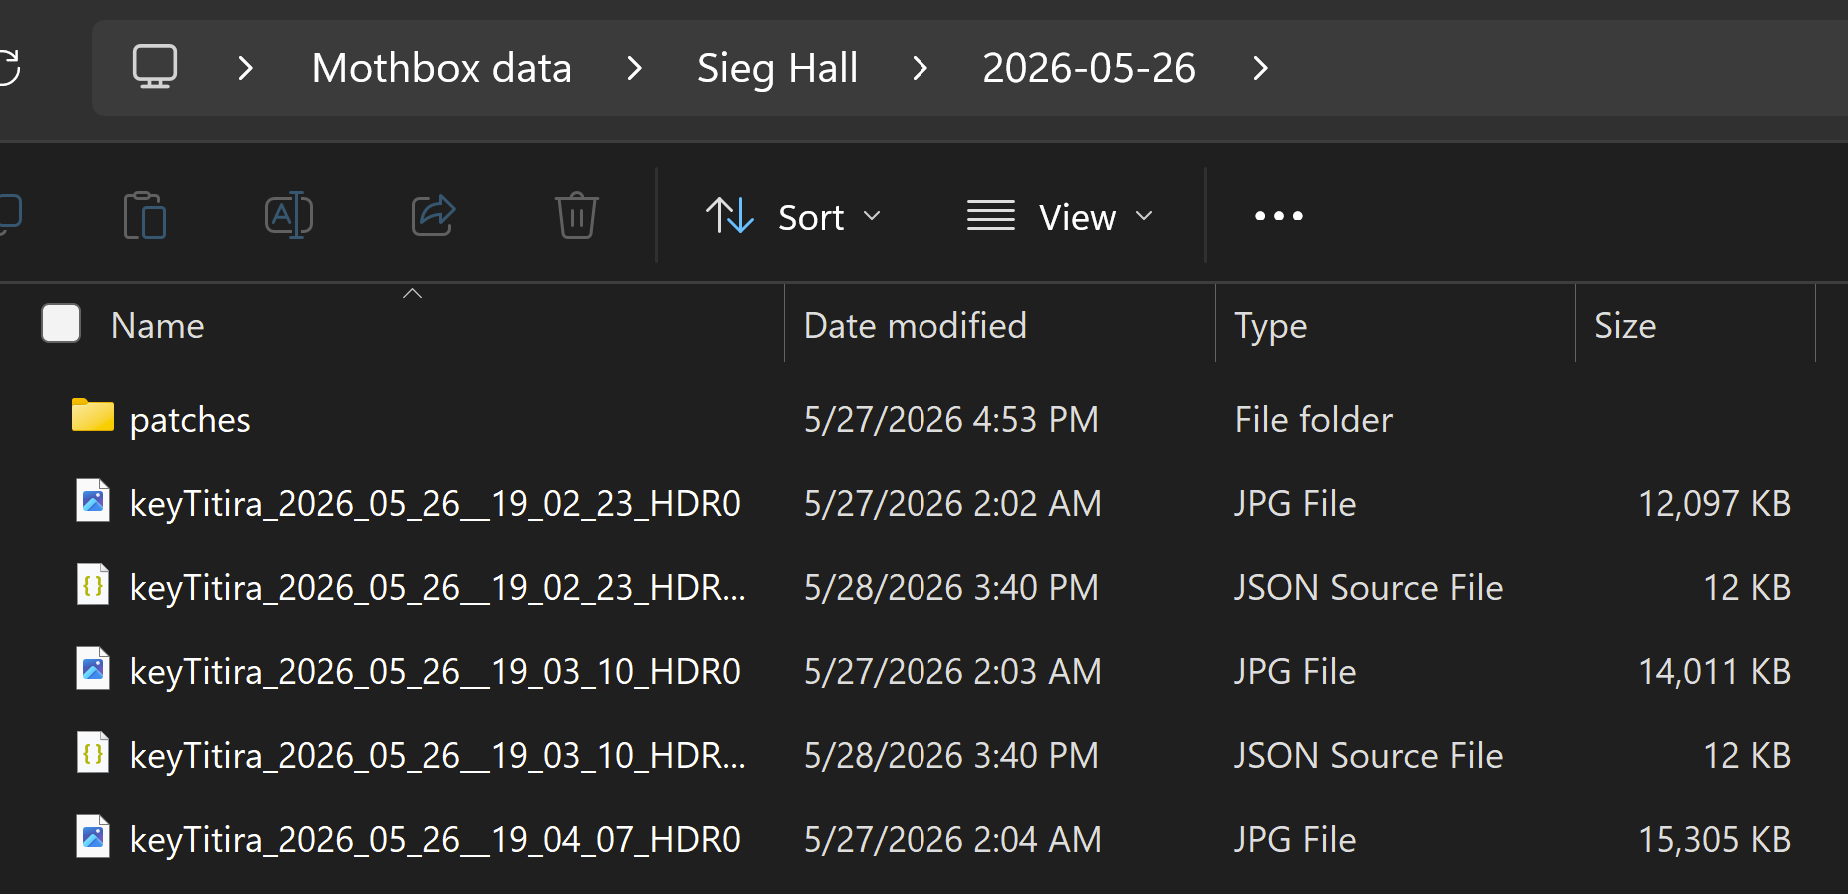
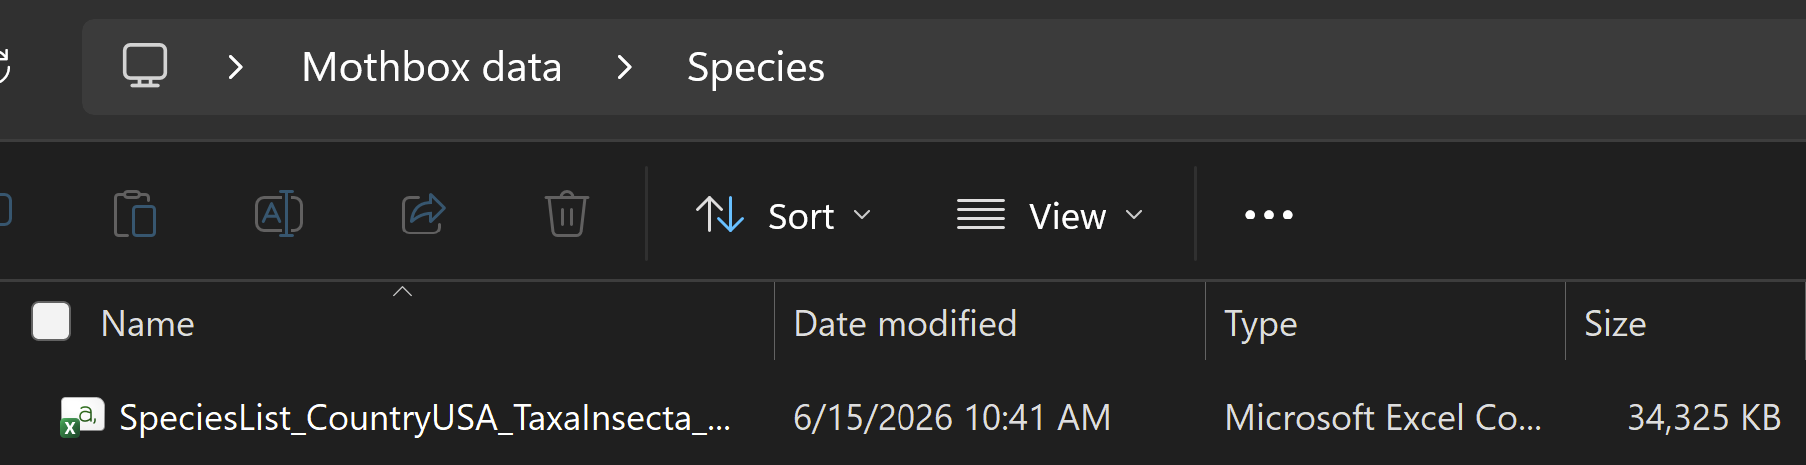
From here I uploaded the “Mothbox Data” folder to the Mothbot Classify program and classified my patches.
The next step in the process was to parse through the classifications and clusters and manually review them.
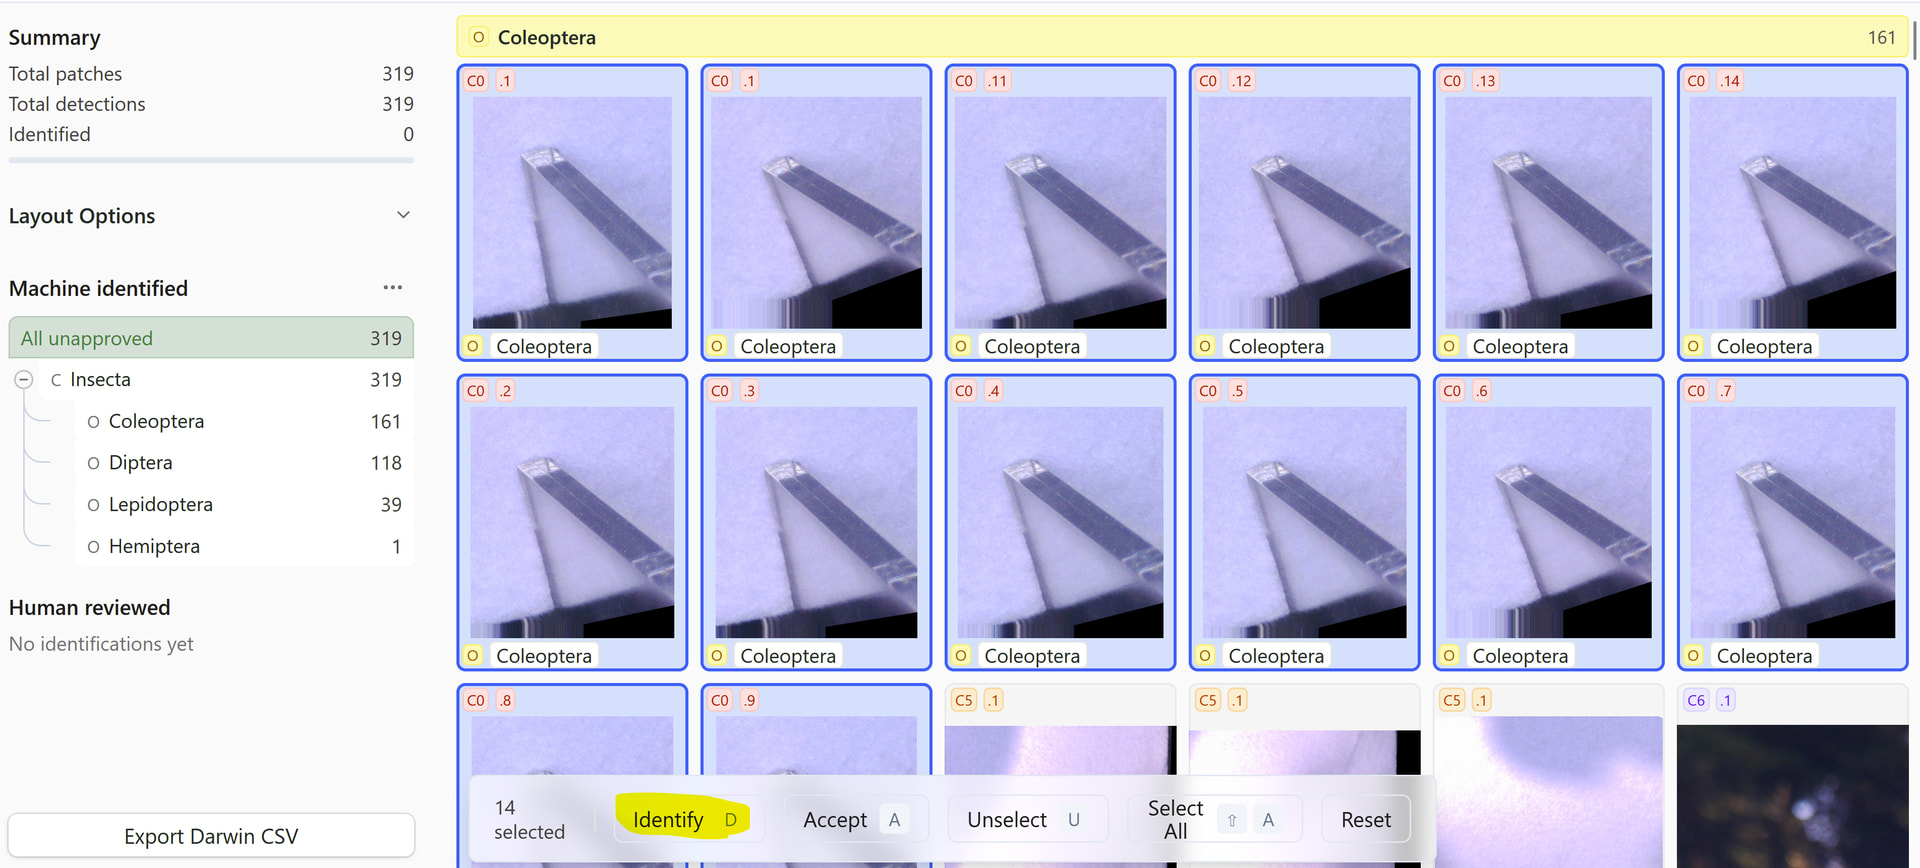
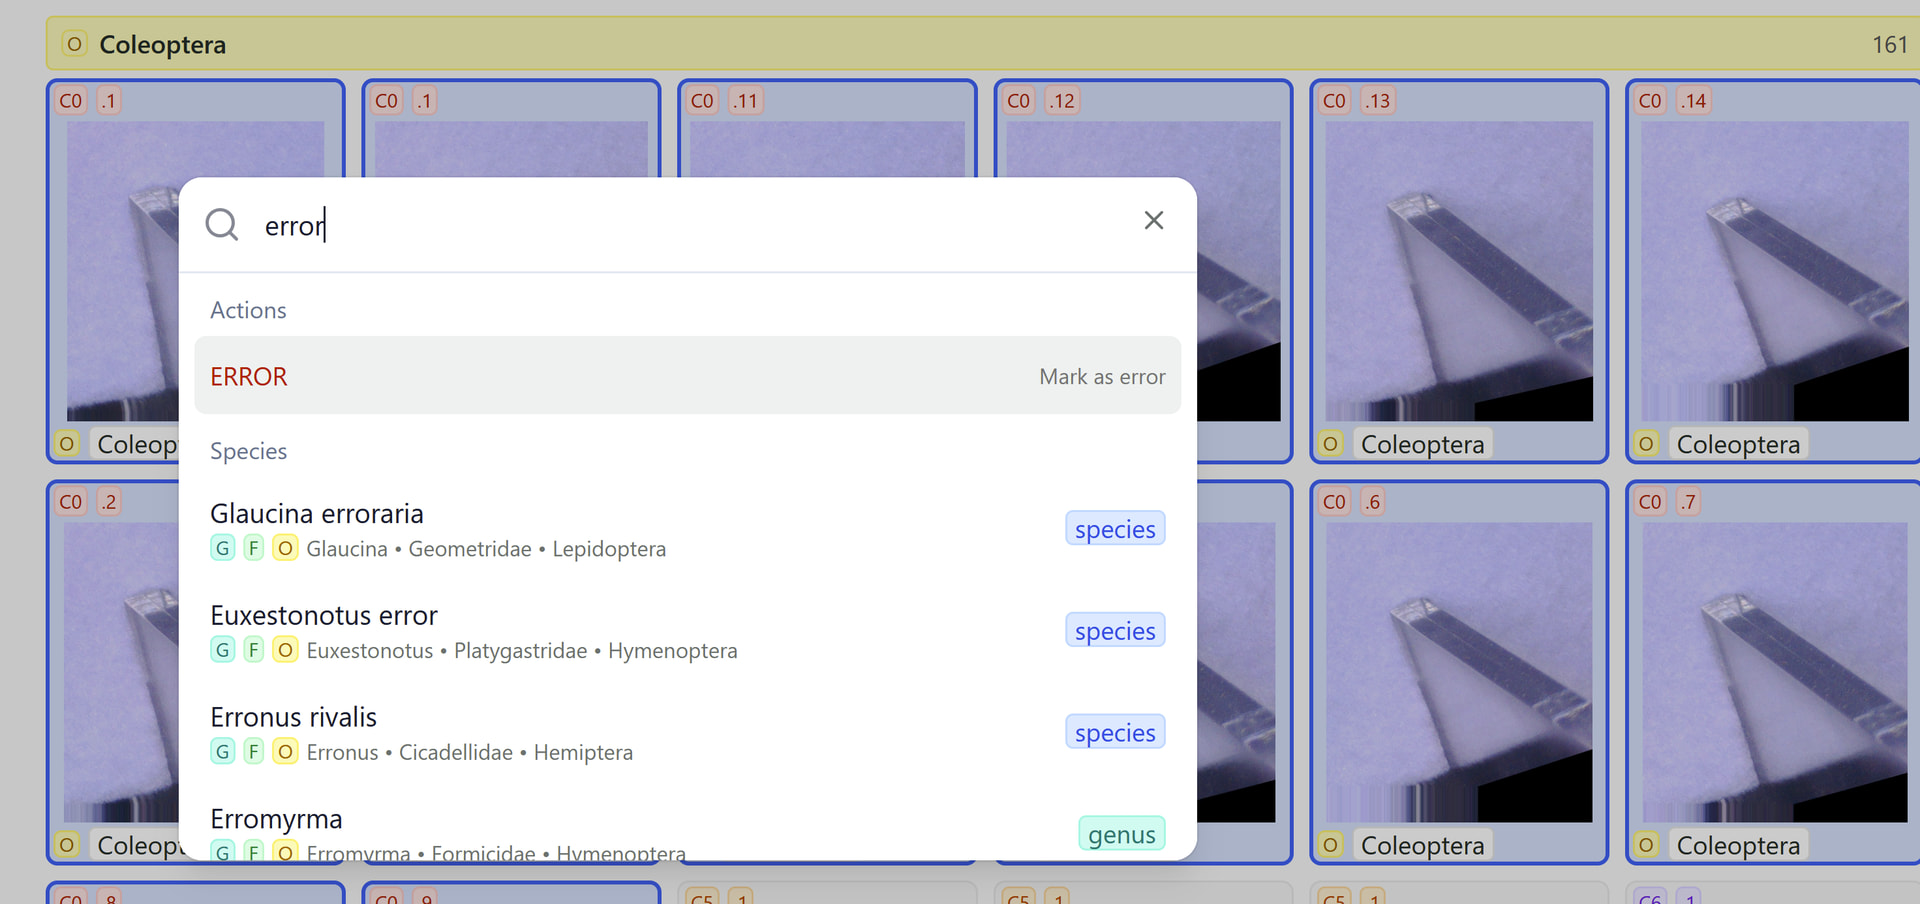
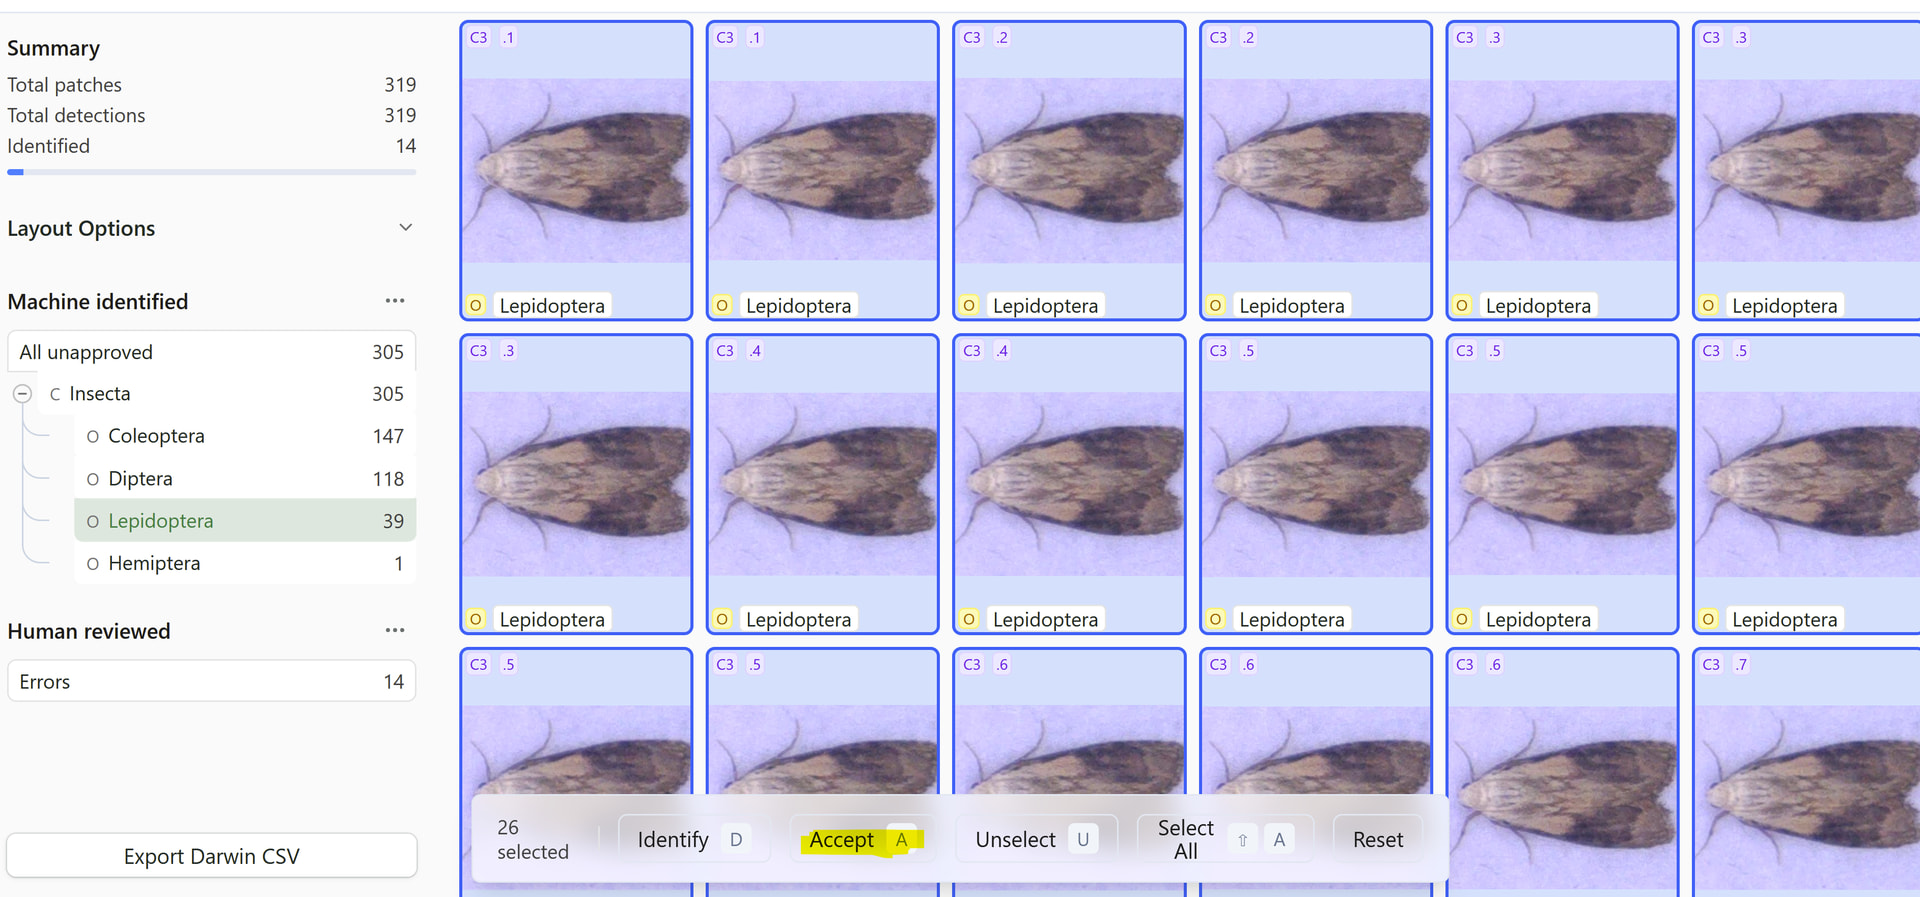
By selecting the cluster ID in the top left of a photo, you can highlight all of the photos that are clustered together. Once highlighted, you can accept the classification the program provided (hotkey A) or manually identify the cluster (hotkey D). There is an option to label a cluster as “ERROR” in the case that the photo contains strange artifacts or in my case photos of the box’s arms.
1 Like
This is great, I’m going to copy some of this over to our website as a better placeholder for the instructions I haven’t gotten around to making yet!
I also made some tweaks based on this feedback, like making it so the species list doesn’t have to be in a specially named folder
Should work even better now!
btw, where are the pictures saved on the SD card?
(here: home\pi\Desktop\Mothbox\photos\ )
1 Like