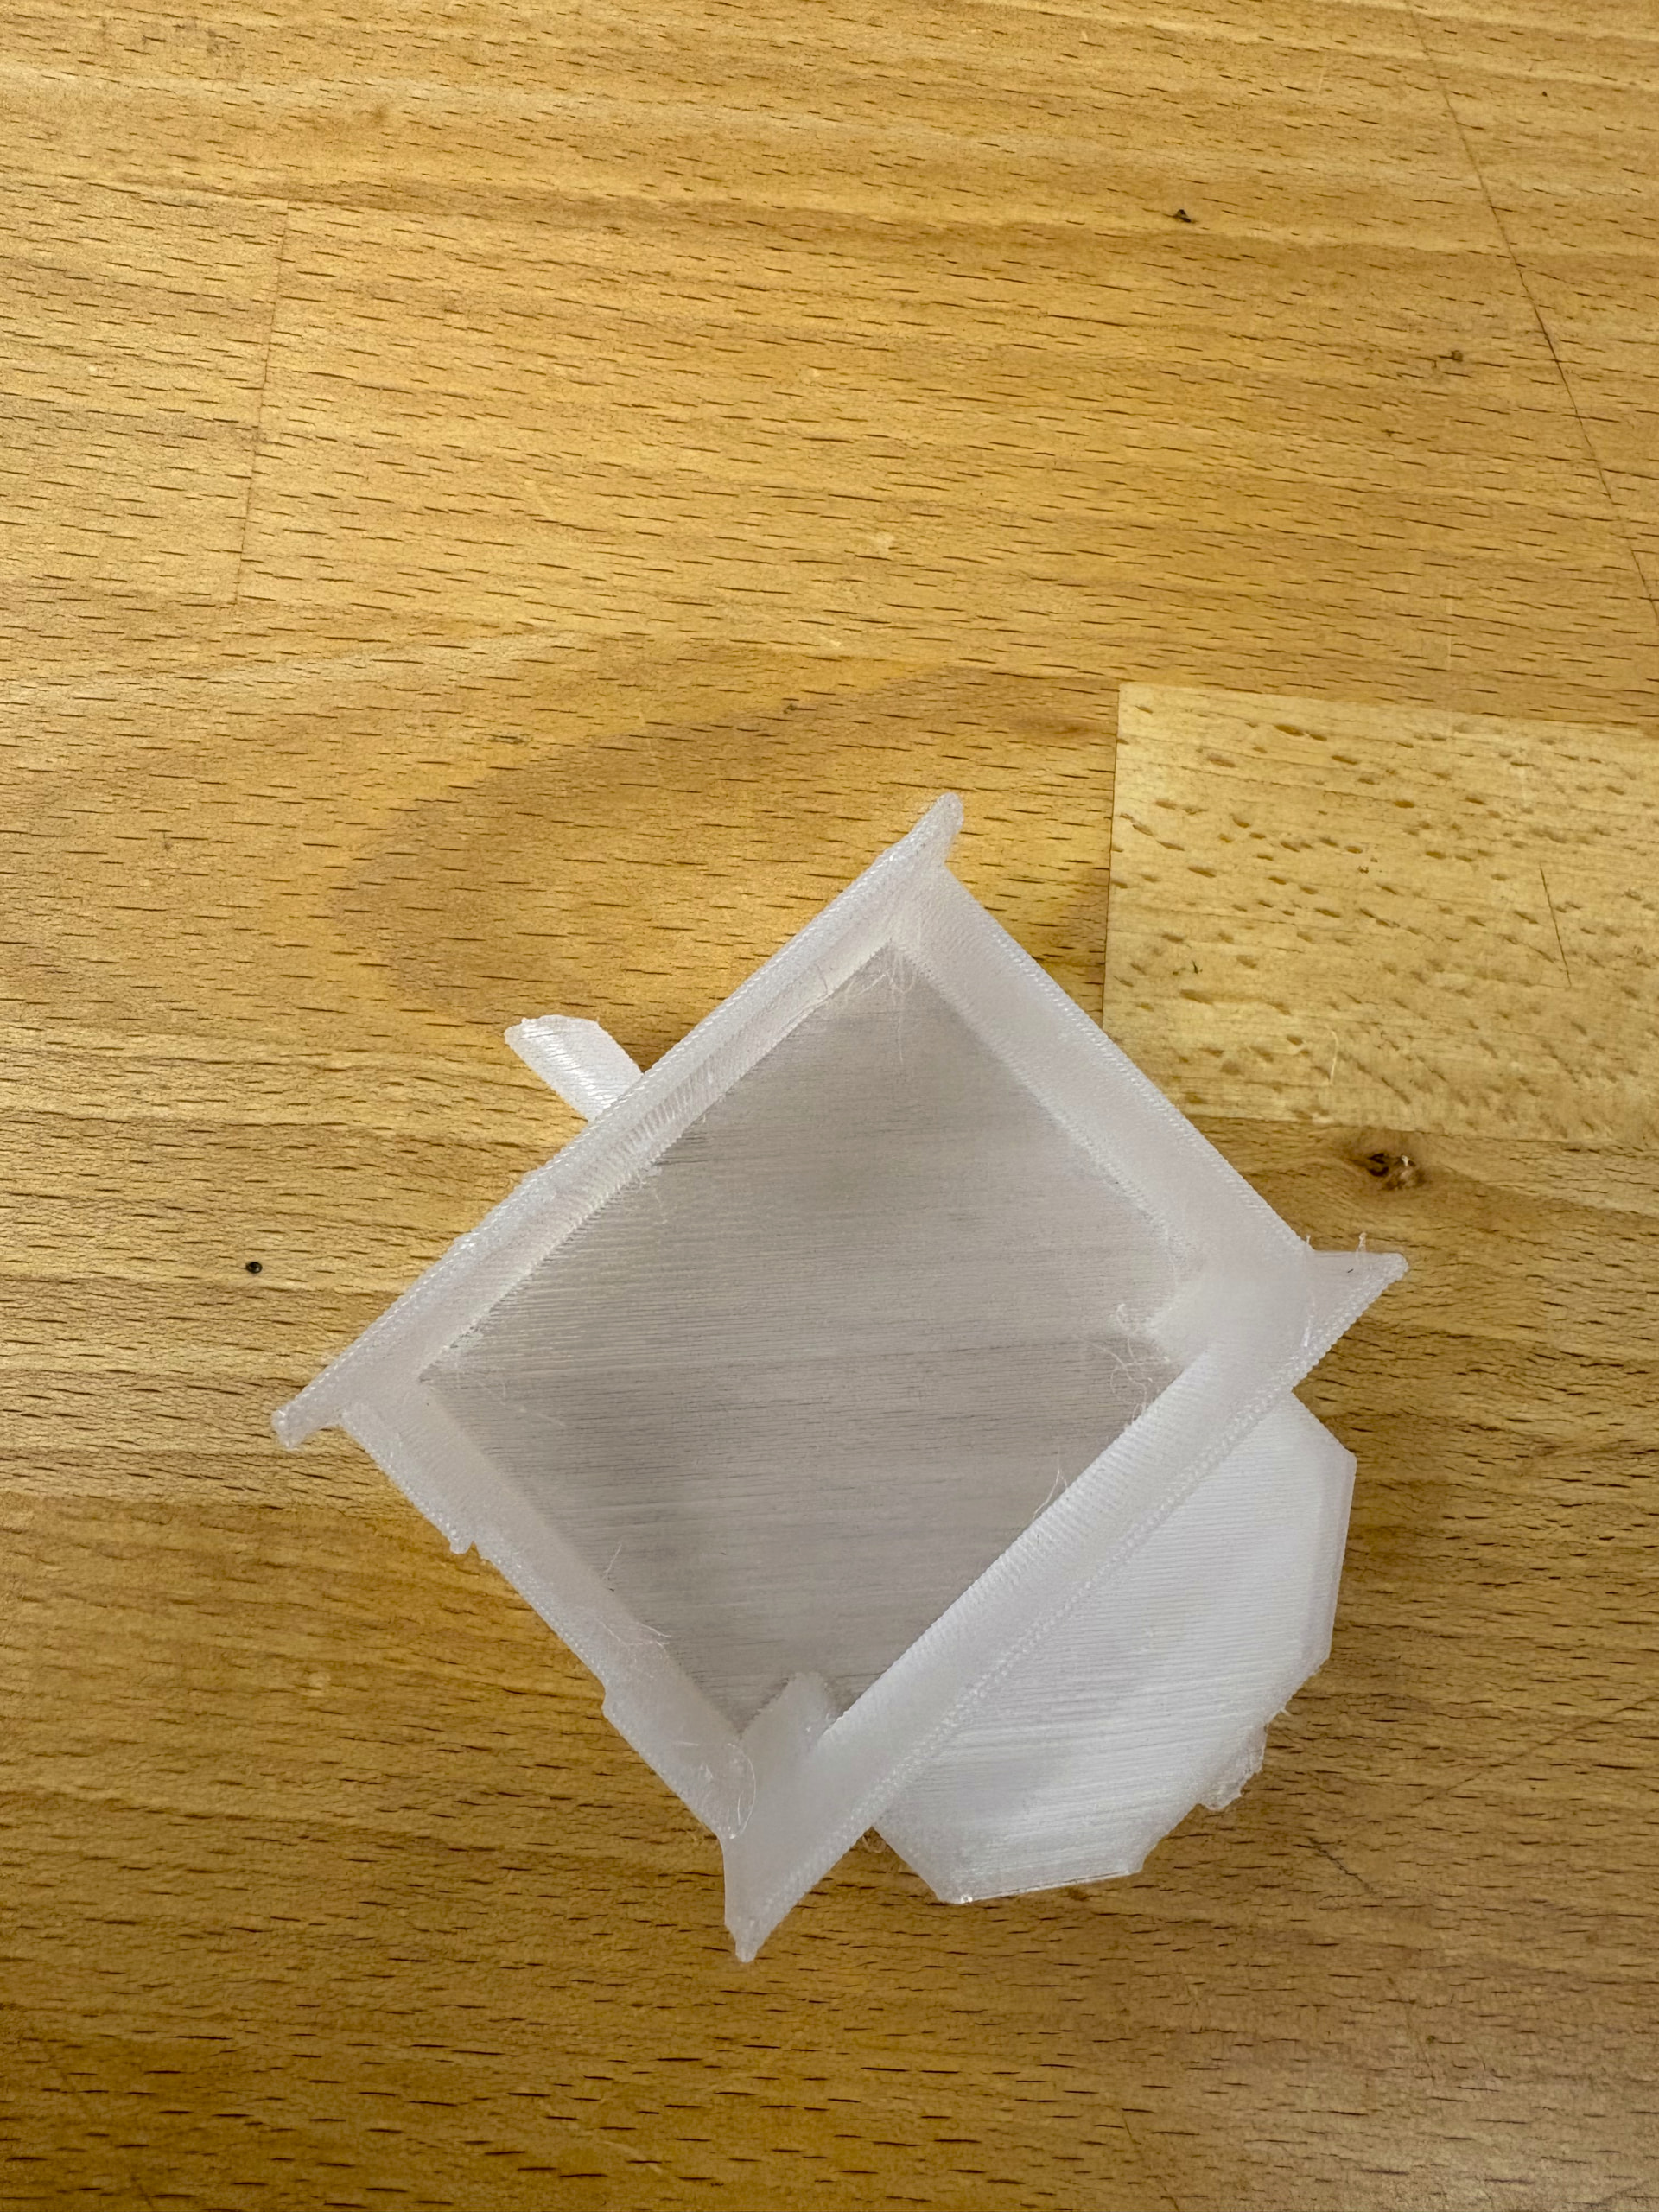
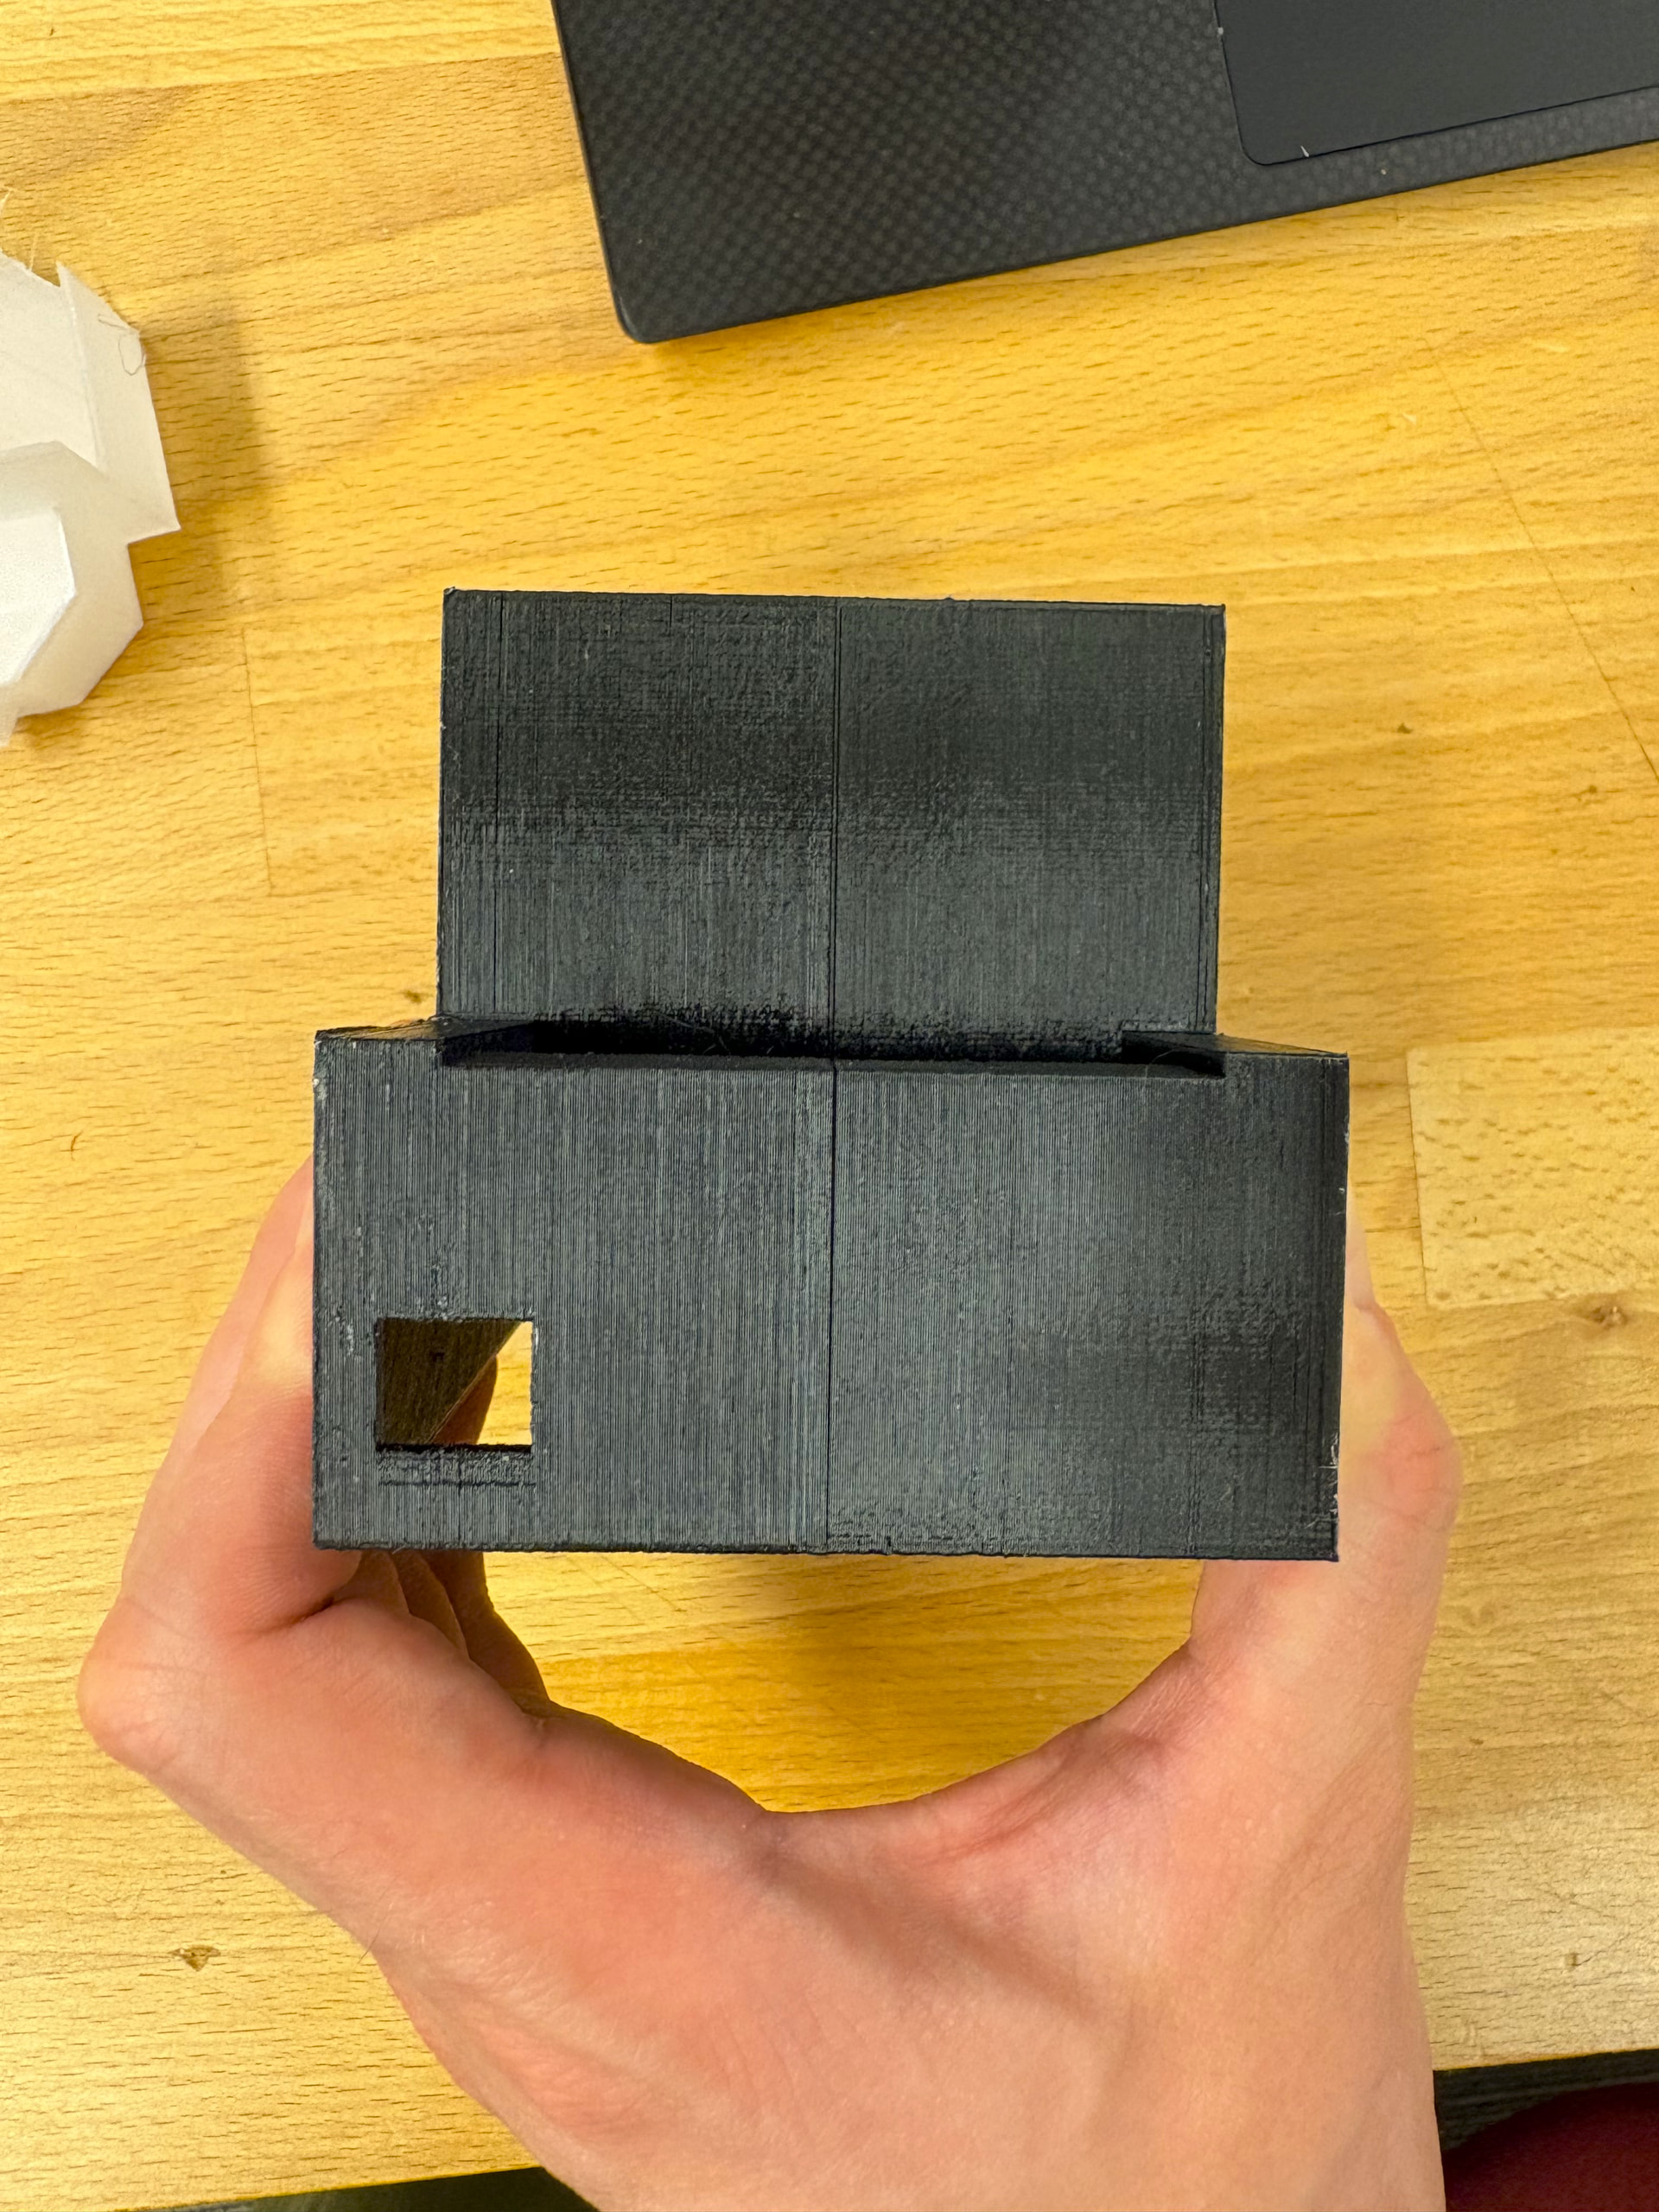
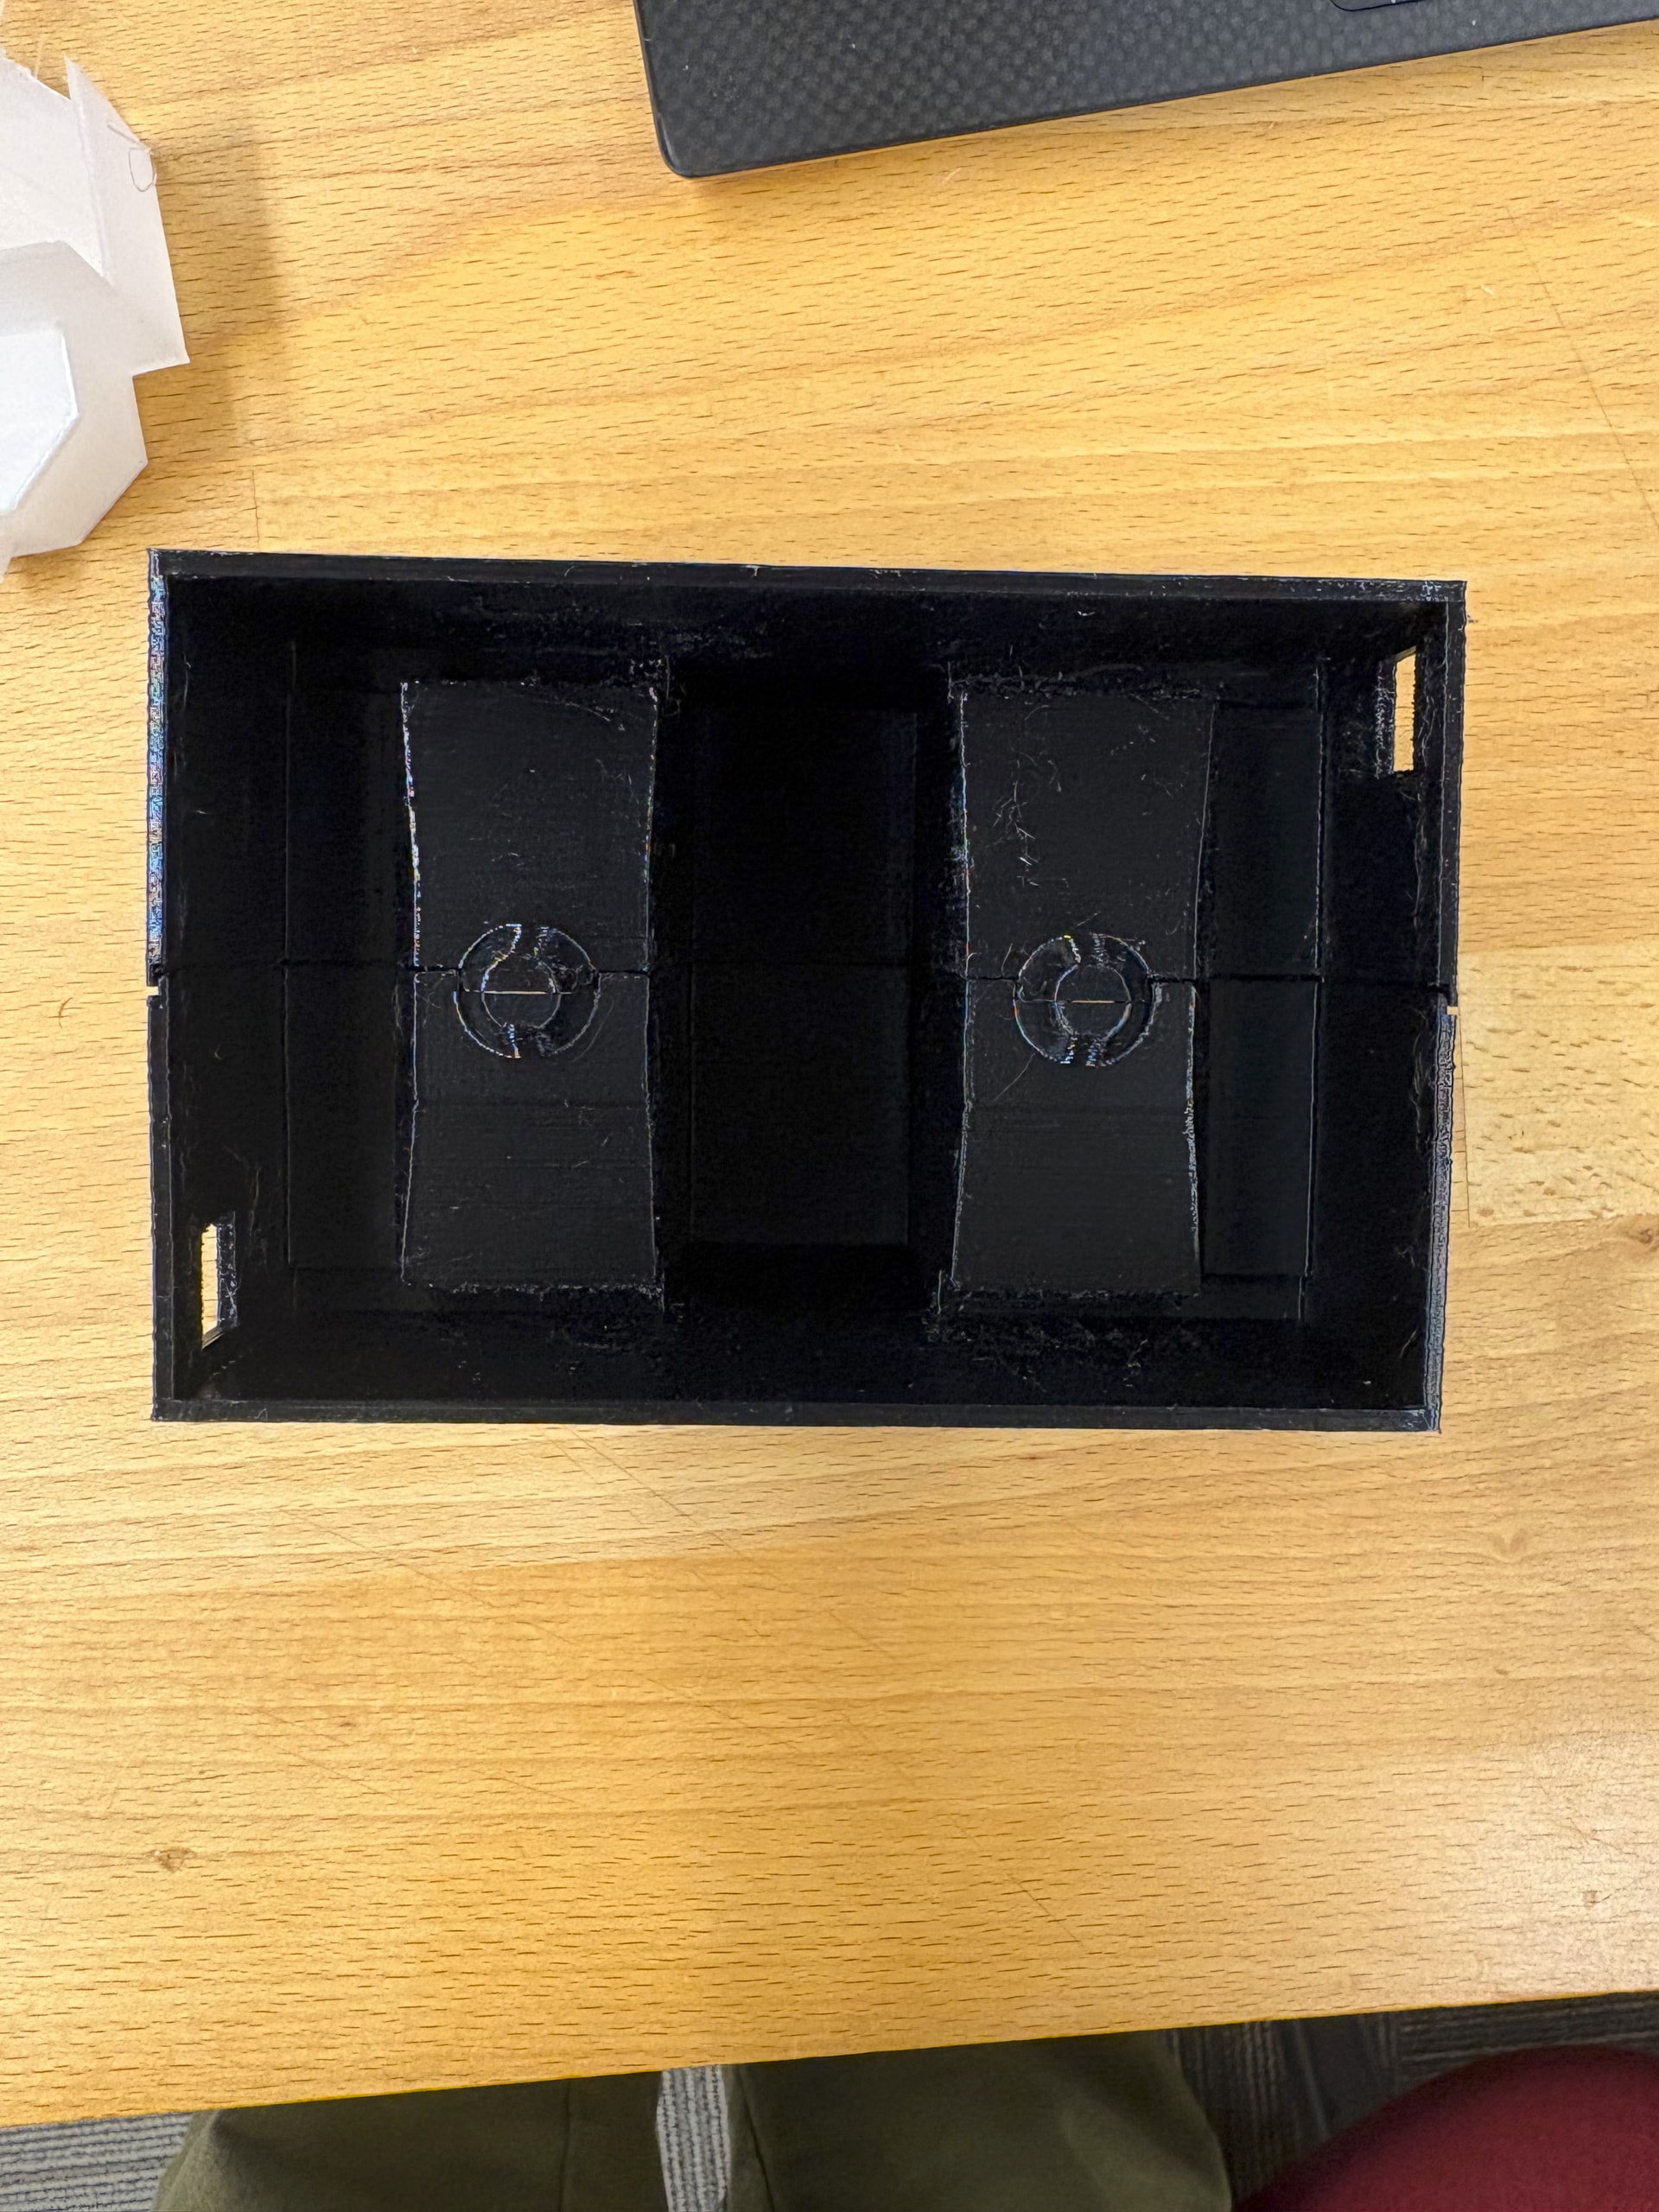
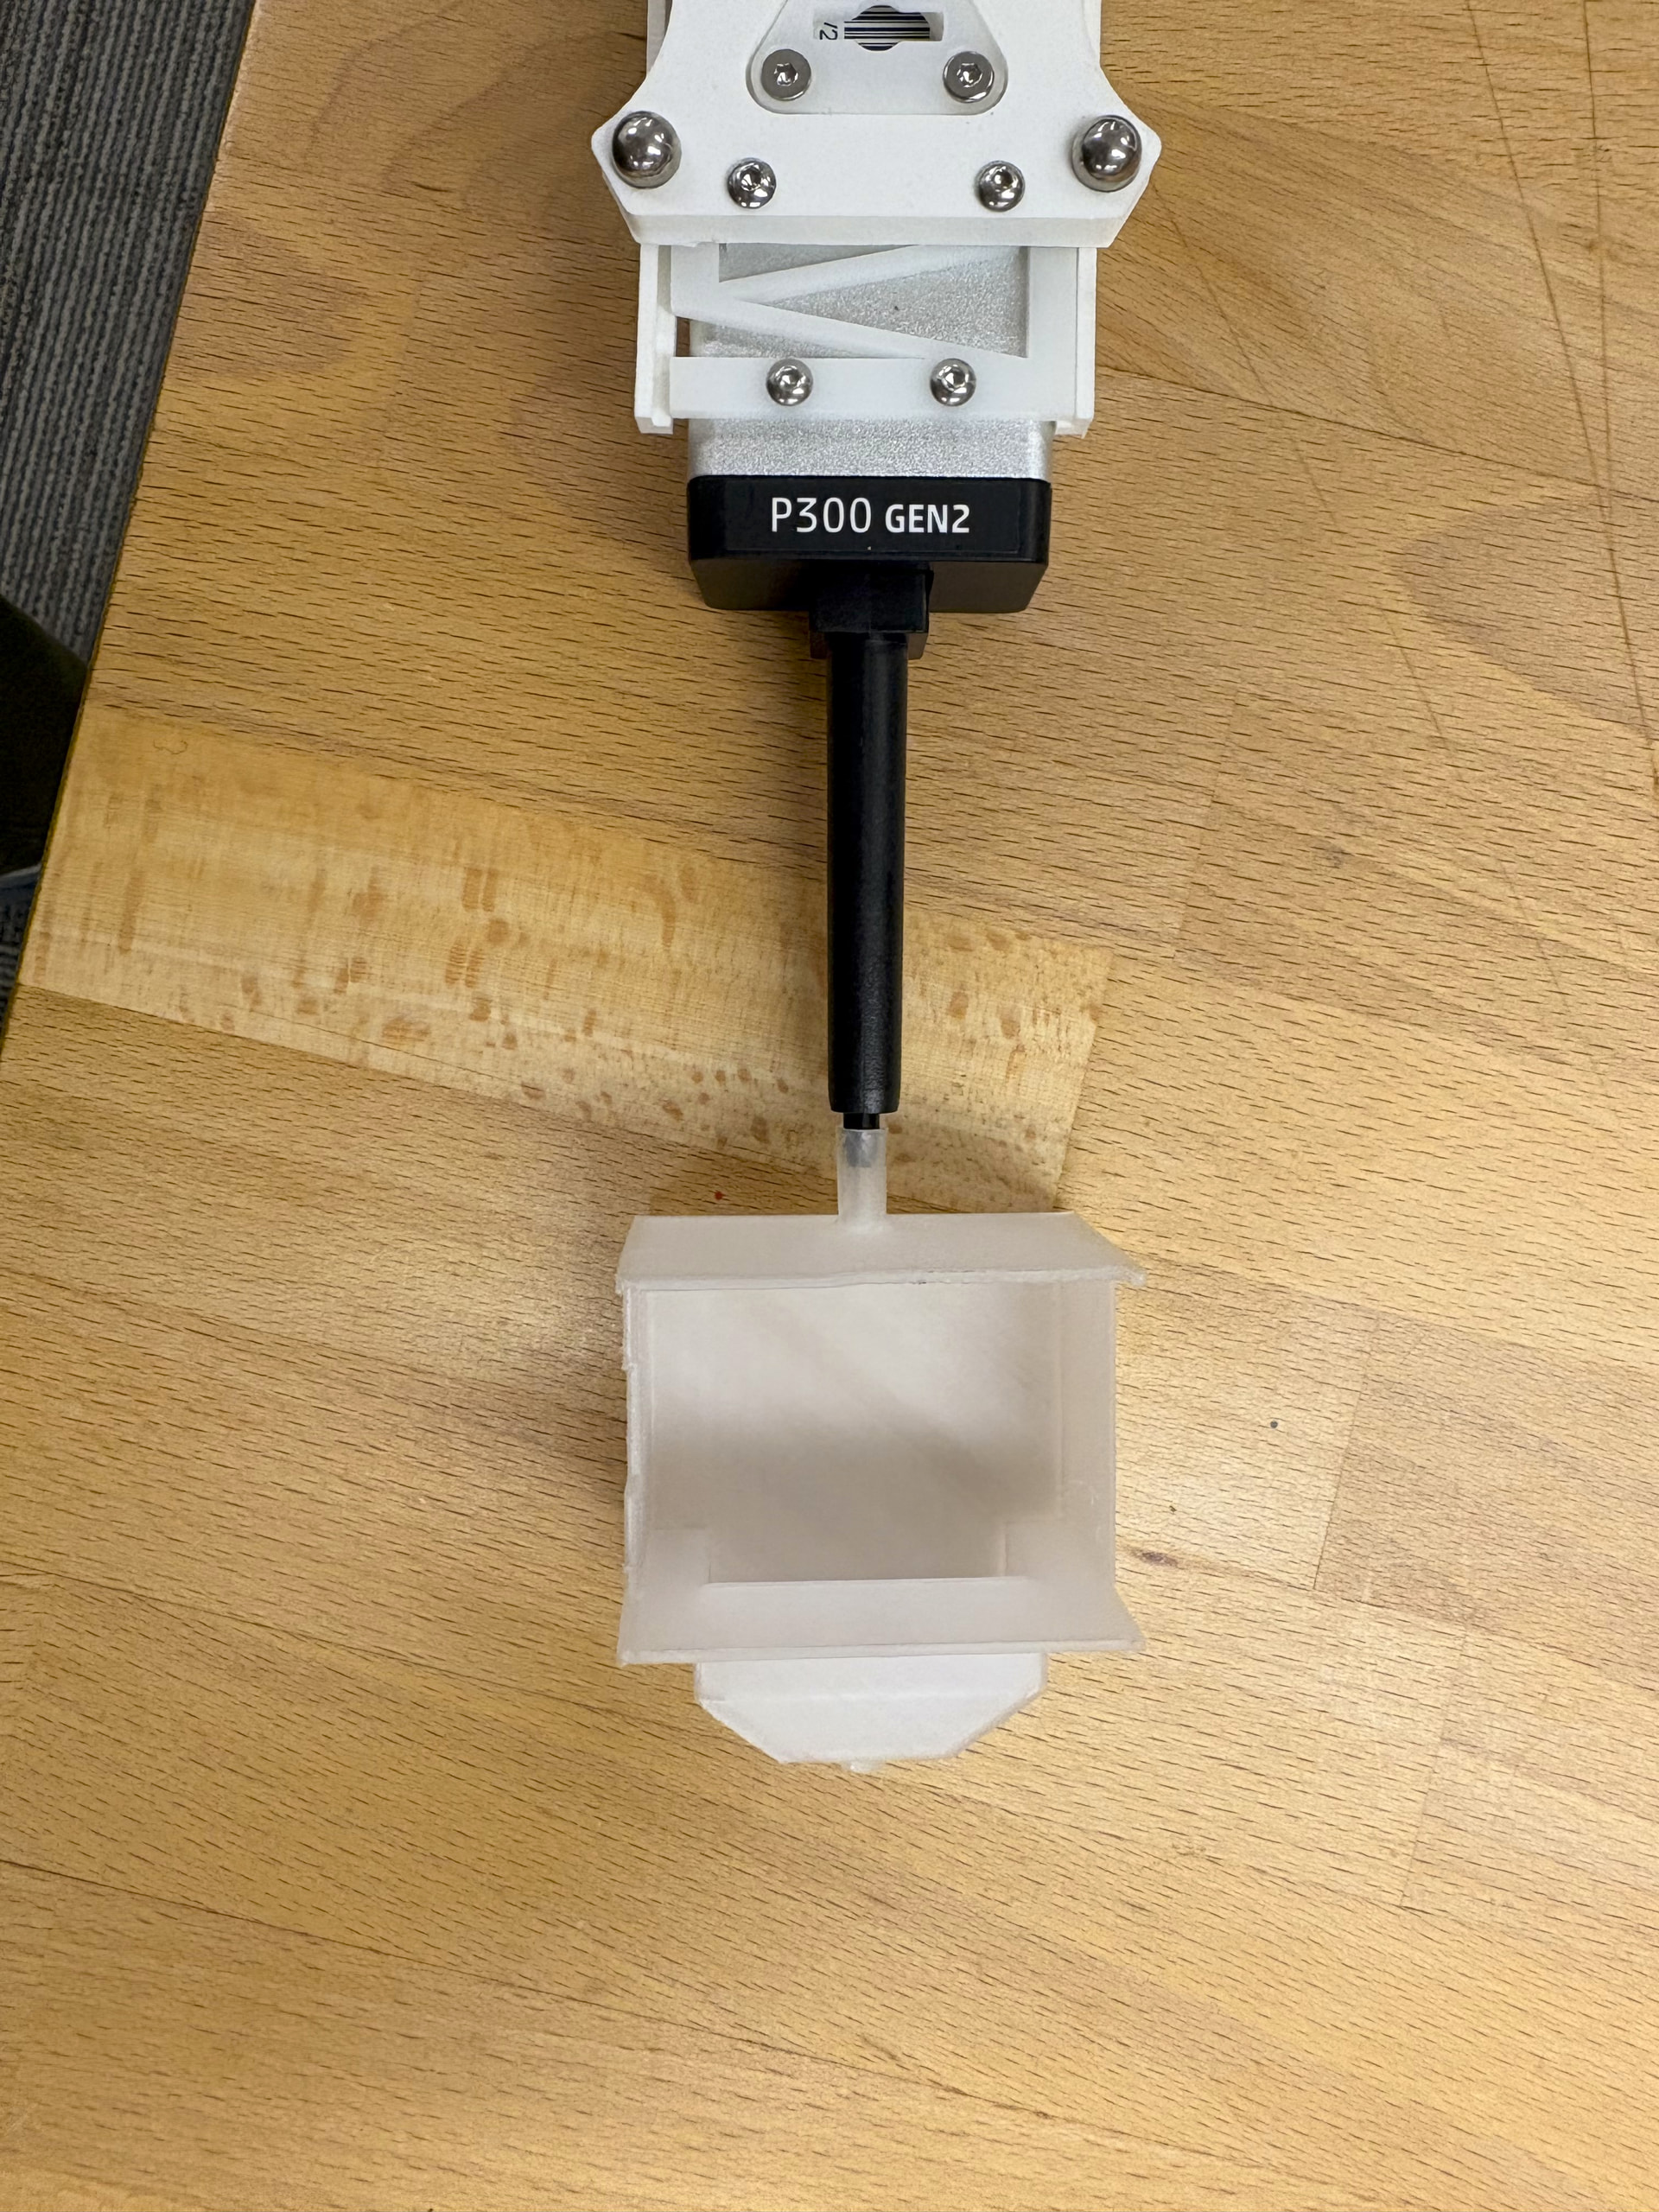
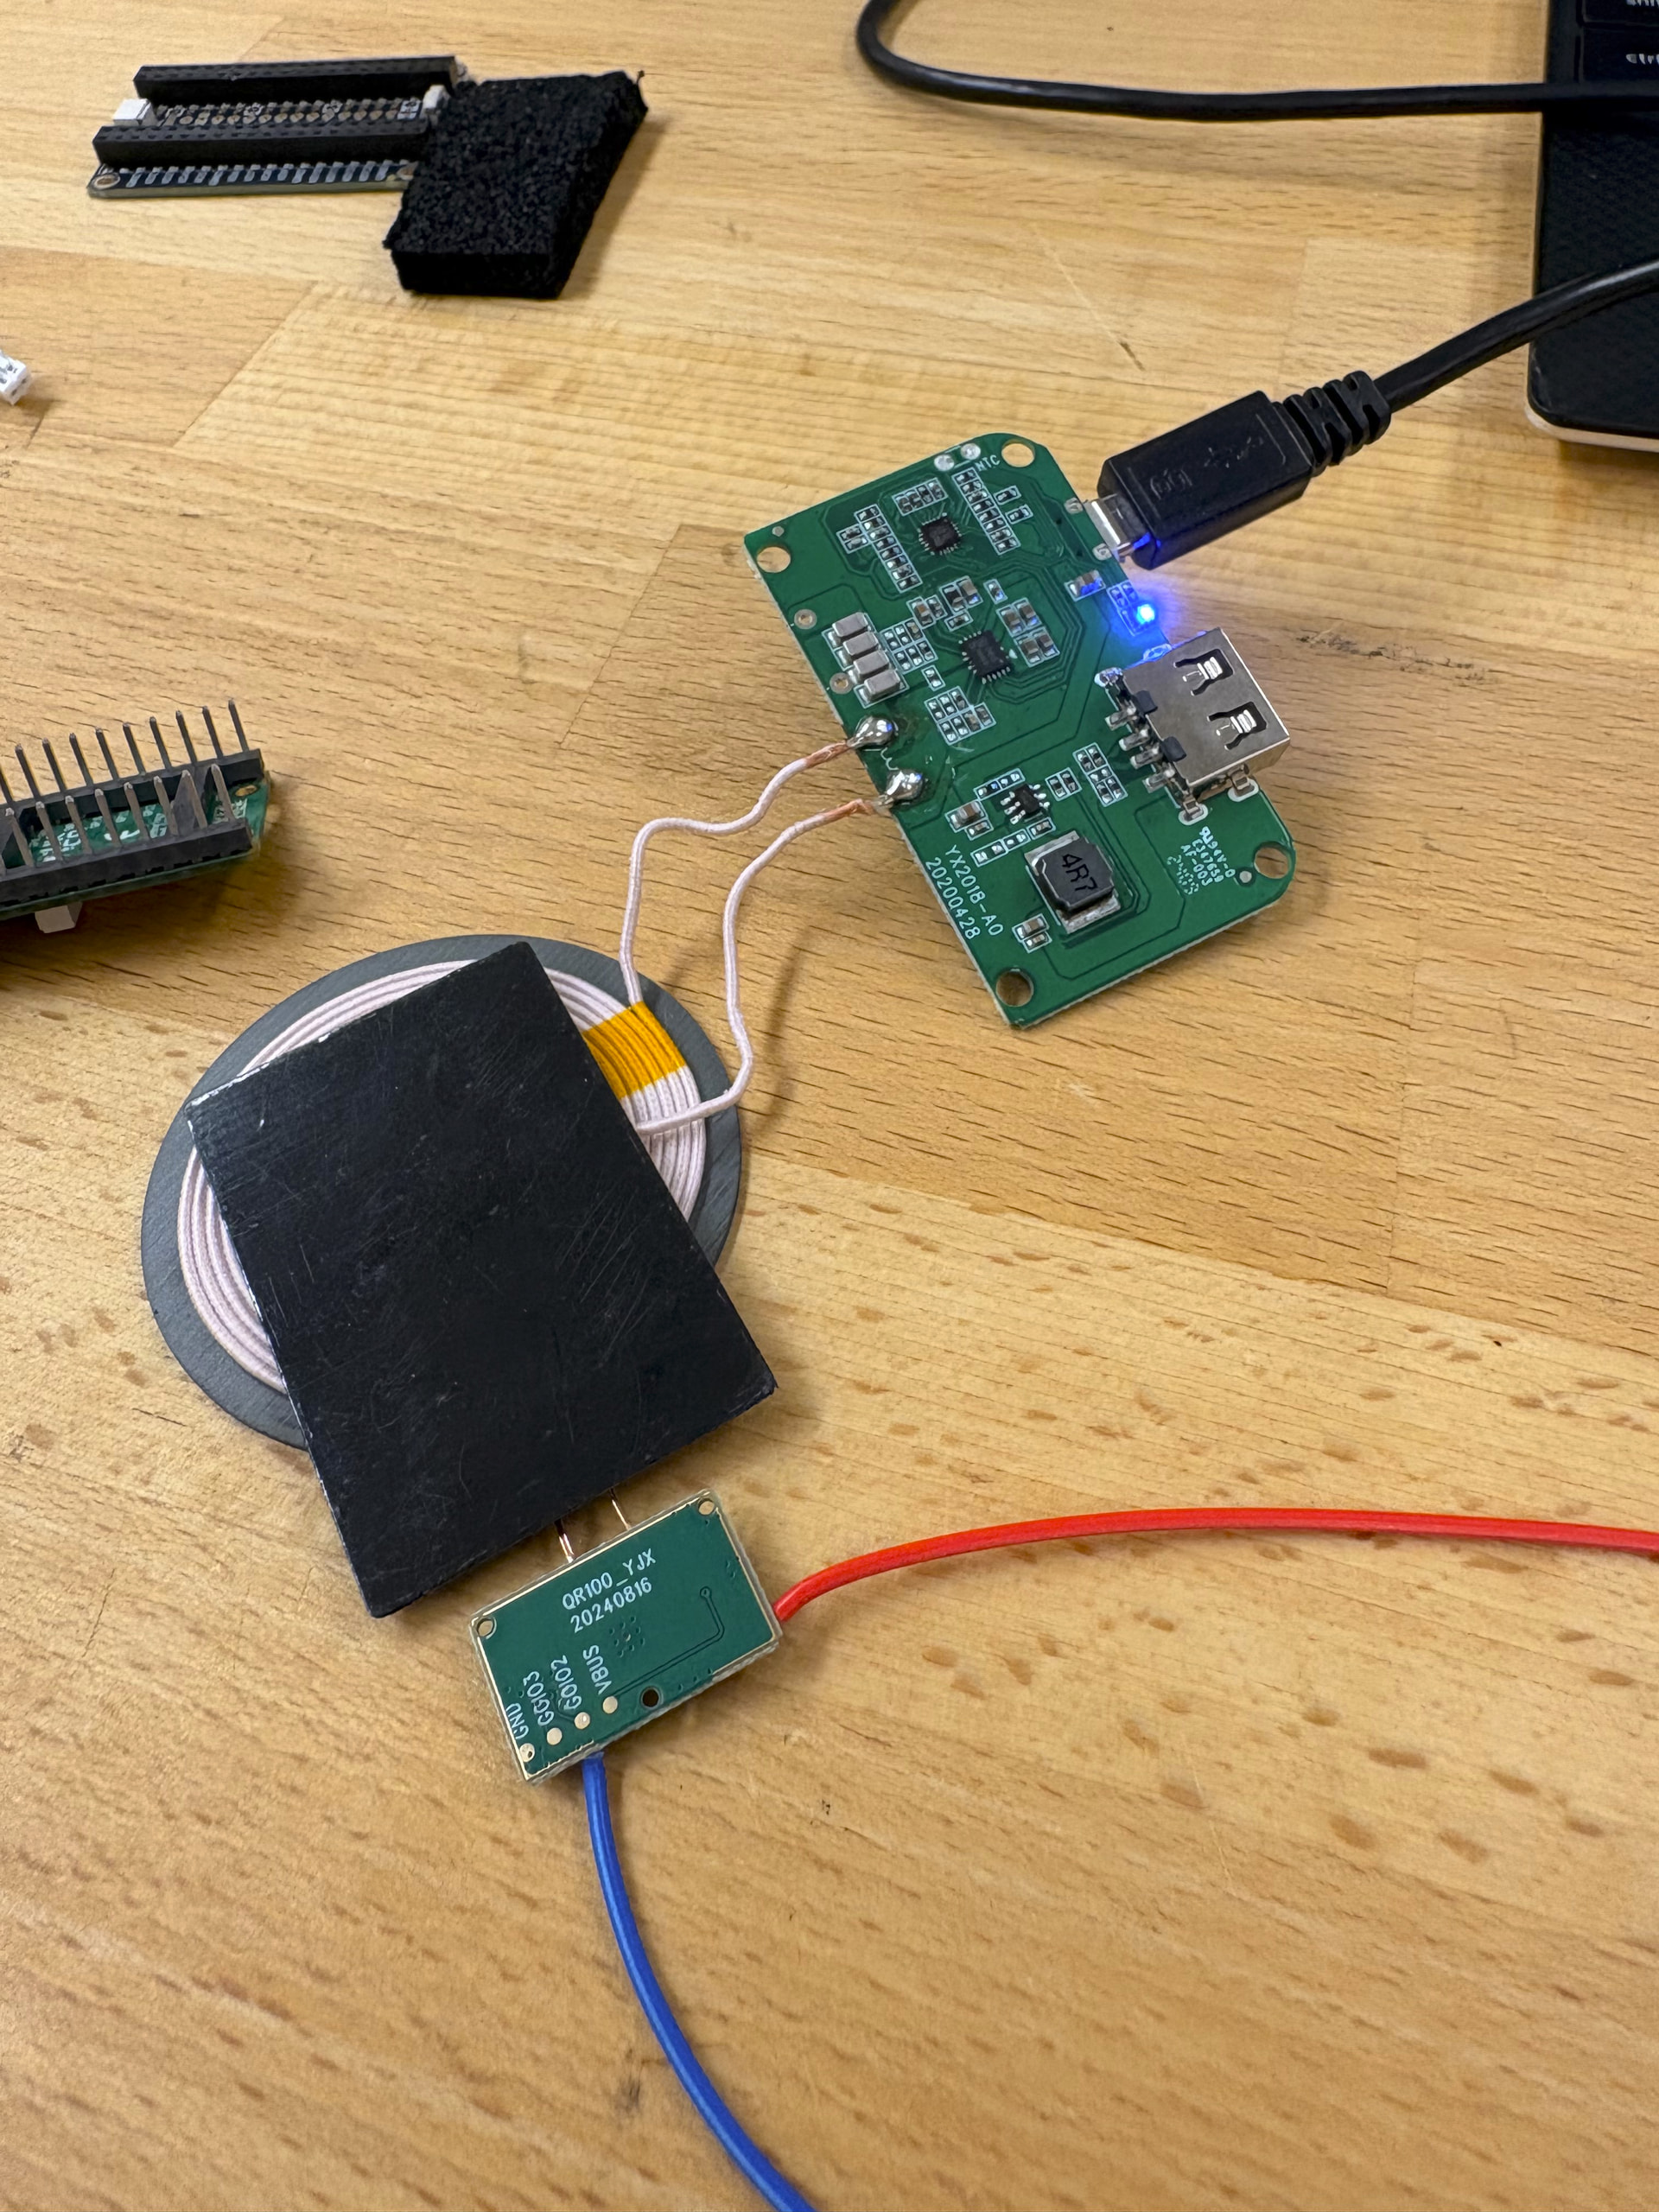
I am working on the replication of a color sensor package with a dual wireless charging port that could be implemented to the OT-2 liquid handling robot. This tool was developed by The Acceleration Consortium (AC) at the University of Toronto.
I will be documenting the process in the replies below.
Bill of materials
I was able to order the components from the provided links on github.io. The Pico LipoSHIM was unavailable through the provided DigiKey links so I had to order them through Mouser Electronics.
Another thing of note was that the link to the Lipo Battery was linked to Amazon.ca. I had to switch over Amazon.us since I am working out of the University of Washington in Seattle.
Other than these changes, obtaining these components for this project was well laid out on from the provided website.
3D Printed Parts
I used a Centauri Carbon and HTPLA for printing.
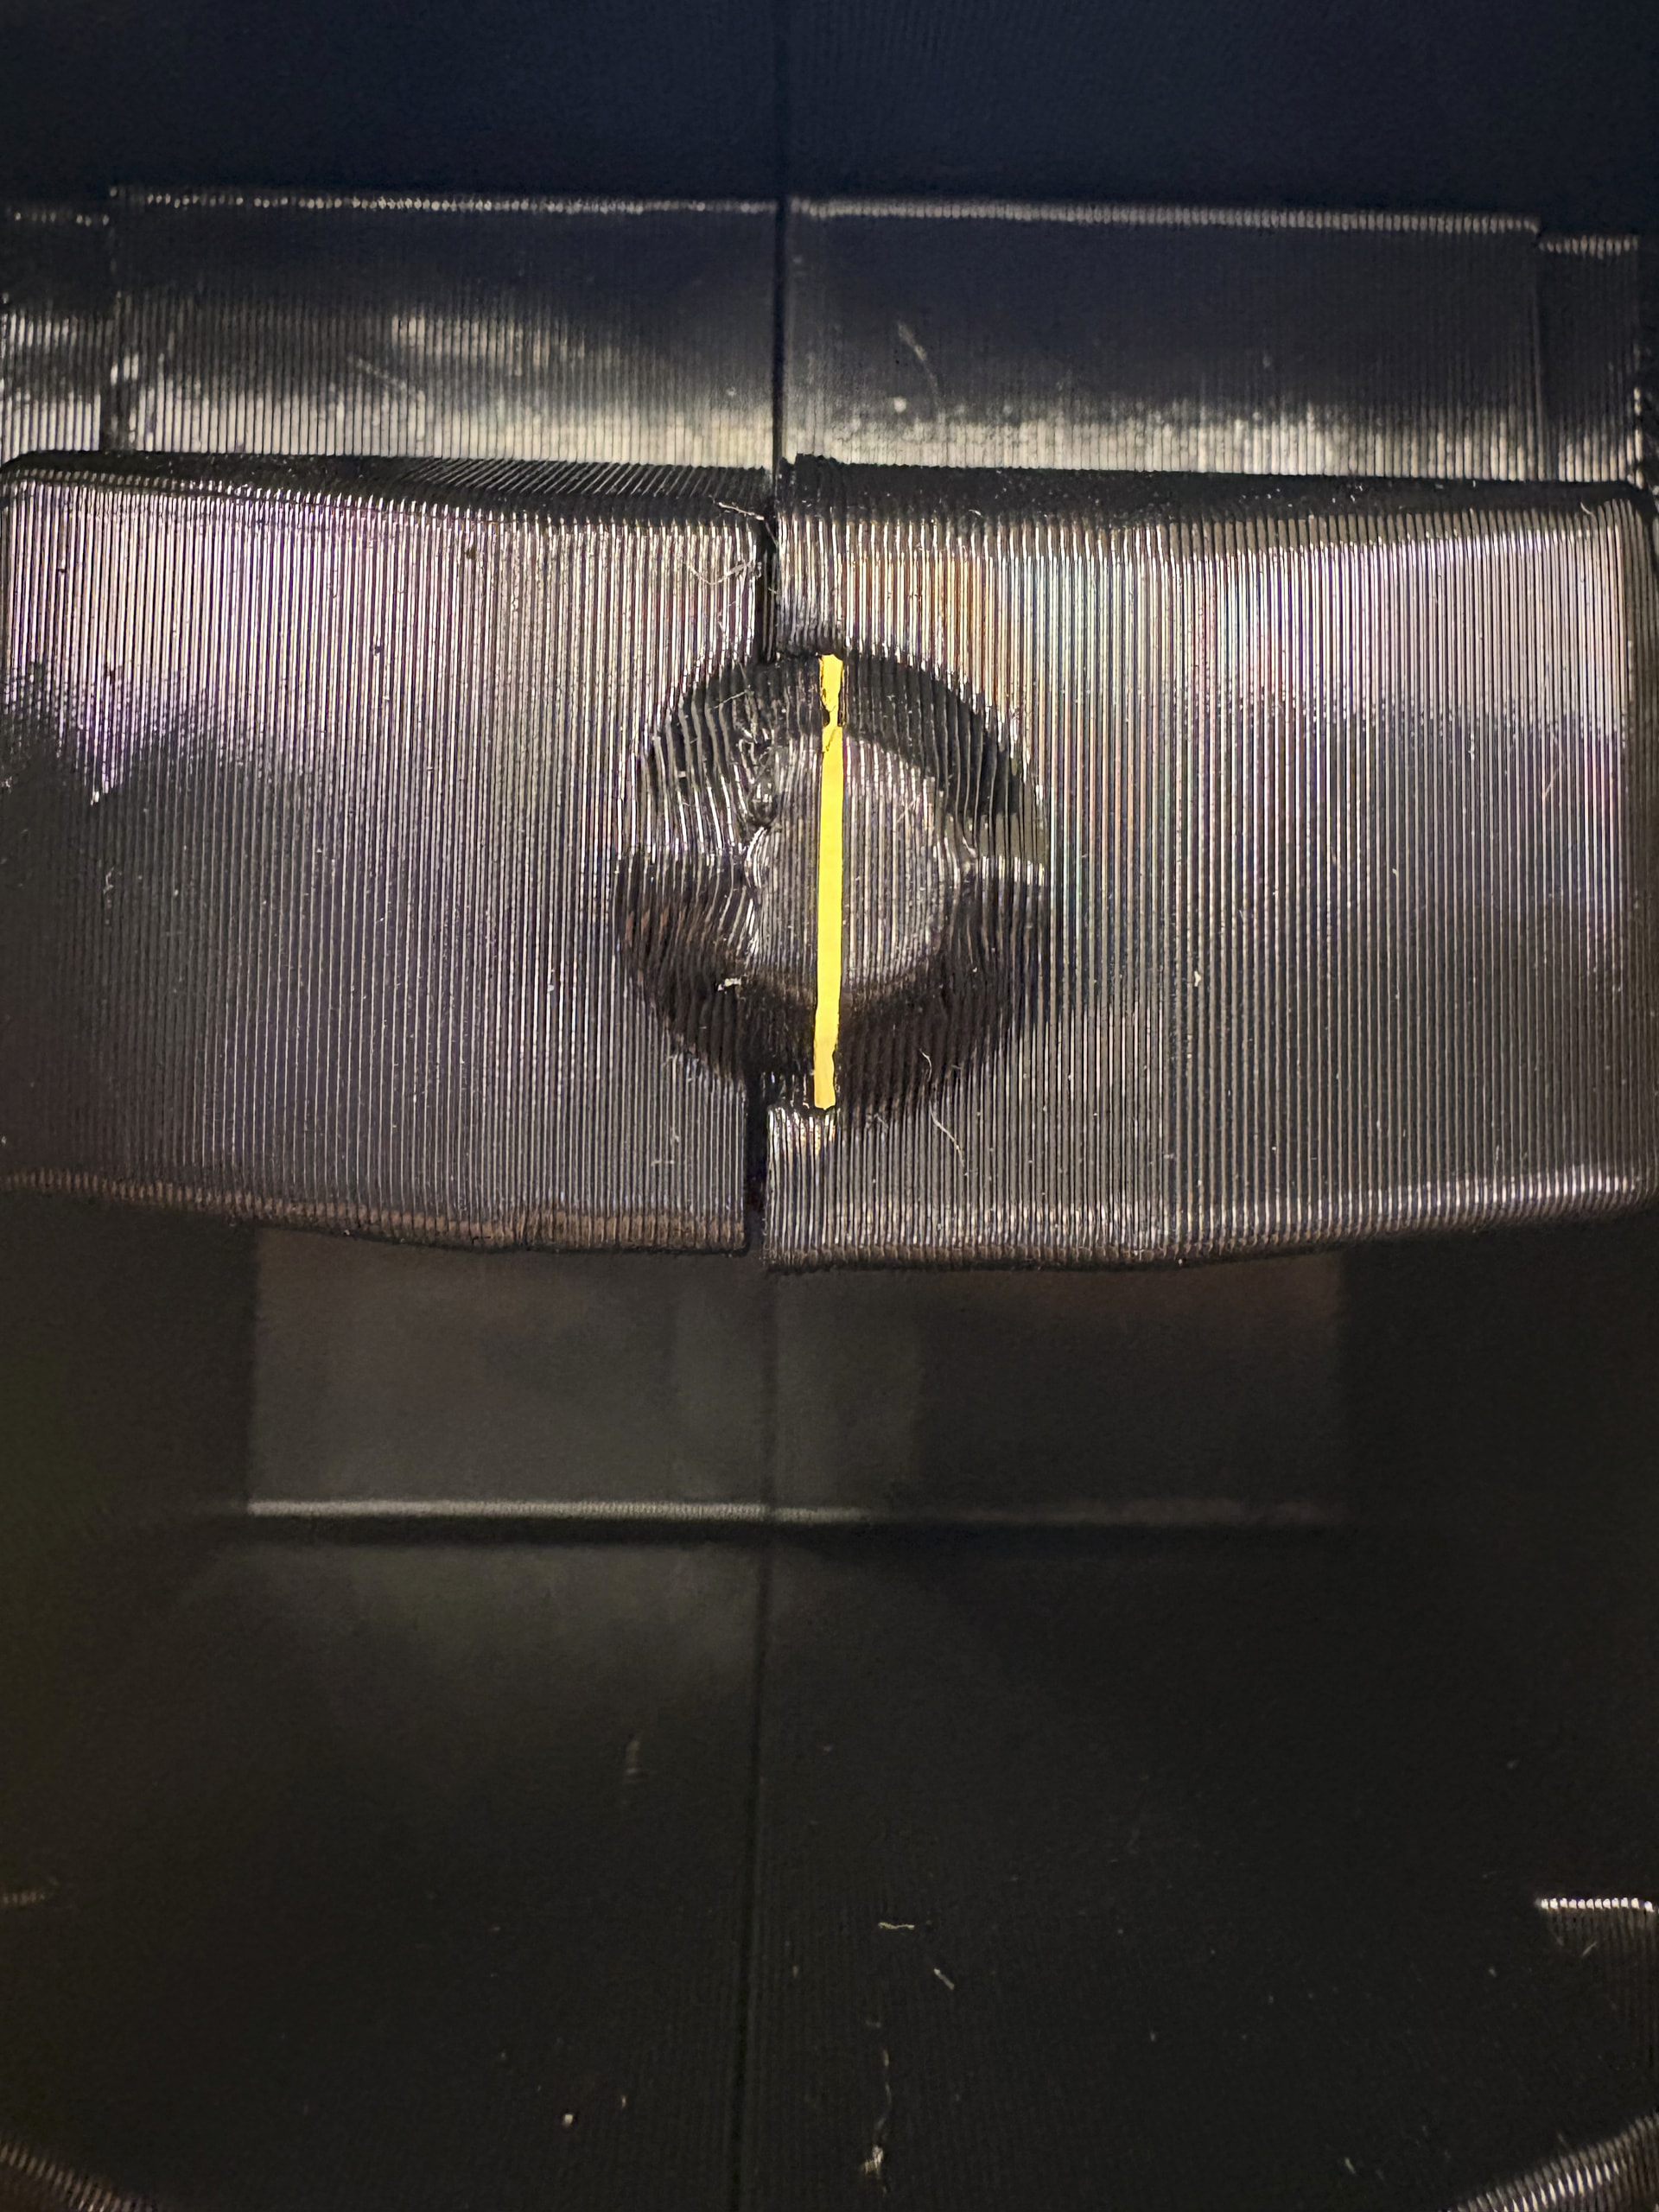
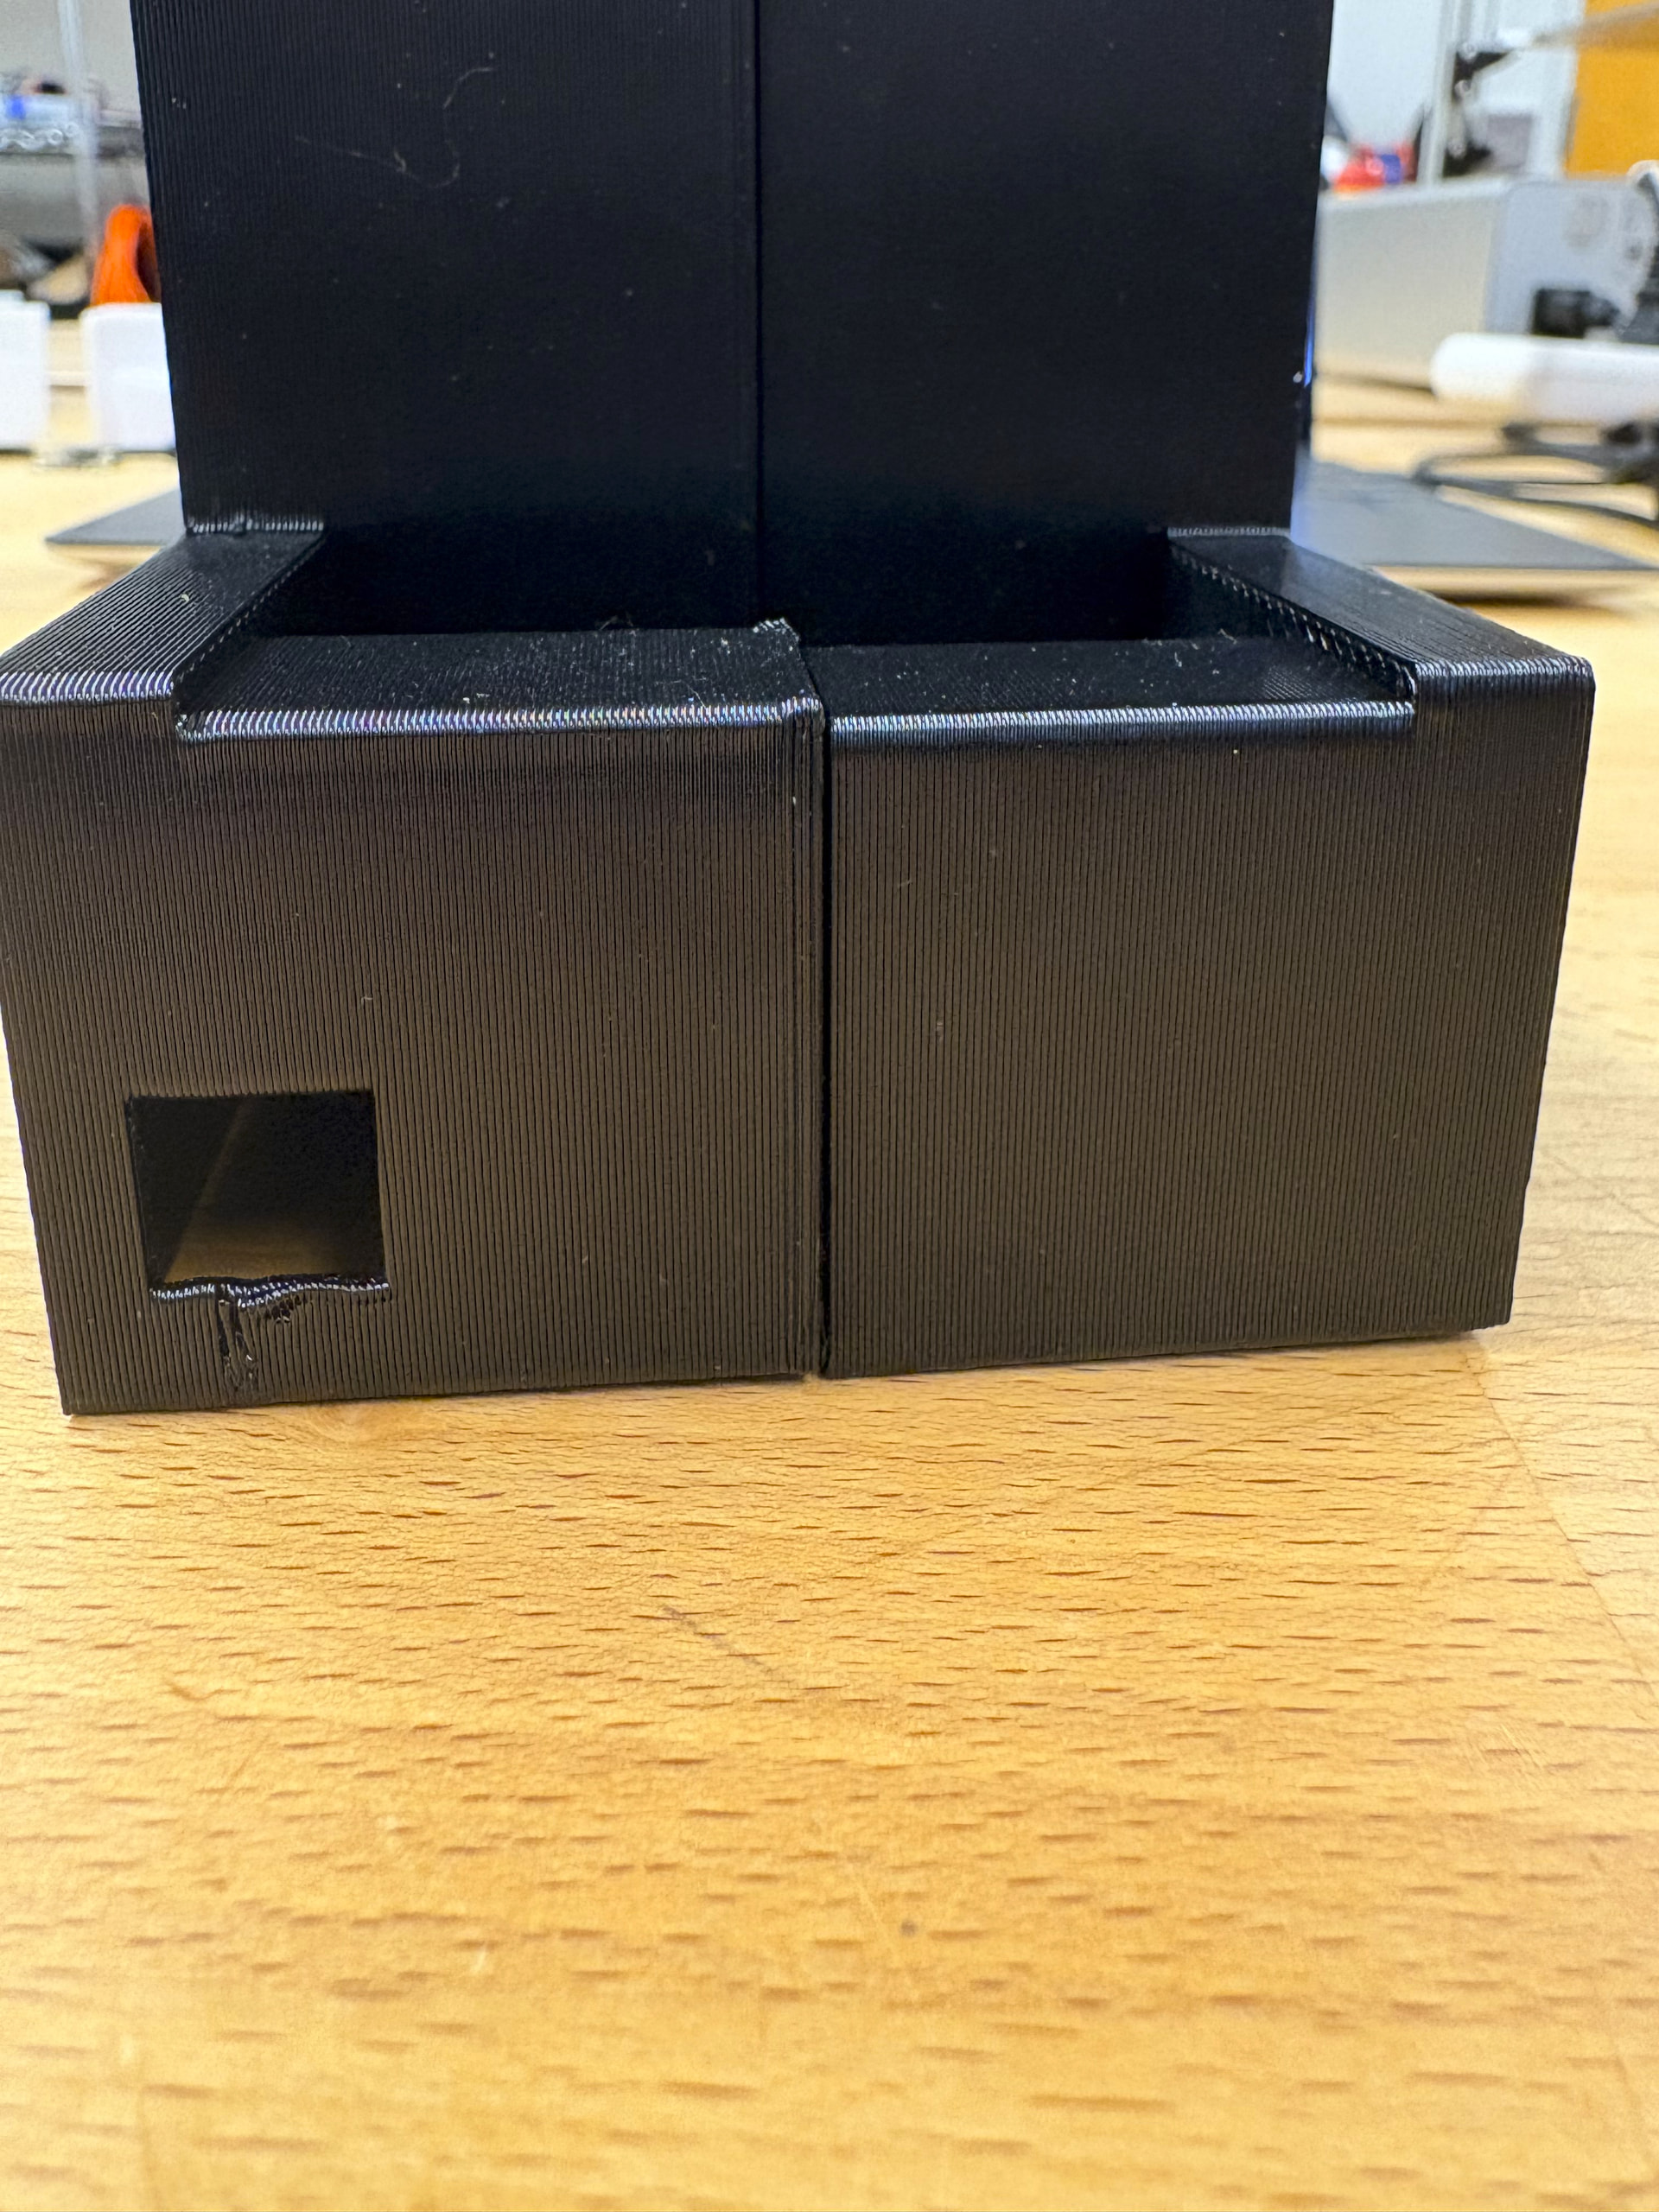
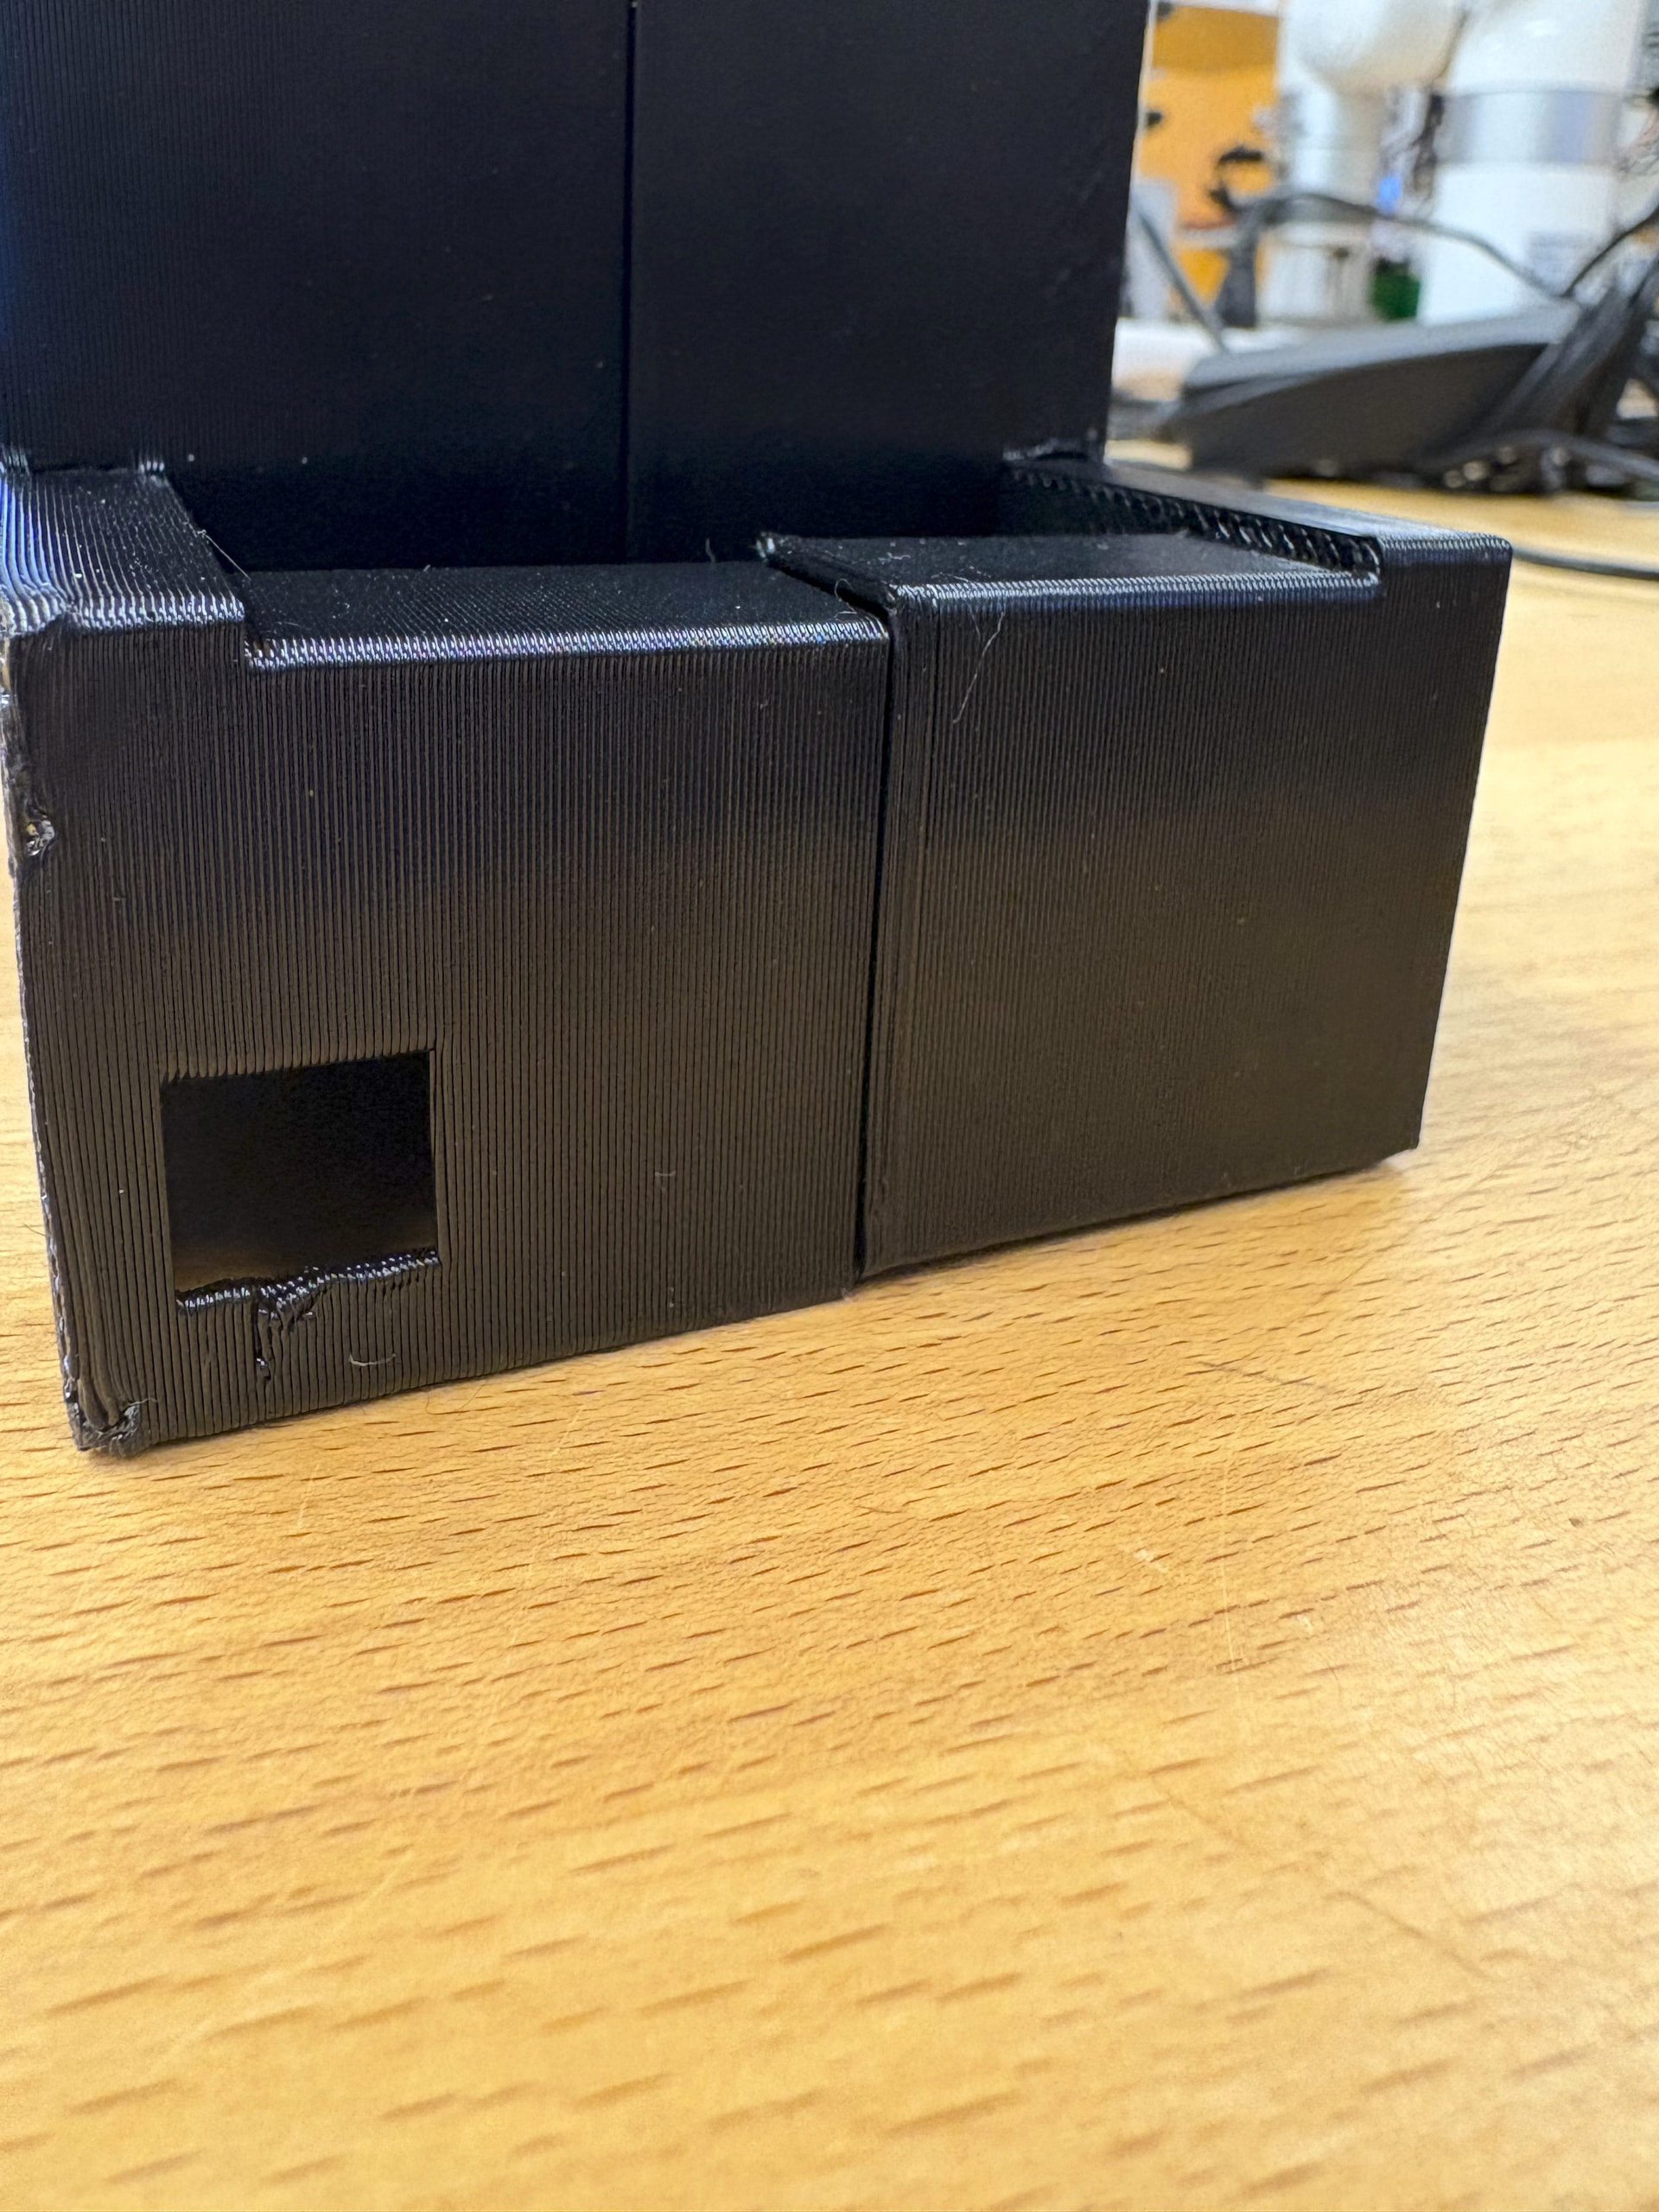
Initially, the printer was equipped with a 0.8mm nozzle from previous projects. I printed the sensor package wireless charging port using this nozzle with unsuccessful results.
The two enclosures were unable to combine completely flush with the 0.8mm resolution.
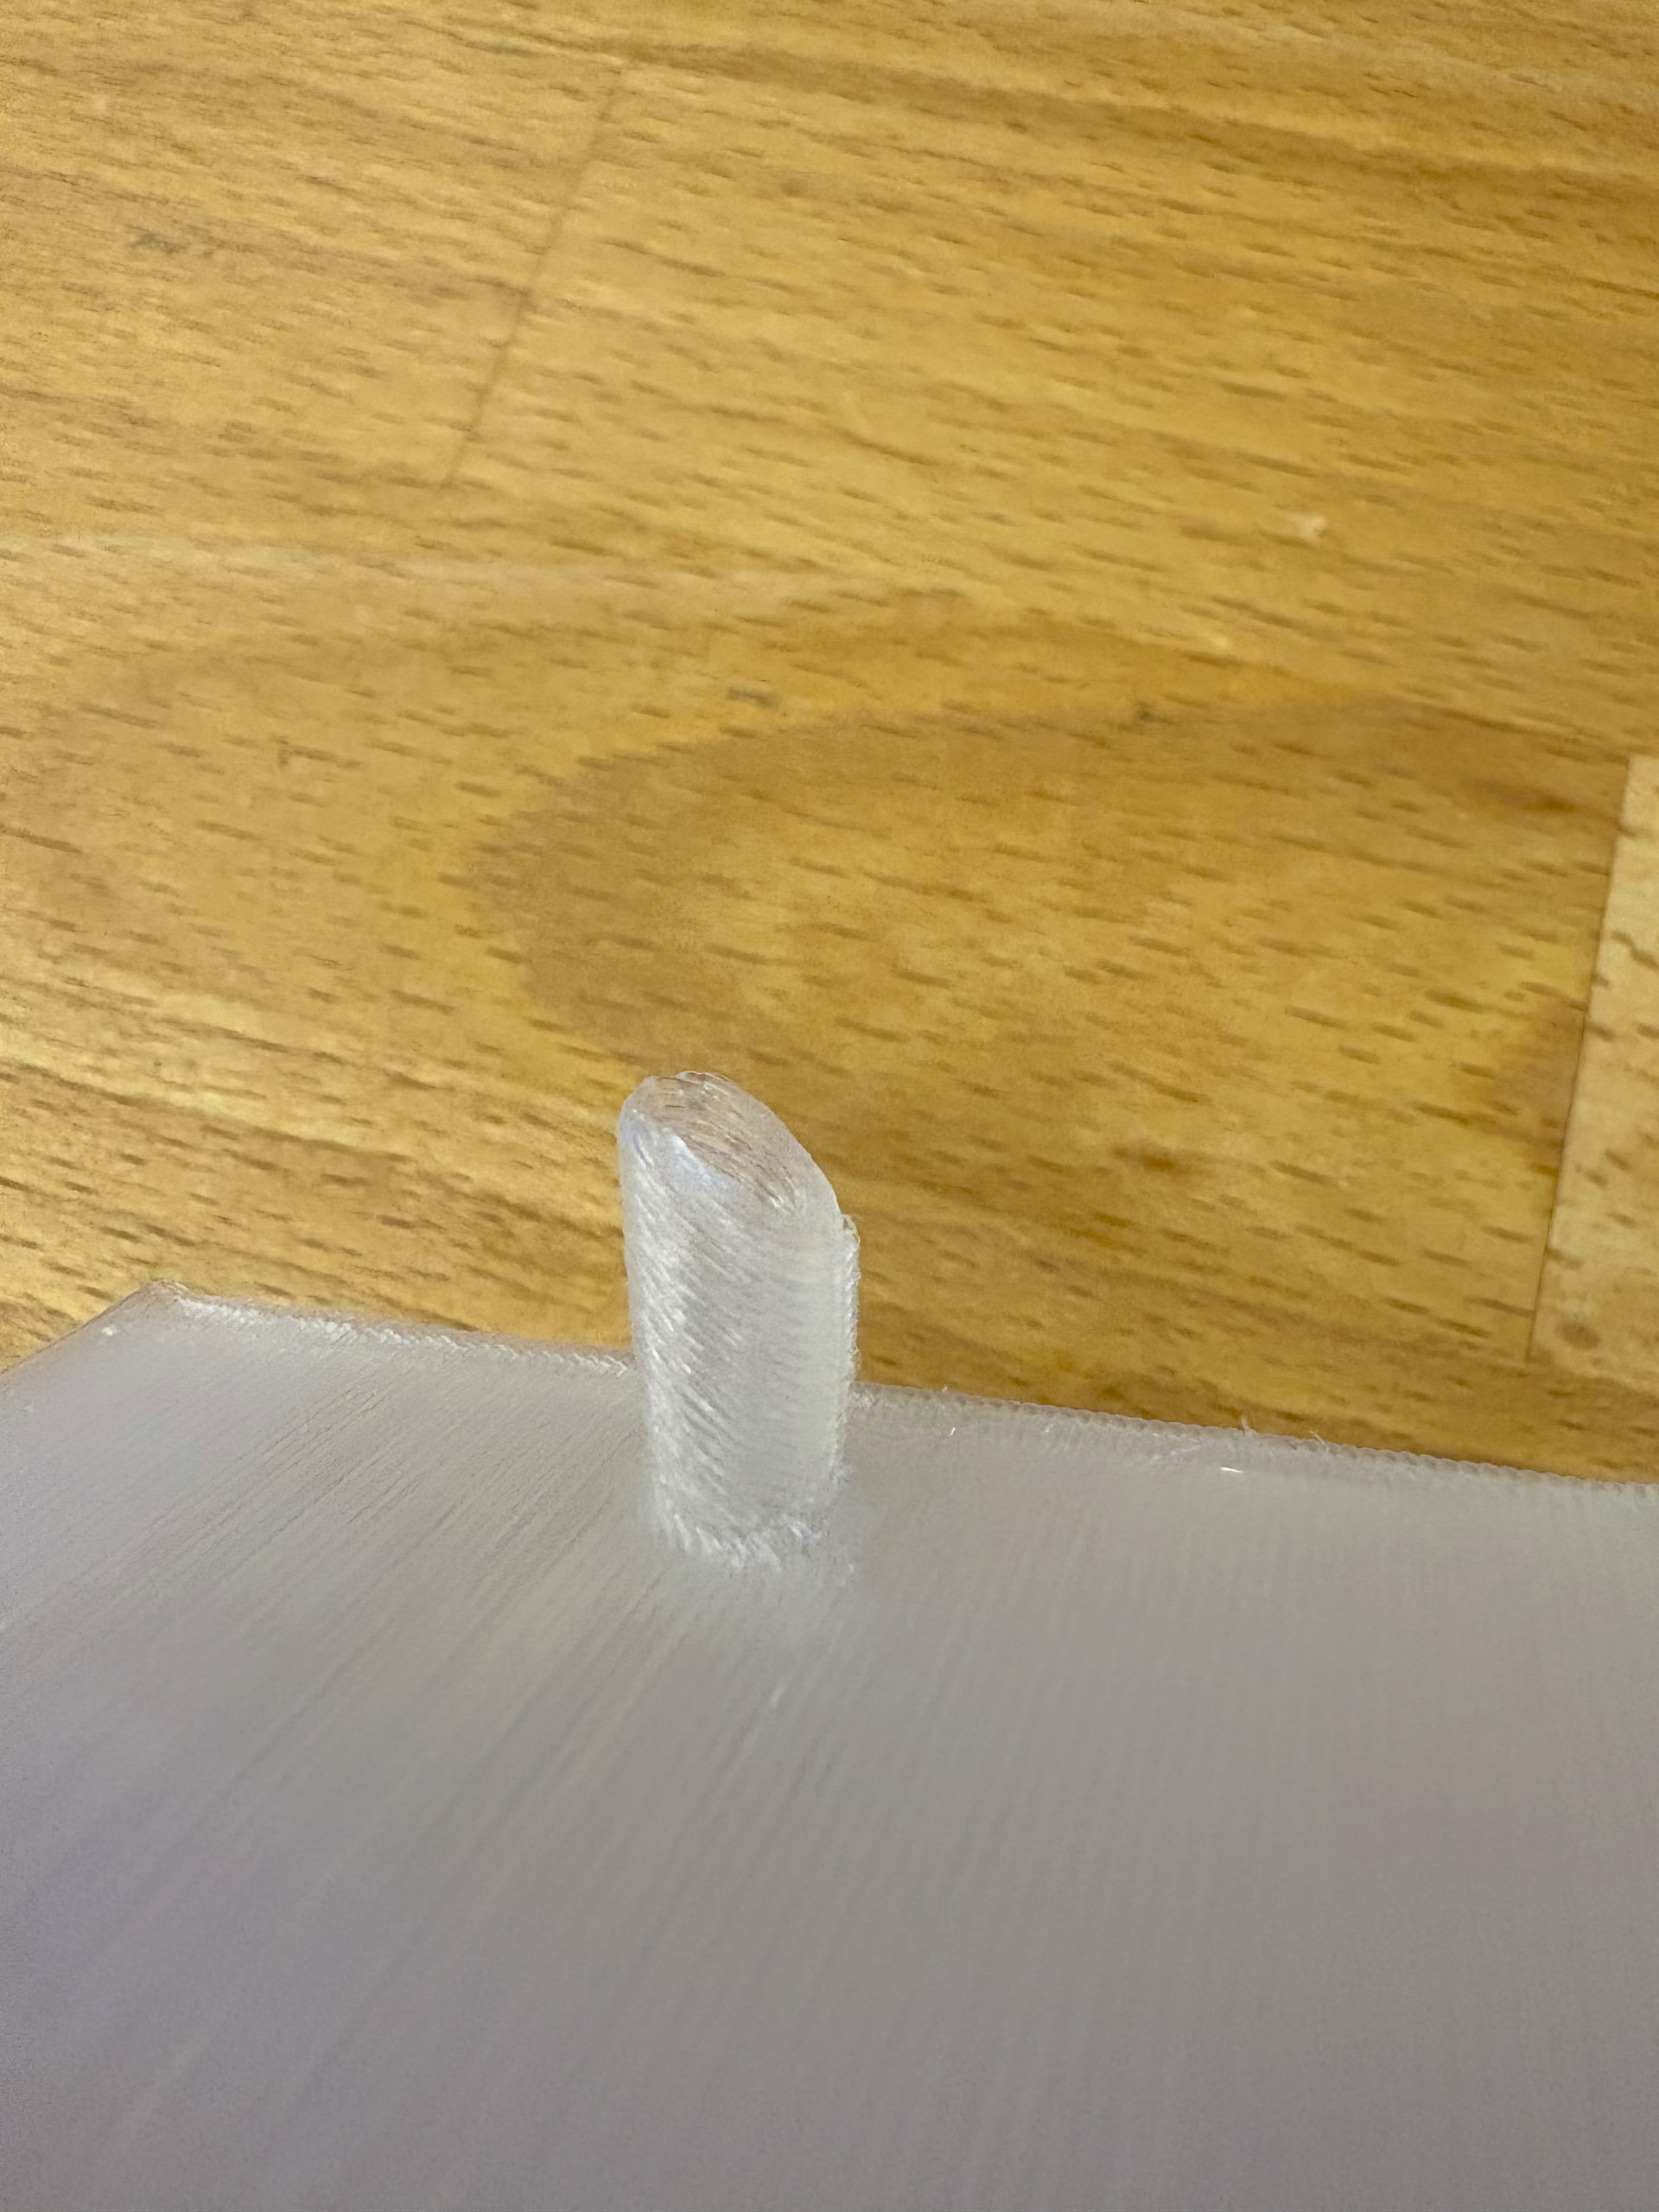
Similarly, the sensor package main enclosure would properly couple to an OT2 pipette. I printed the sensor package main enclosure on its 45 degree edge to avoid the need for supports in the stem that couples to the OT2. Since the coupling connection was too small with the 0.8mm nozzle and the stem was printed at this angle, the stem snapped when trying to attach.
I reprinted these parts with a 0.4mm nozzle and these issues were not present.
I started assembling my components and everything was initially going smoothly.
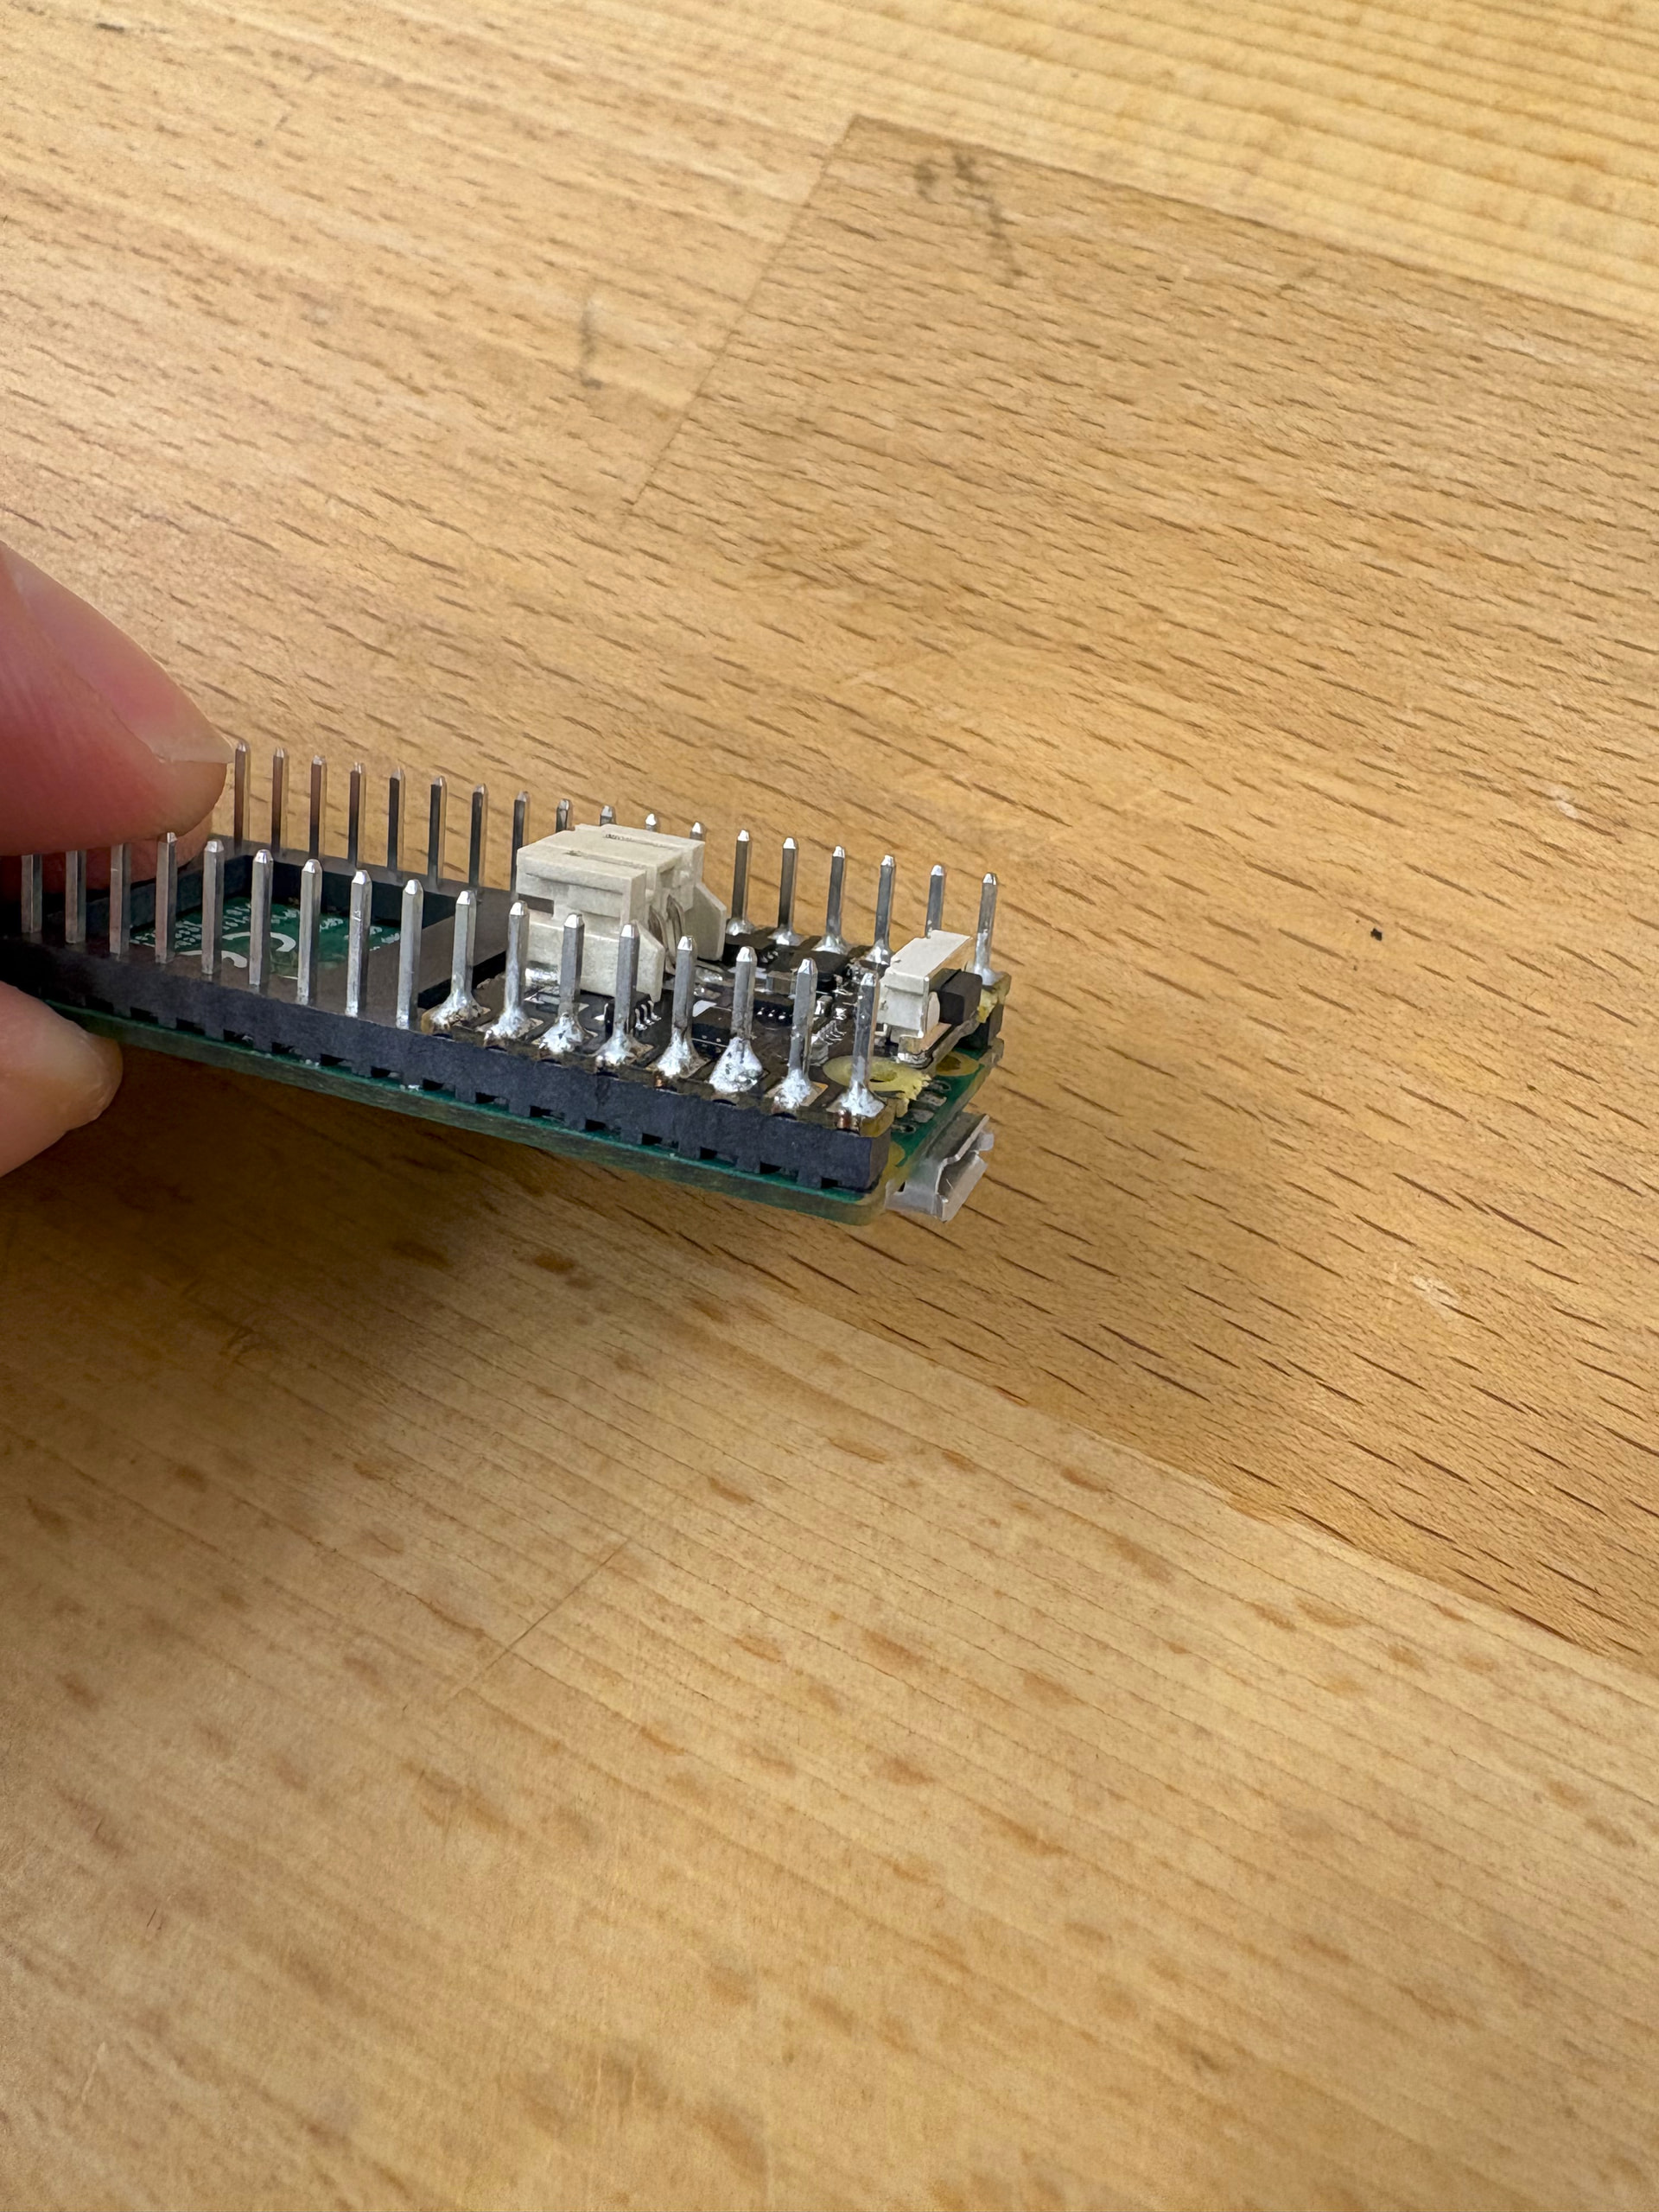
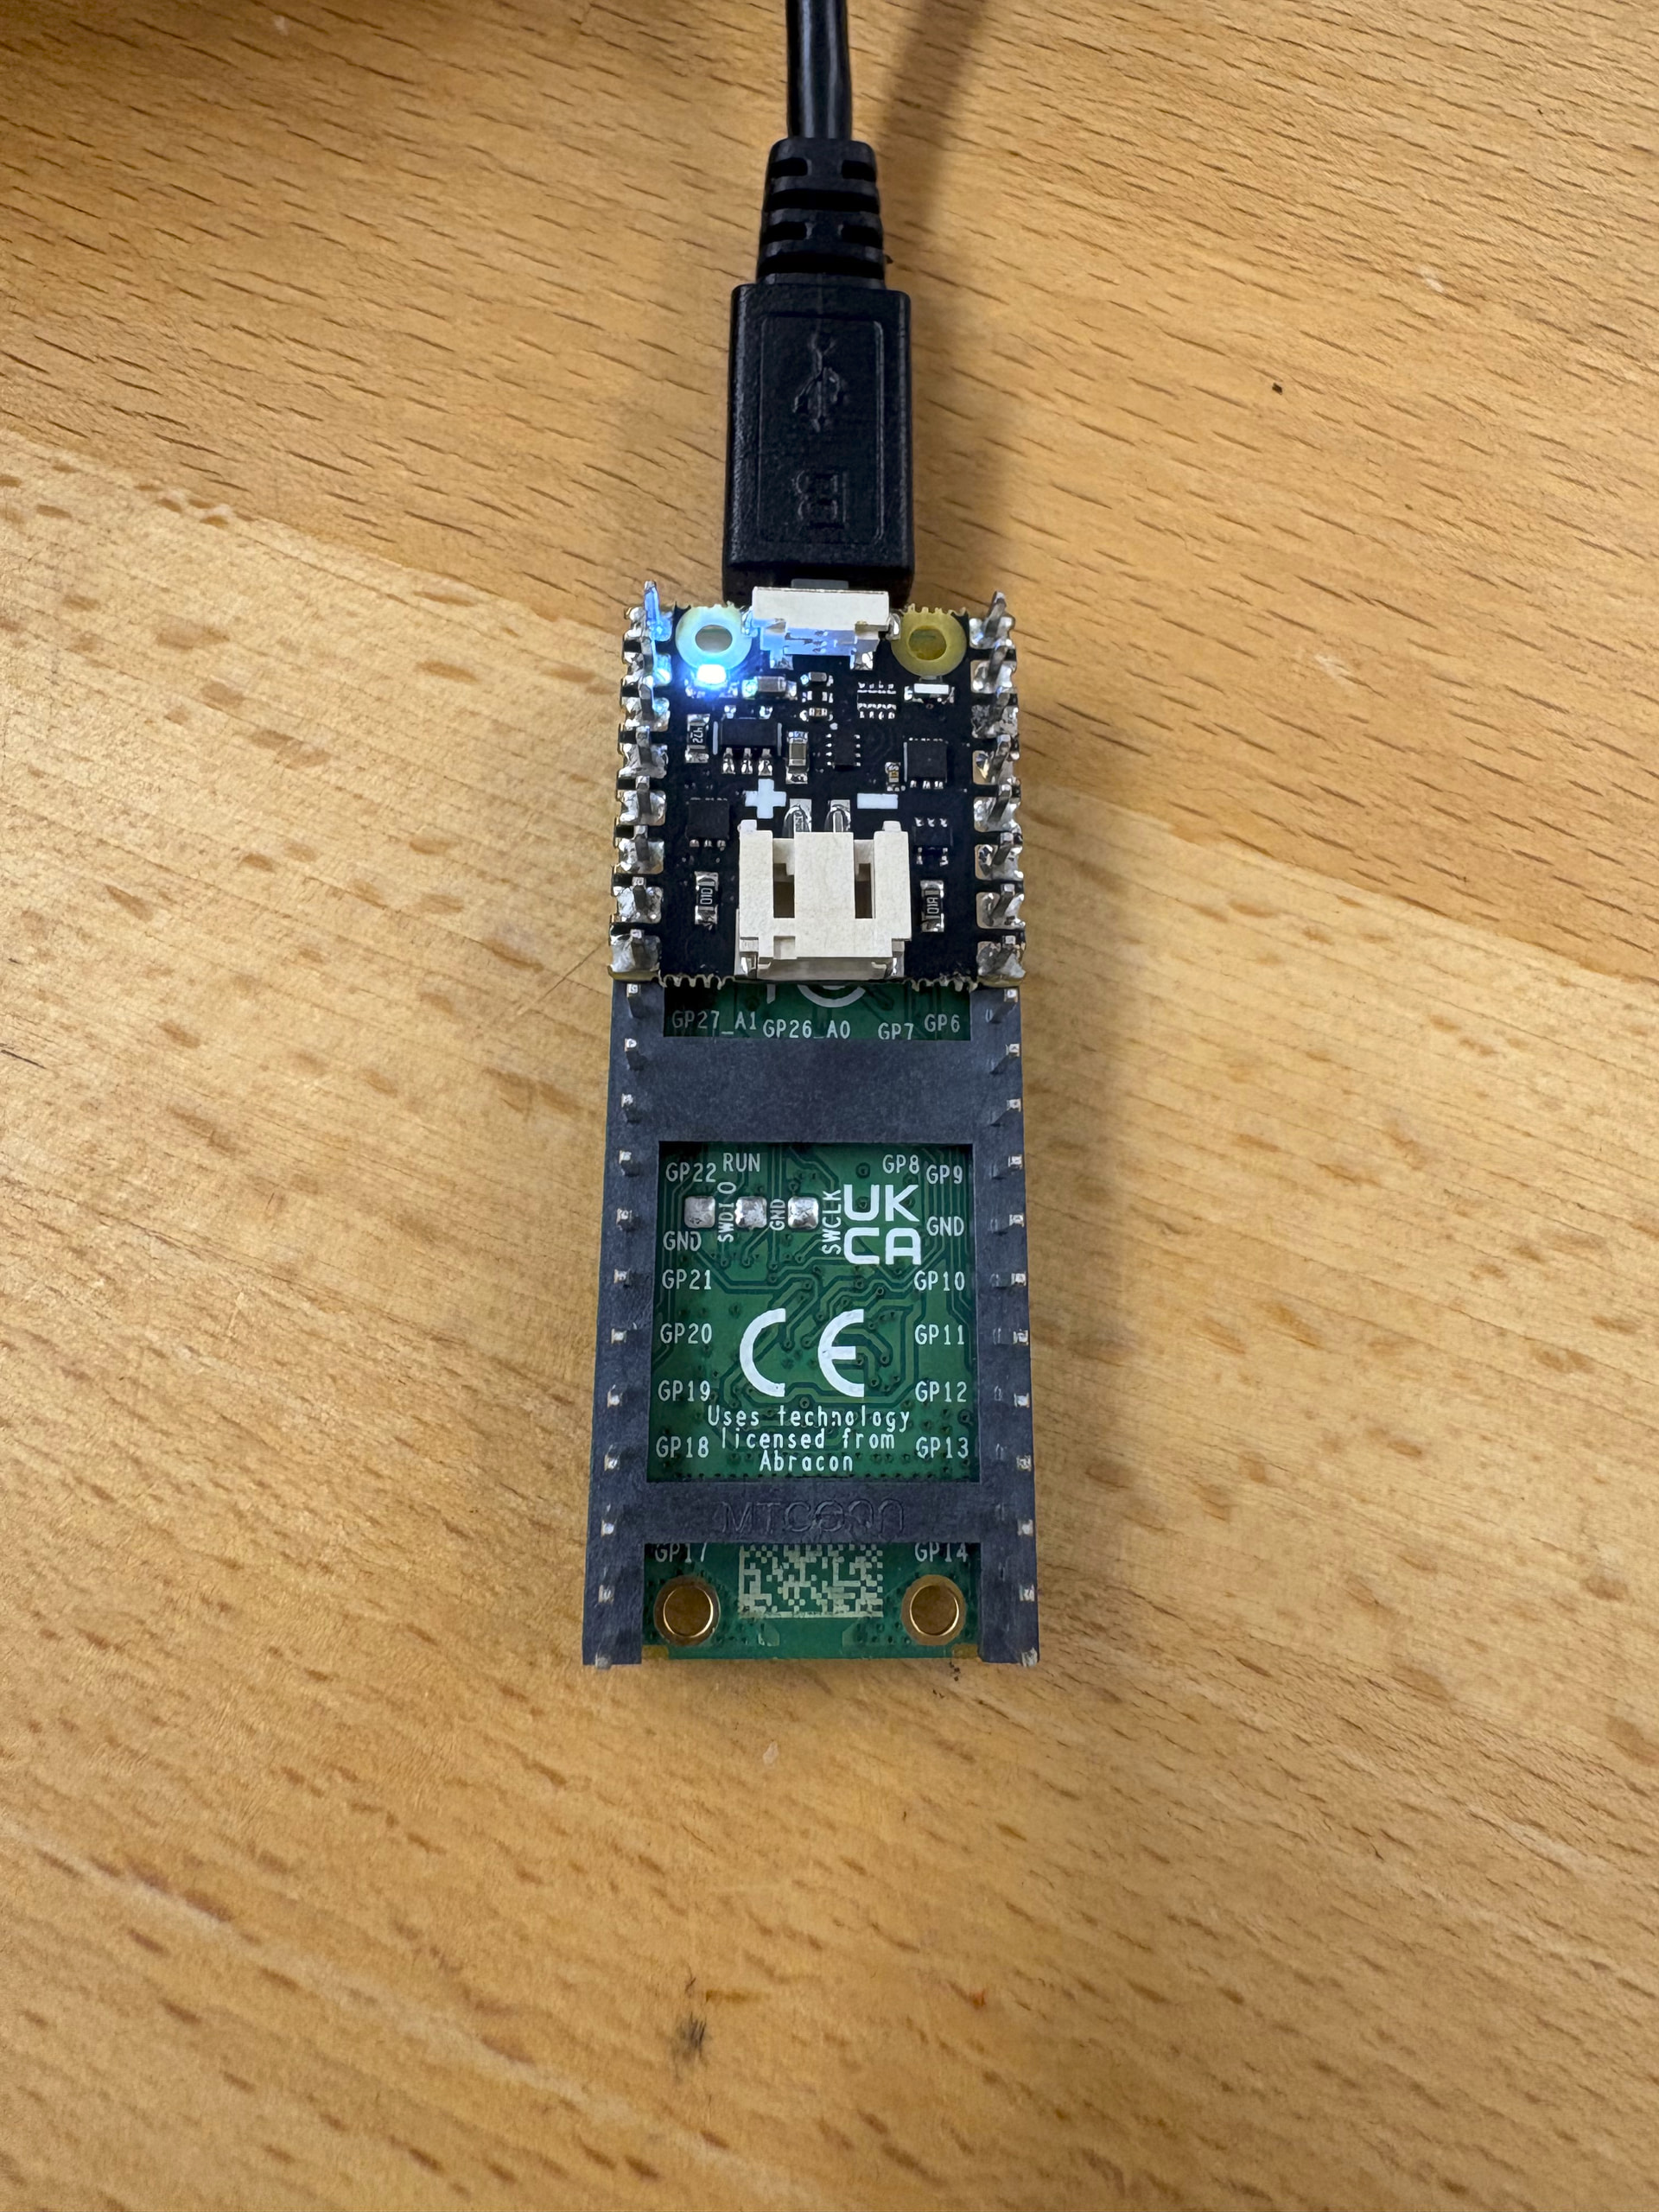
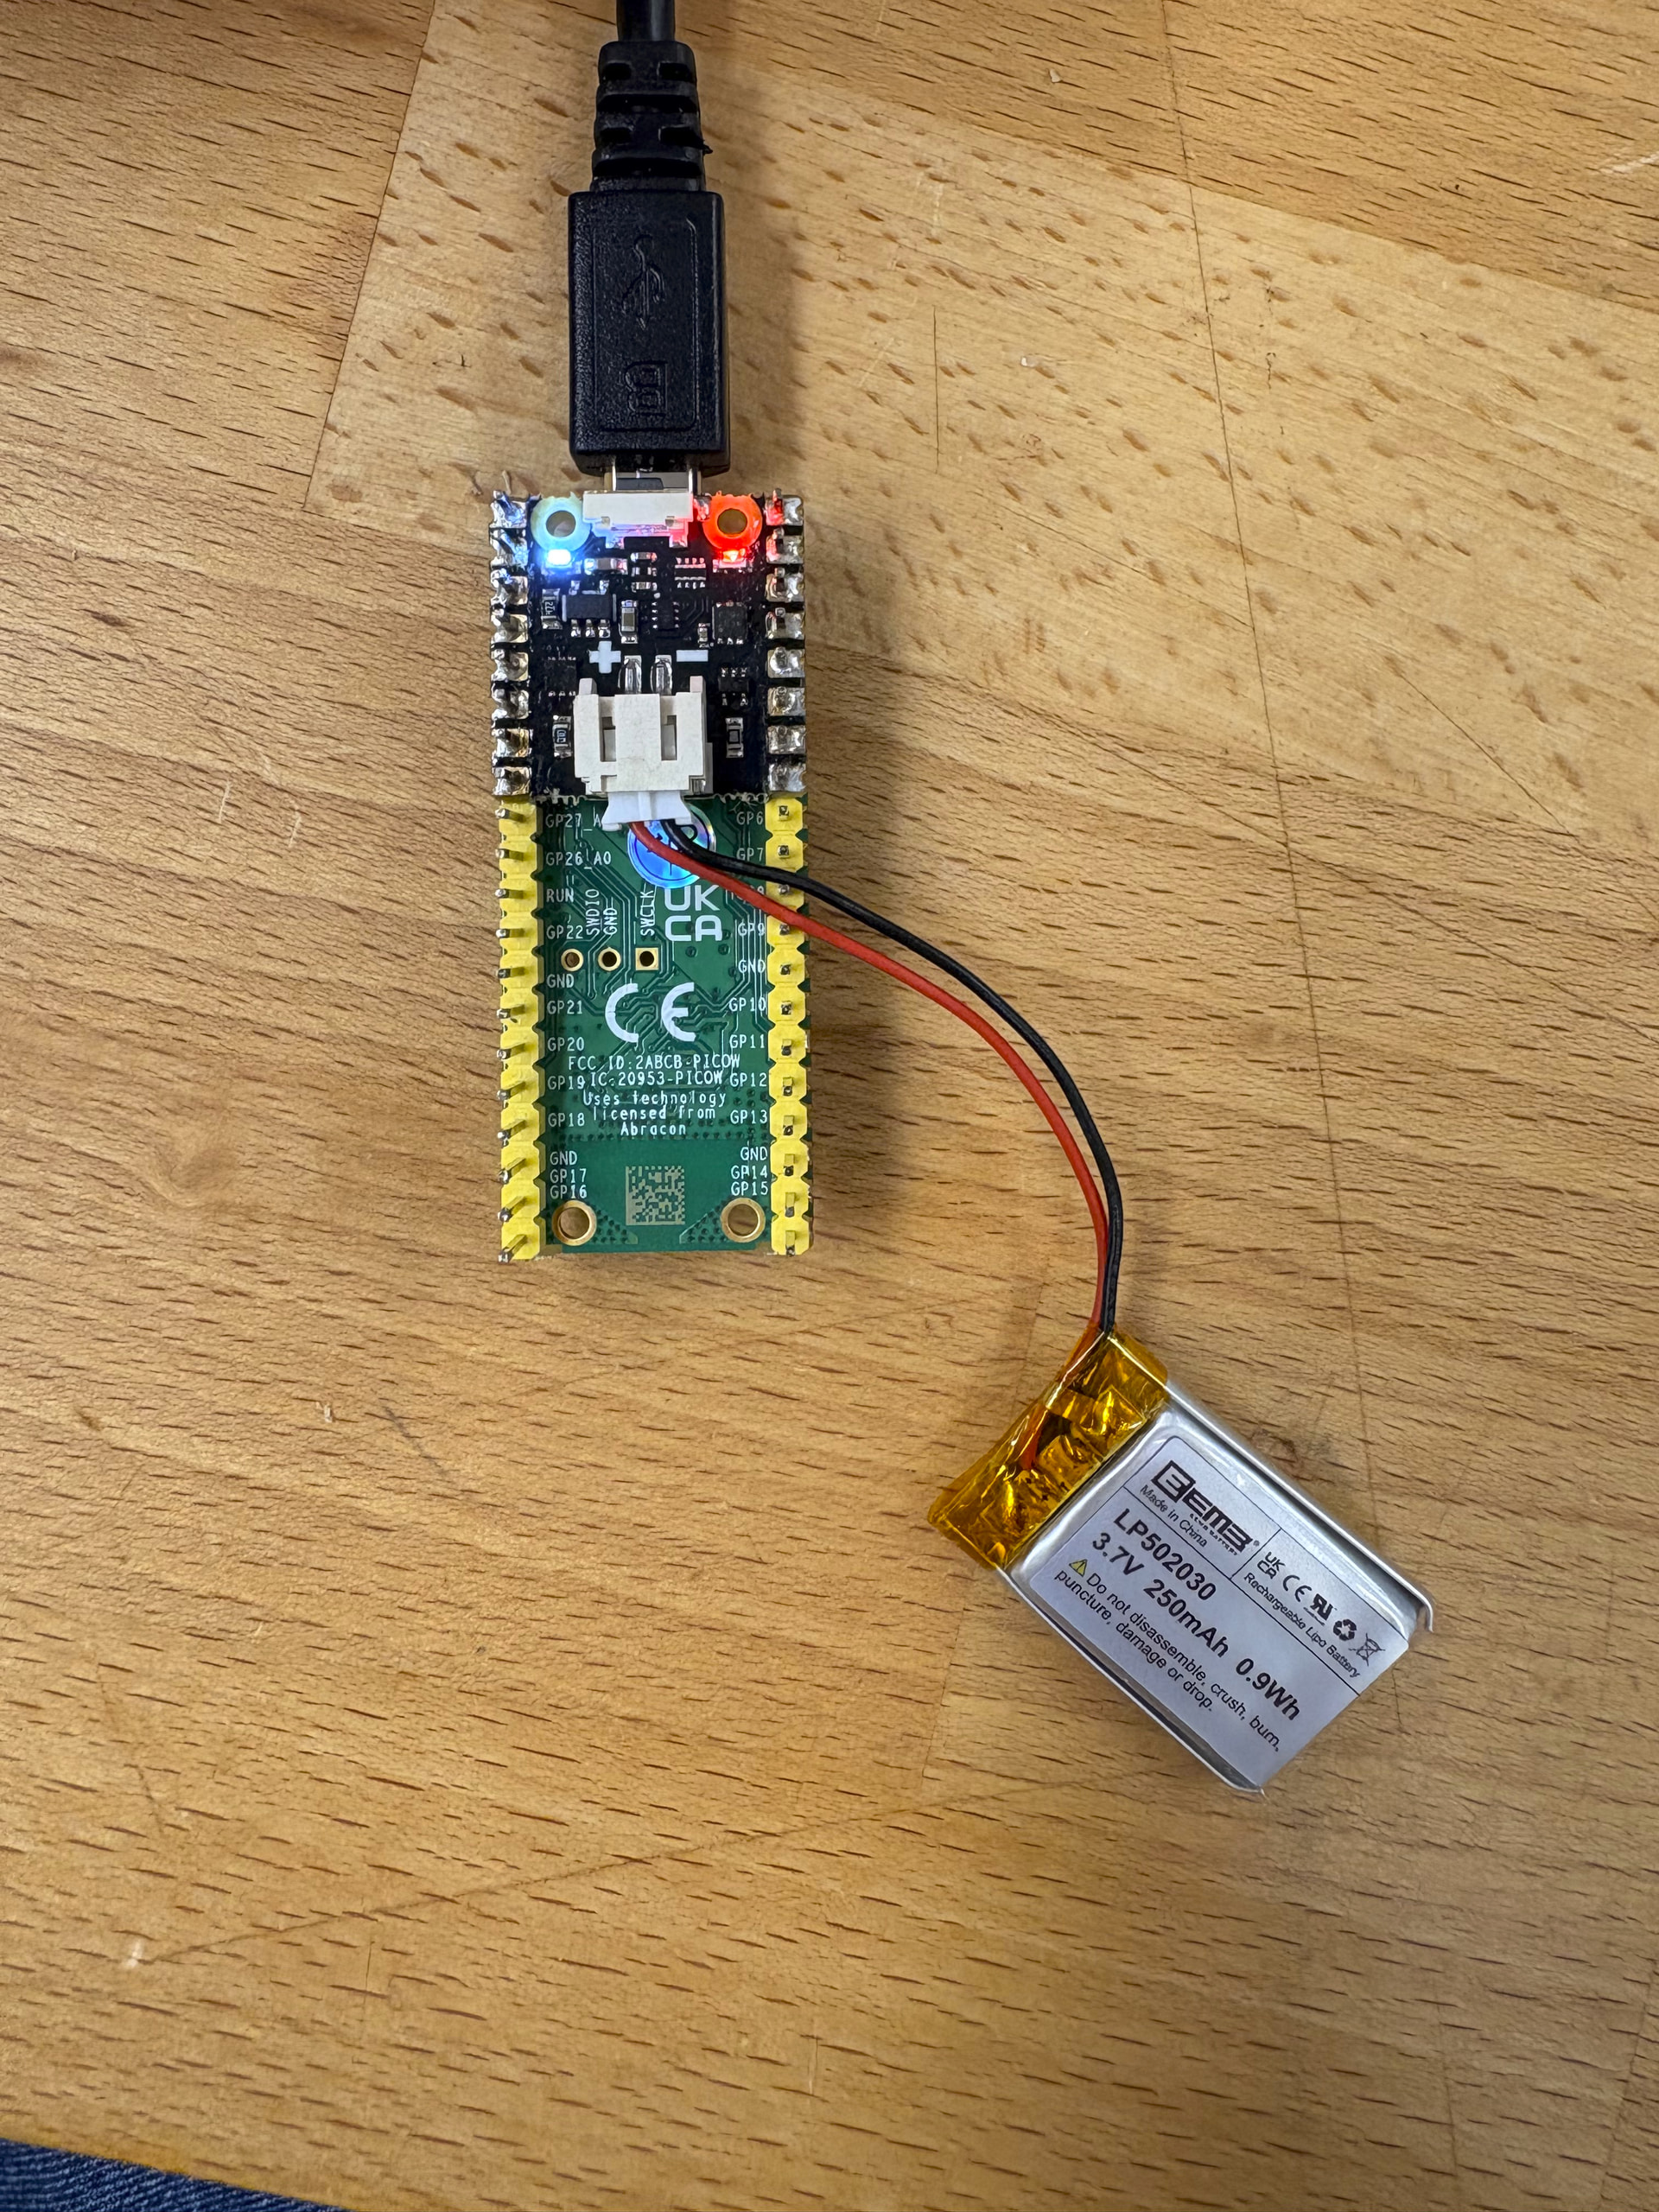
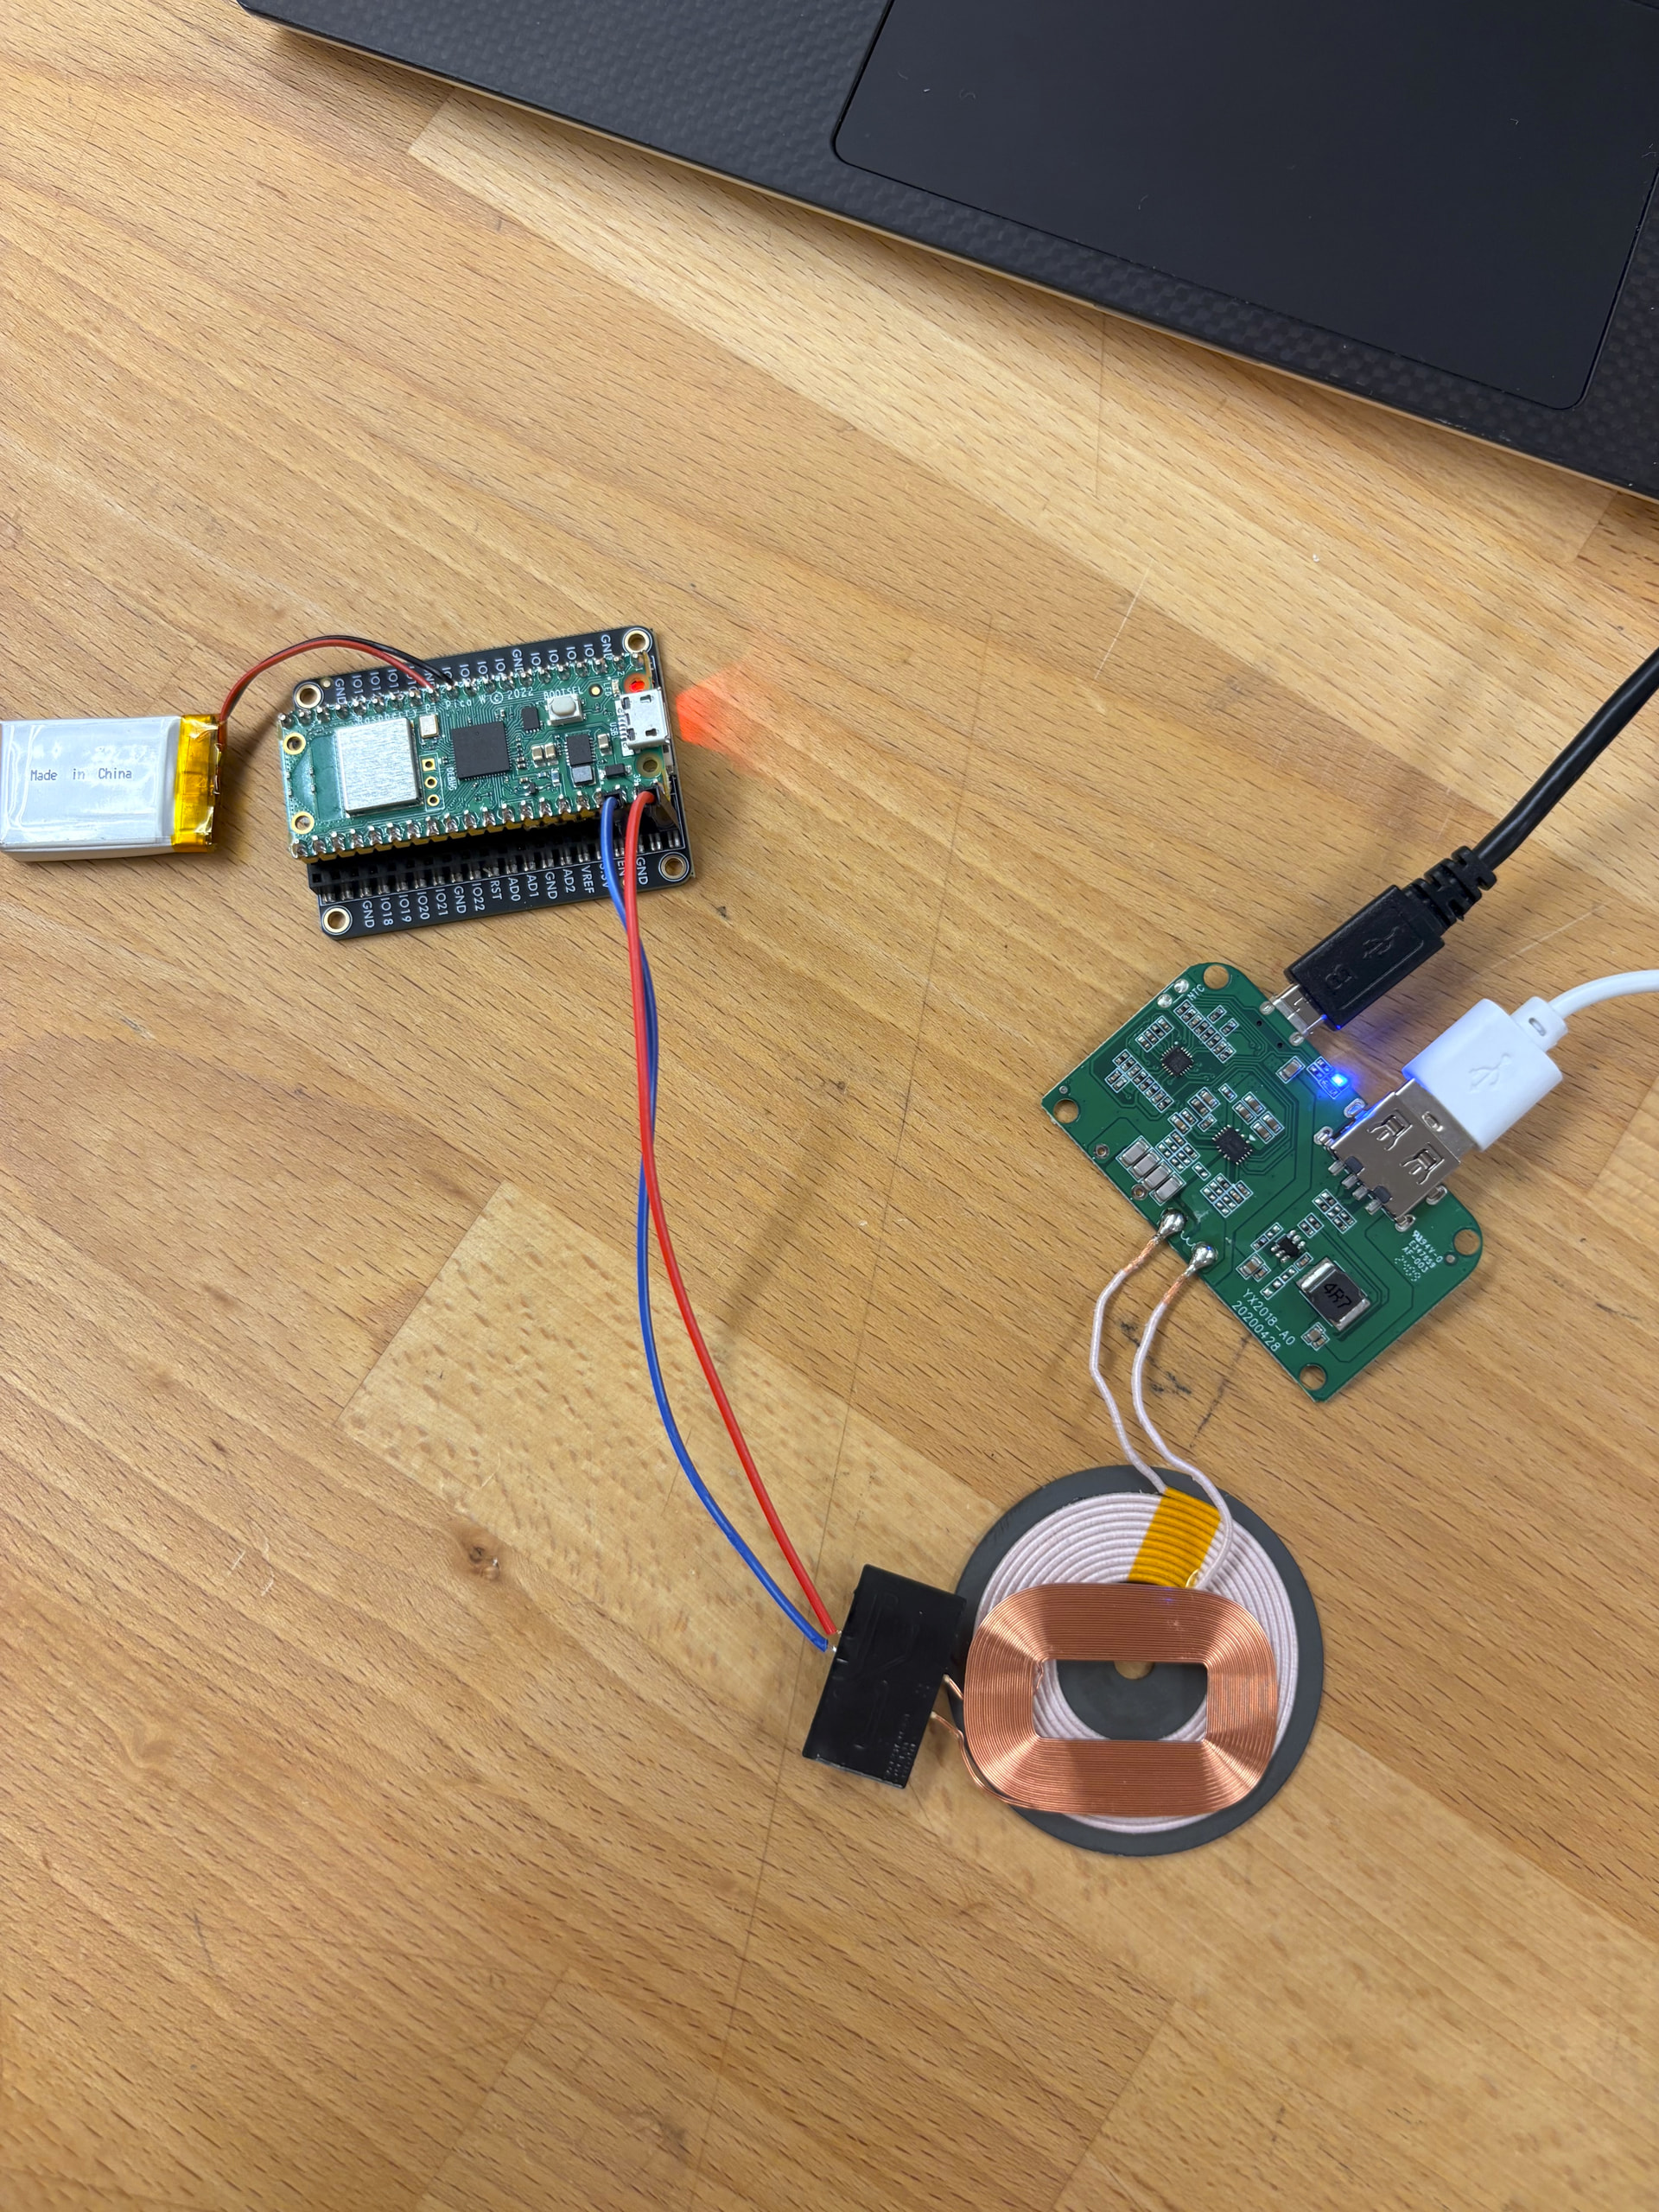
I soldered the LiPo SHIM onto the PicoW and tested the connections turning on the white LED when connecting it to a power supply via micro-USB.
Note I am a pretty amateur solderer, but I feel like it turned out well!
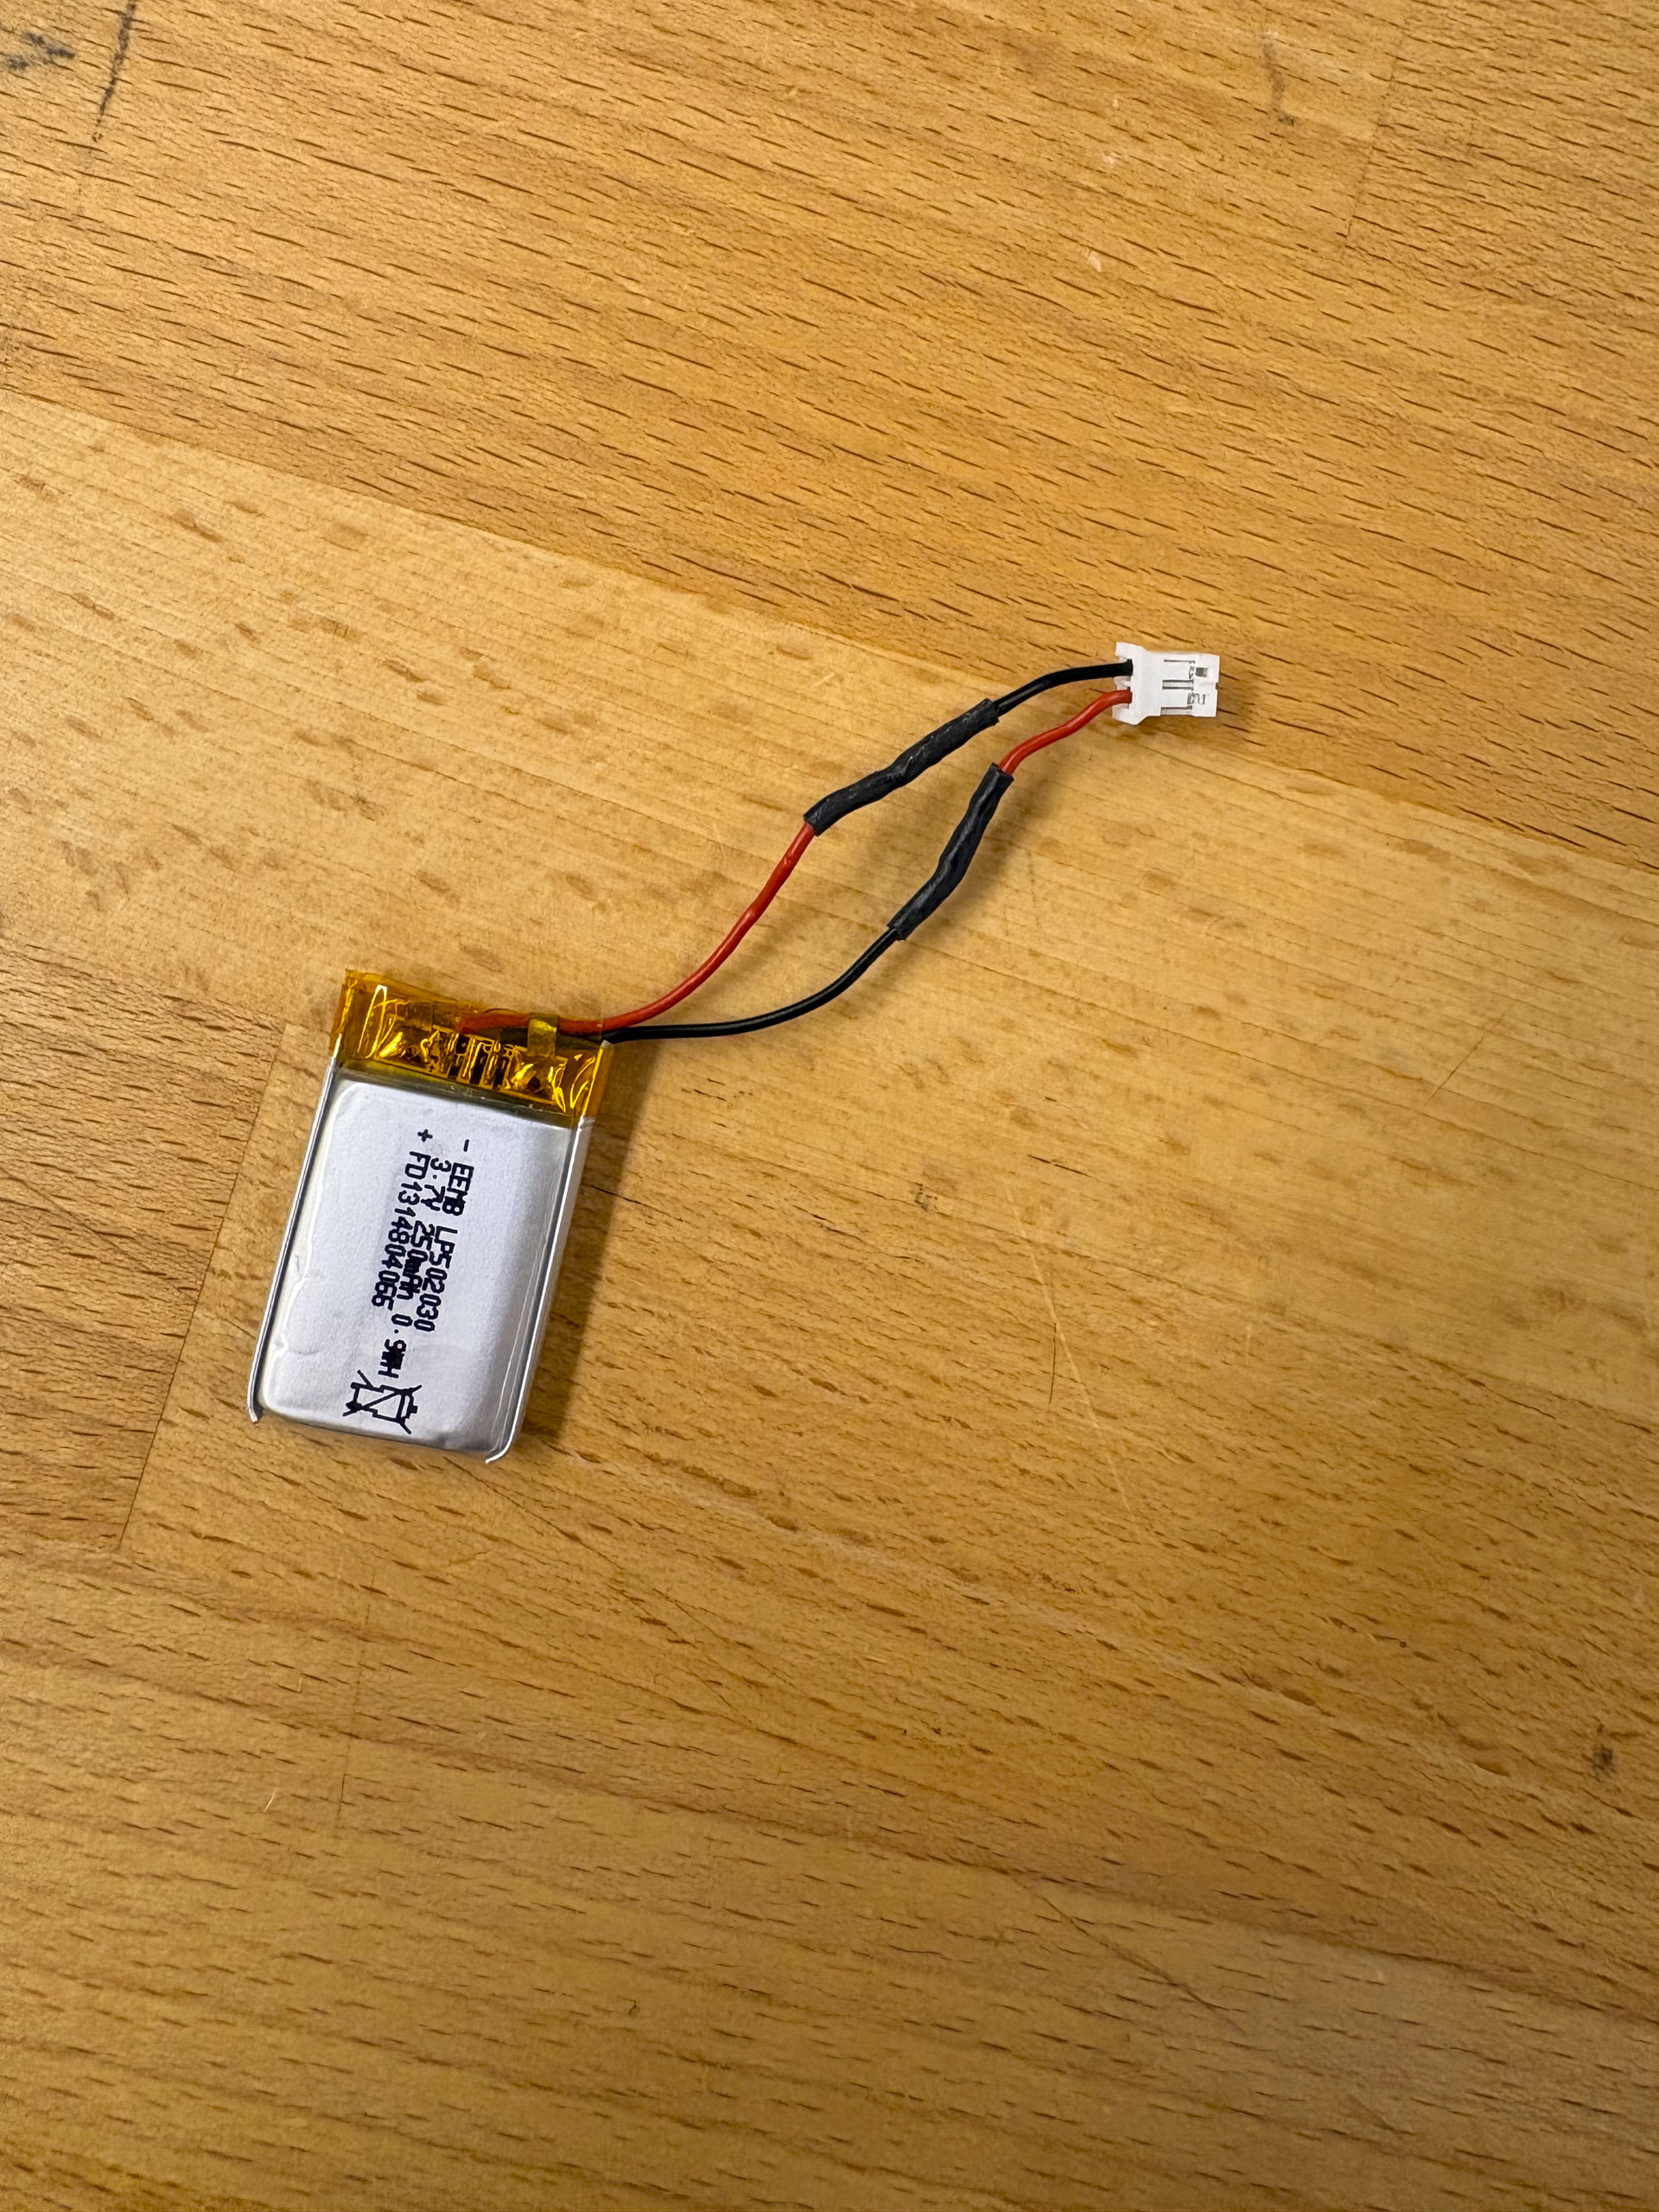
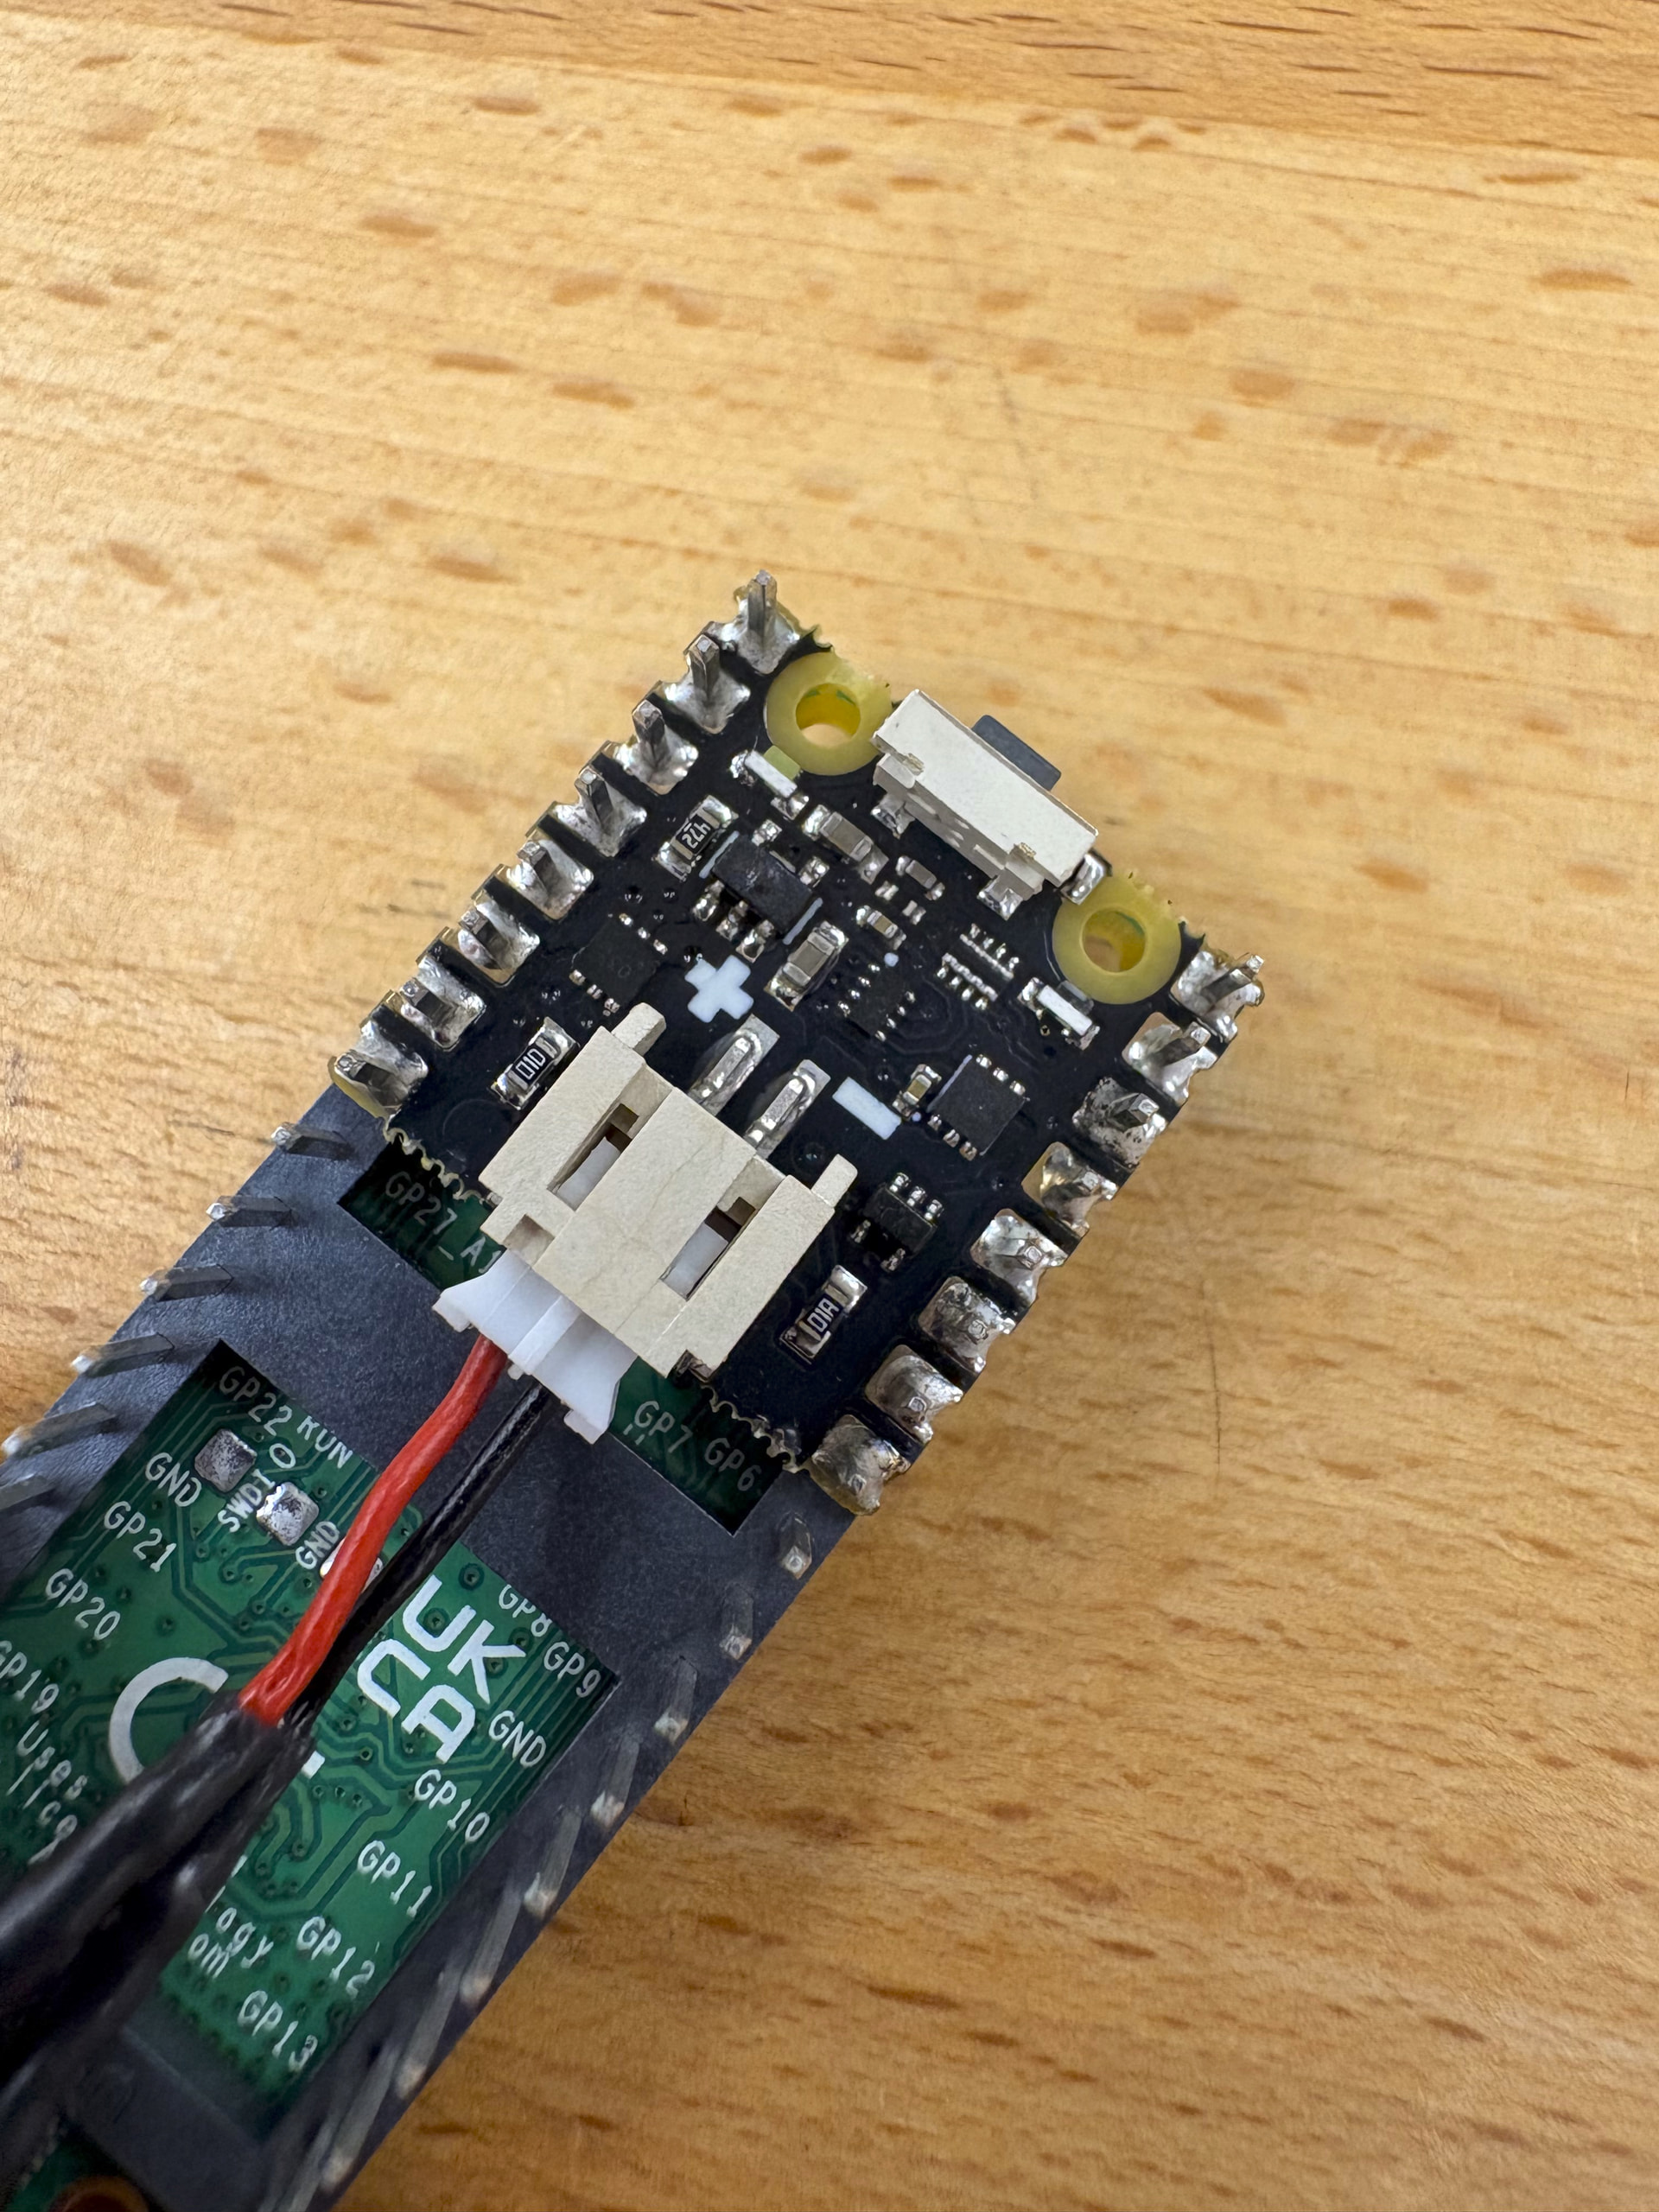
I purchased the exact battery listed in the BOM and switched the polarity as per the hardware assembly instructions. When I plugged in the battery to check for the red LED, I was met with excessive heat, smoke, and a bubbled IC on the LiPo SHIM…
I am not sure why my battery had the opposite polarity than the one in the assembly guild. Looking at the battery again, the one I bought clearly matches the polarity of my LiPo SHIM. Unfortunately since I was “blindly” following the instructions, I did not catch this until it was too late. I have a new shim on its way.
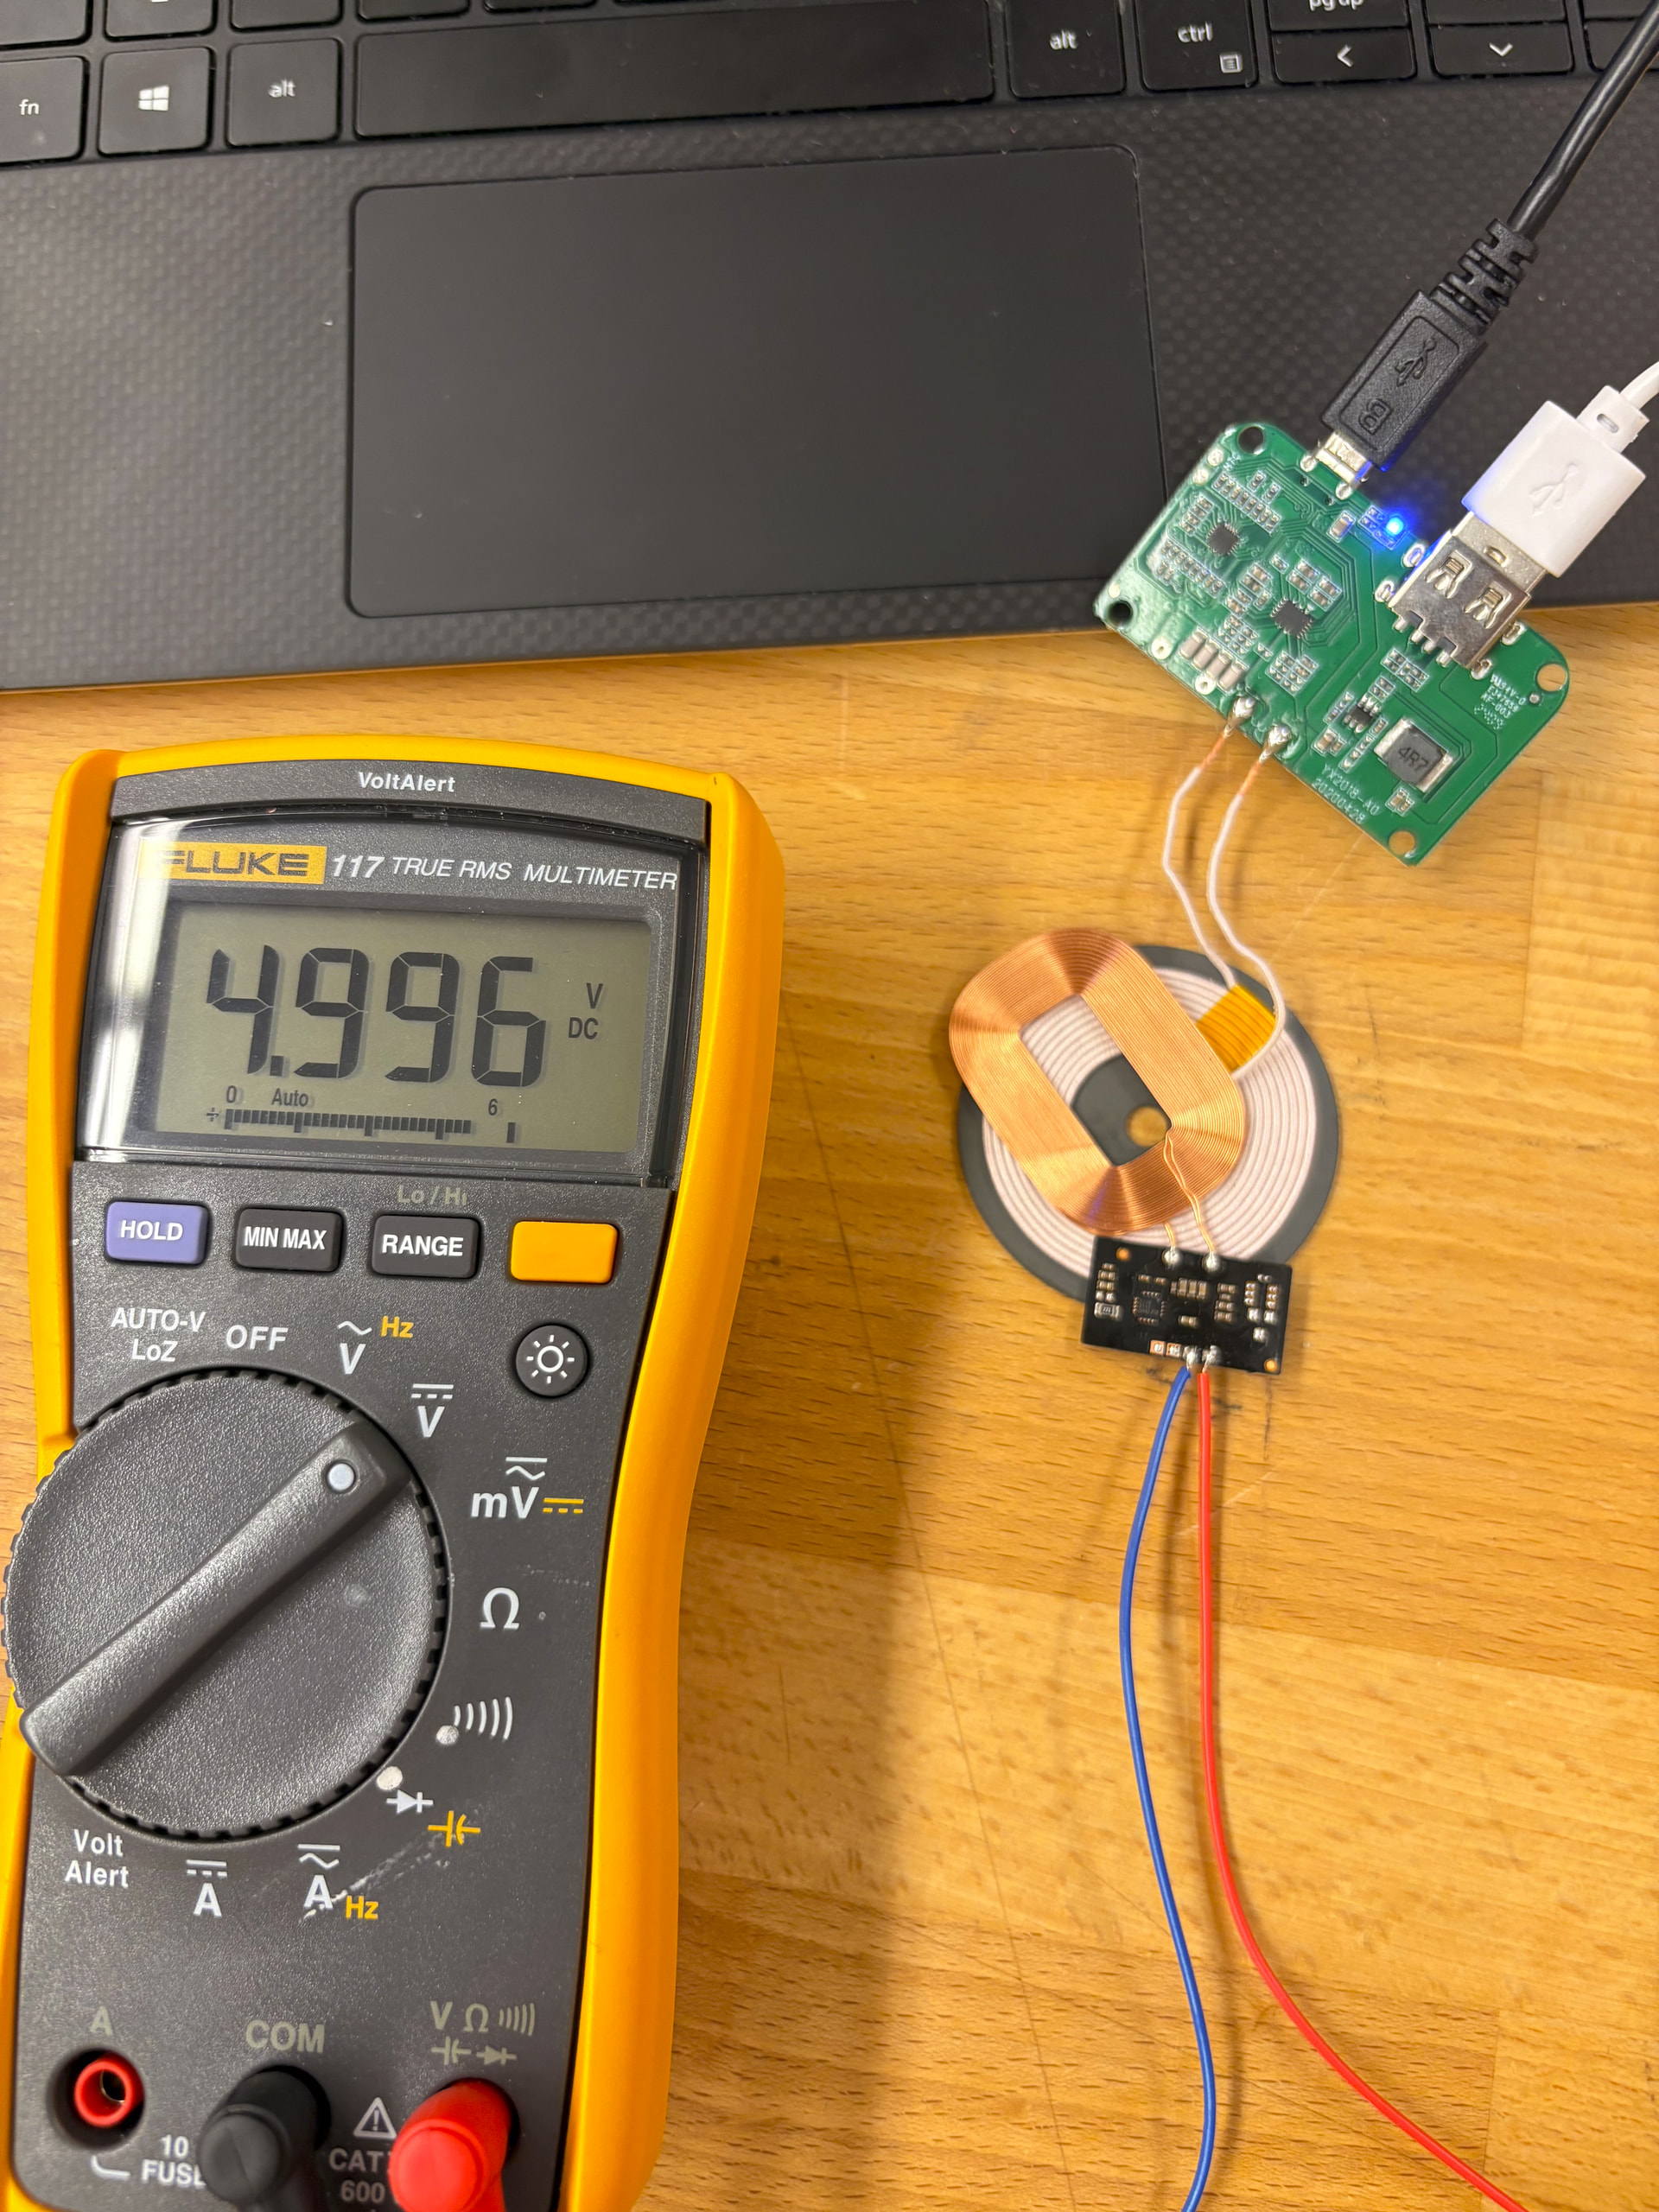
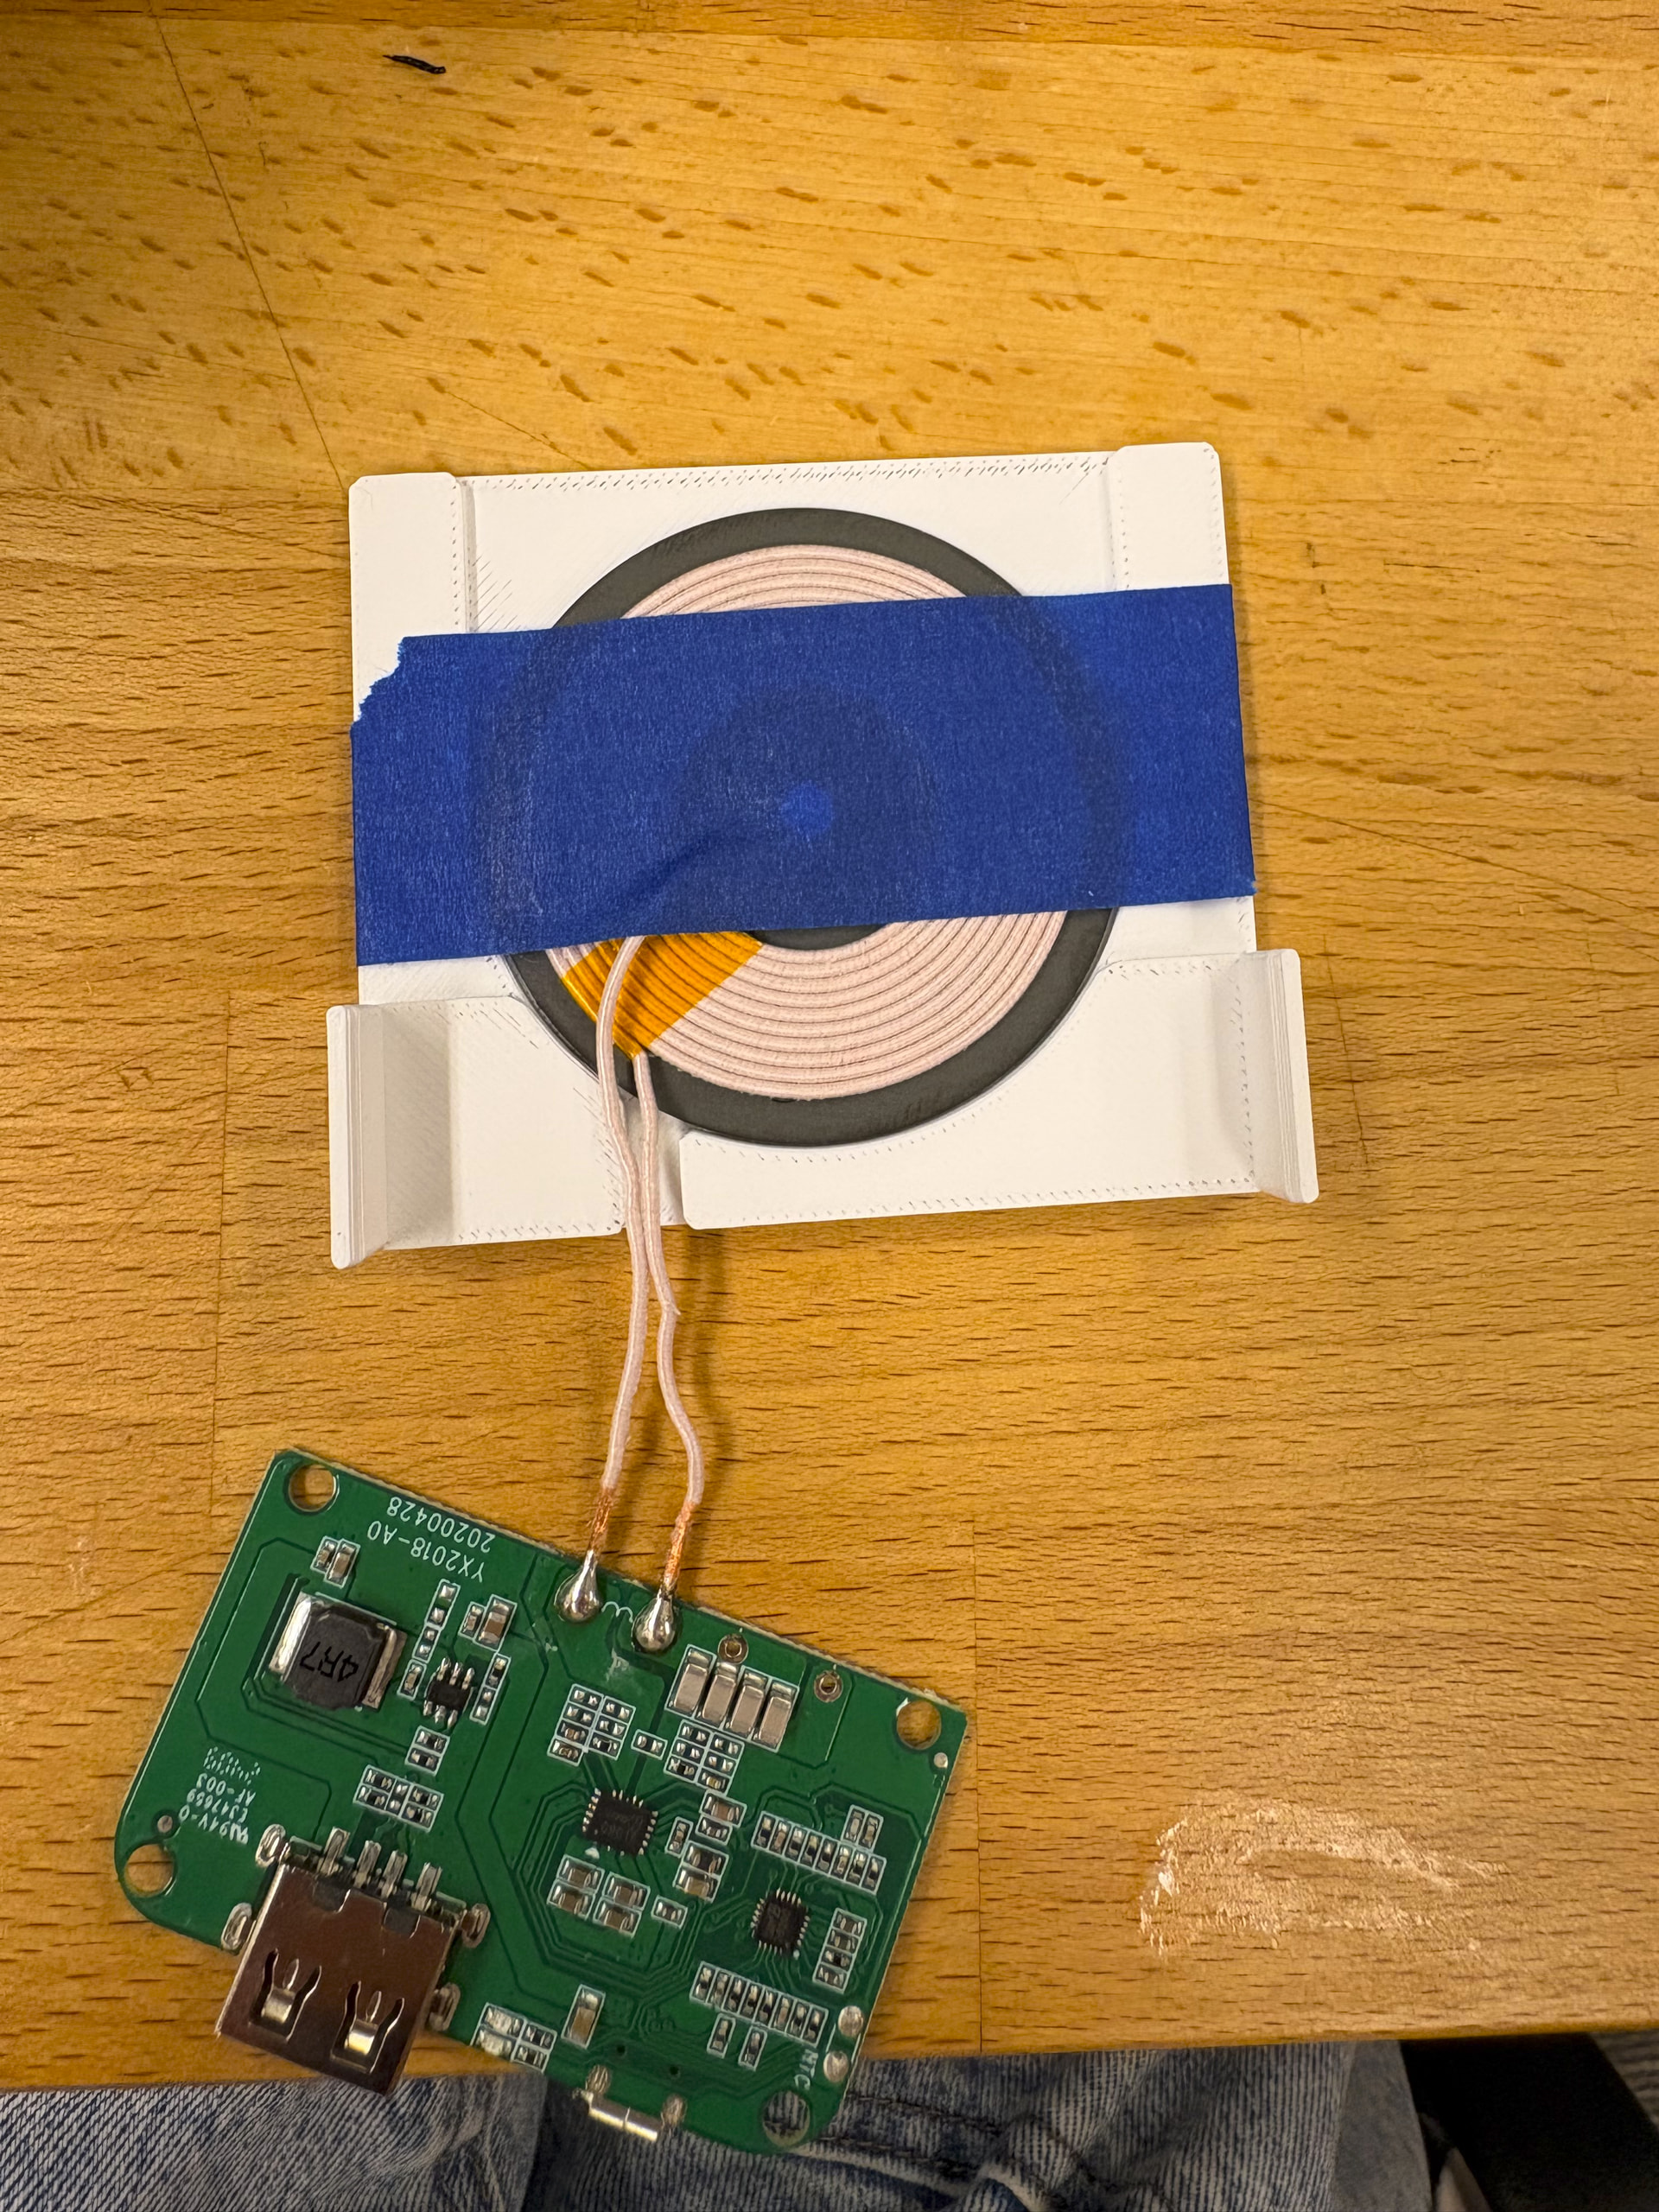
I also assembled/ tested the wireless charging unit and successfully got 5.00 volts on my multimeter.
Currently de-soldering my busted SHIM and waiting on a new one to continue assembly.
1 Like
Assembly
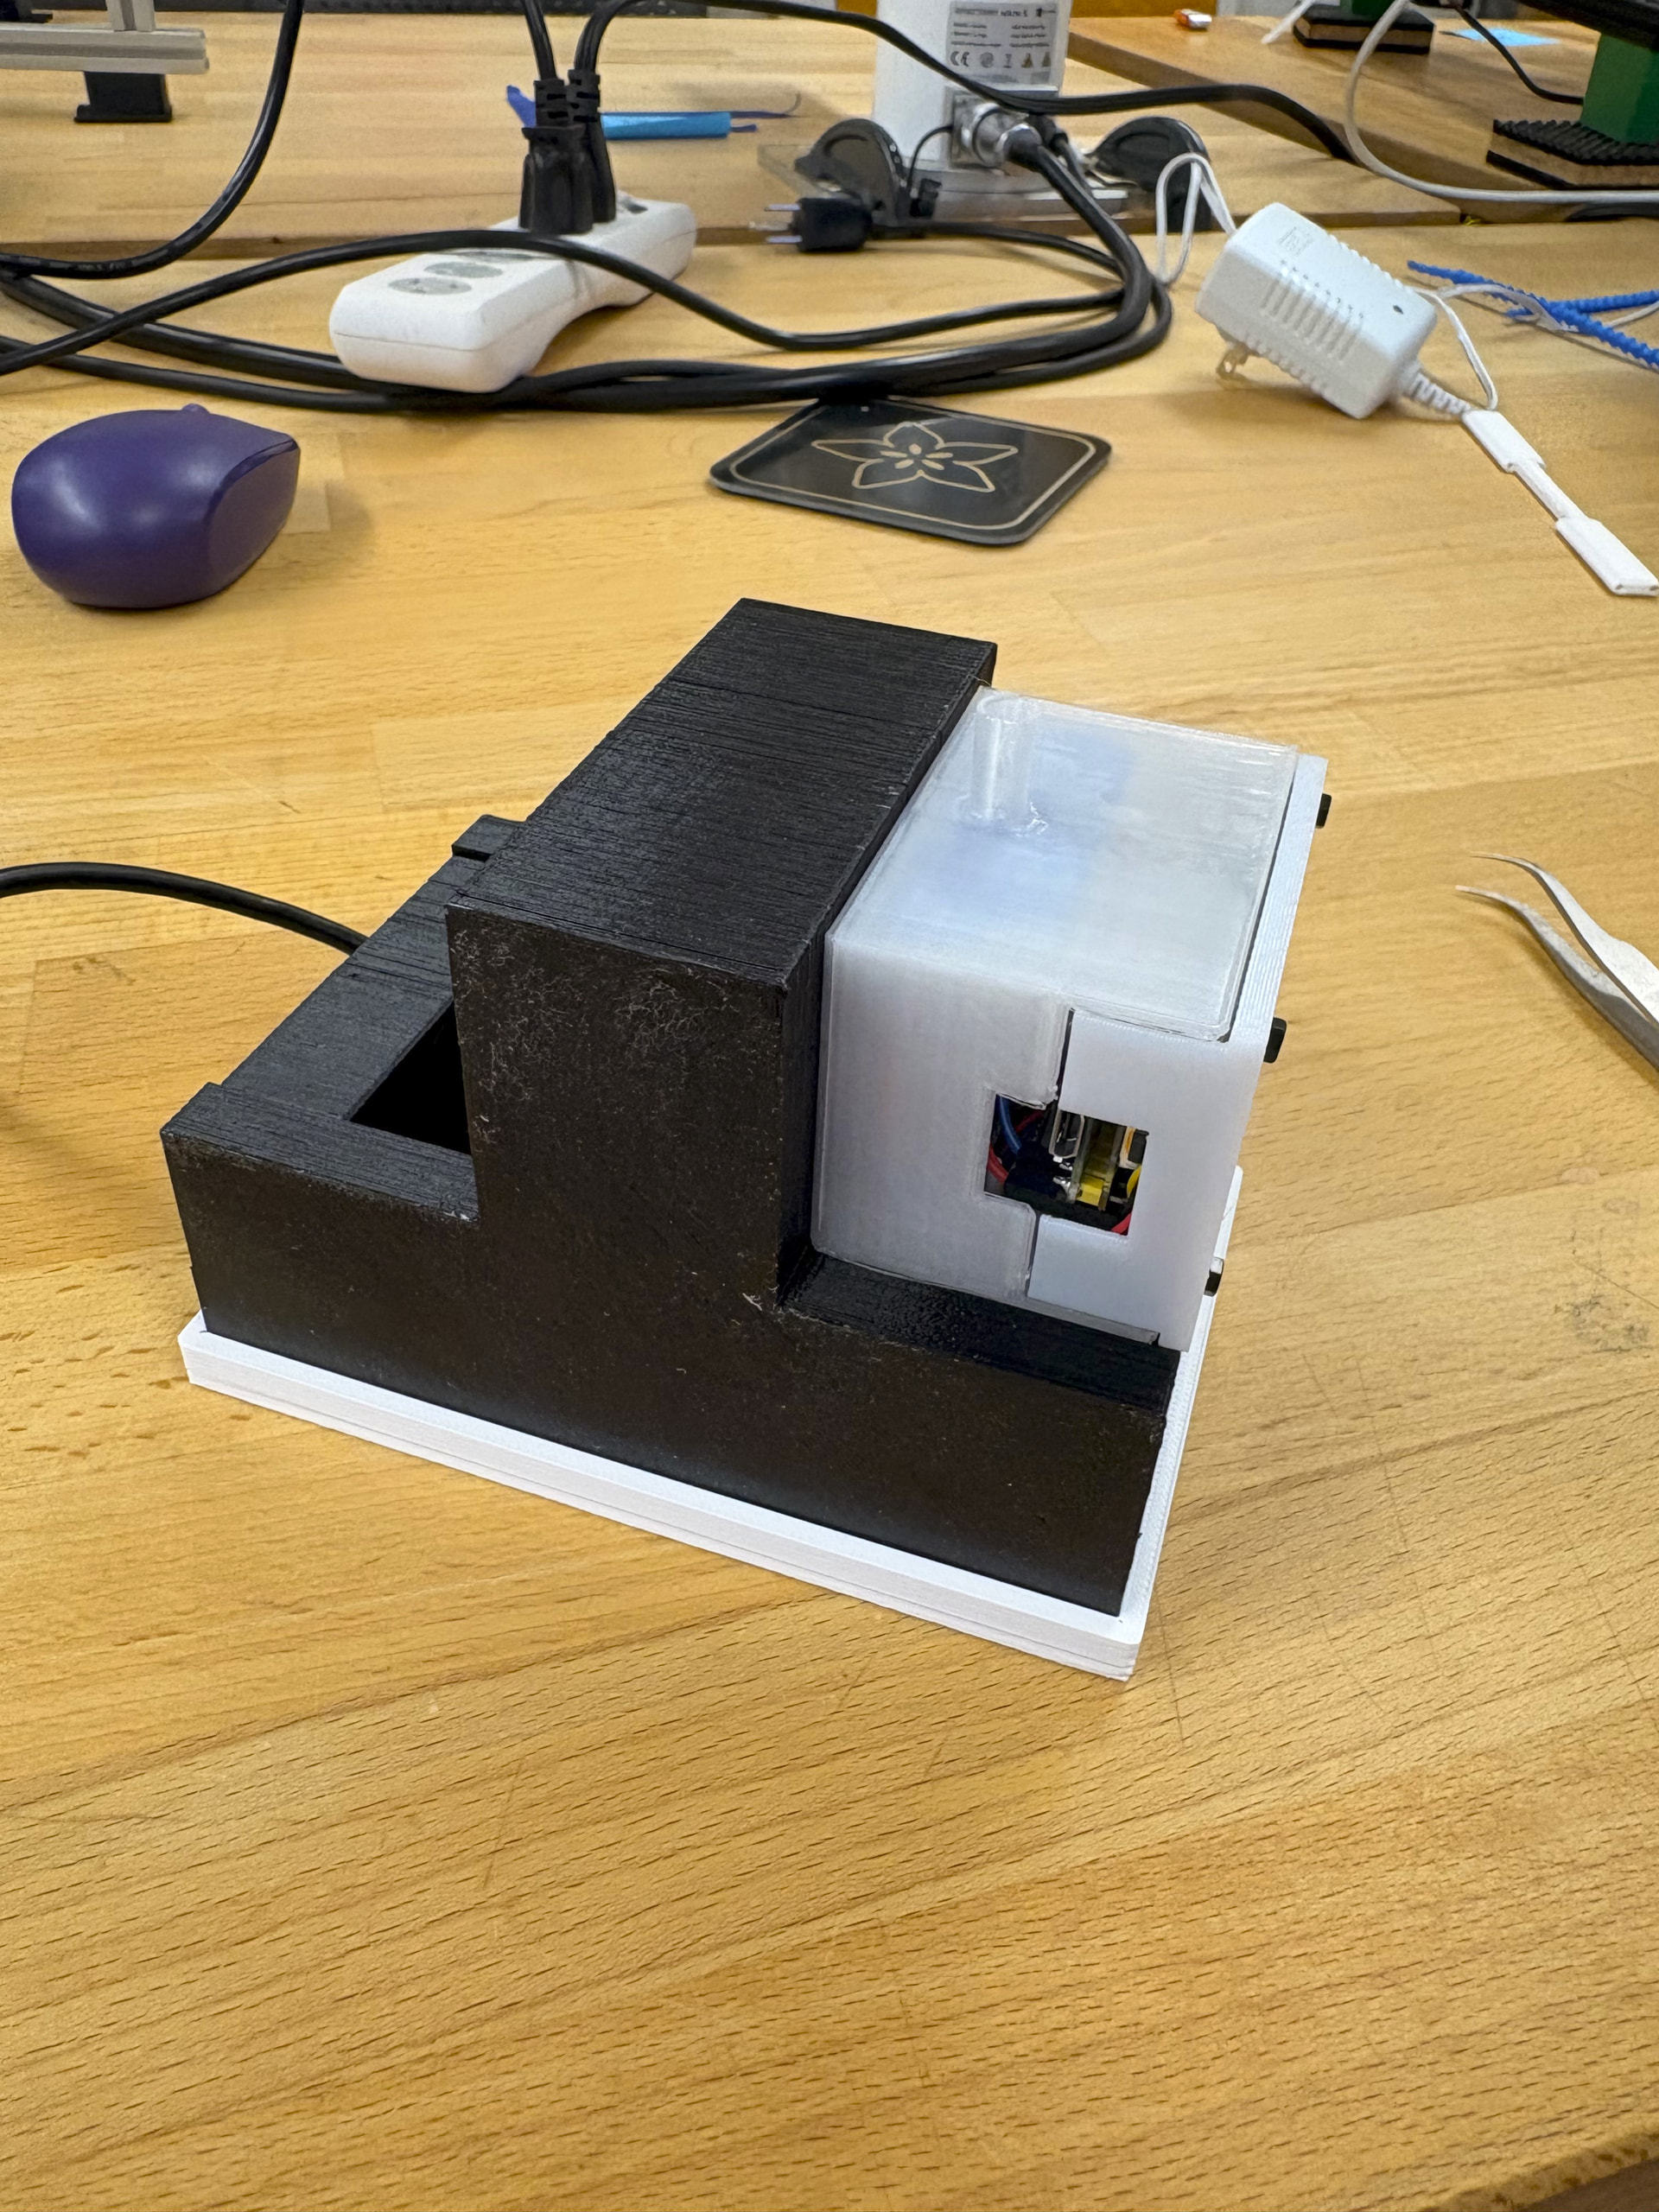
I have fully completed the hardware assembly and am currently in talks with a chemical engineering lab that had an OT2 that I can borrow time on to test this out.
The assembly process was well documented with easy to follow with excellent visual and written instructions. Since this was a relatively straight forward build, I was able to construct this without the need of the assembly videos but in general, I find assembly videos to be quite helpful when assembling more complicated projects. I wish more instructions included videos in their assembly instructions.
My replacement SHIM took a few weeks to receive but once it came, assembly took about an hour. The battery that I ordered was the opposite polarity to the assembly instructions, so there was no need to re-solder the battery.
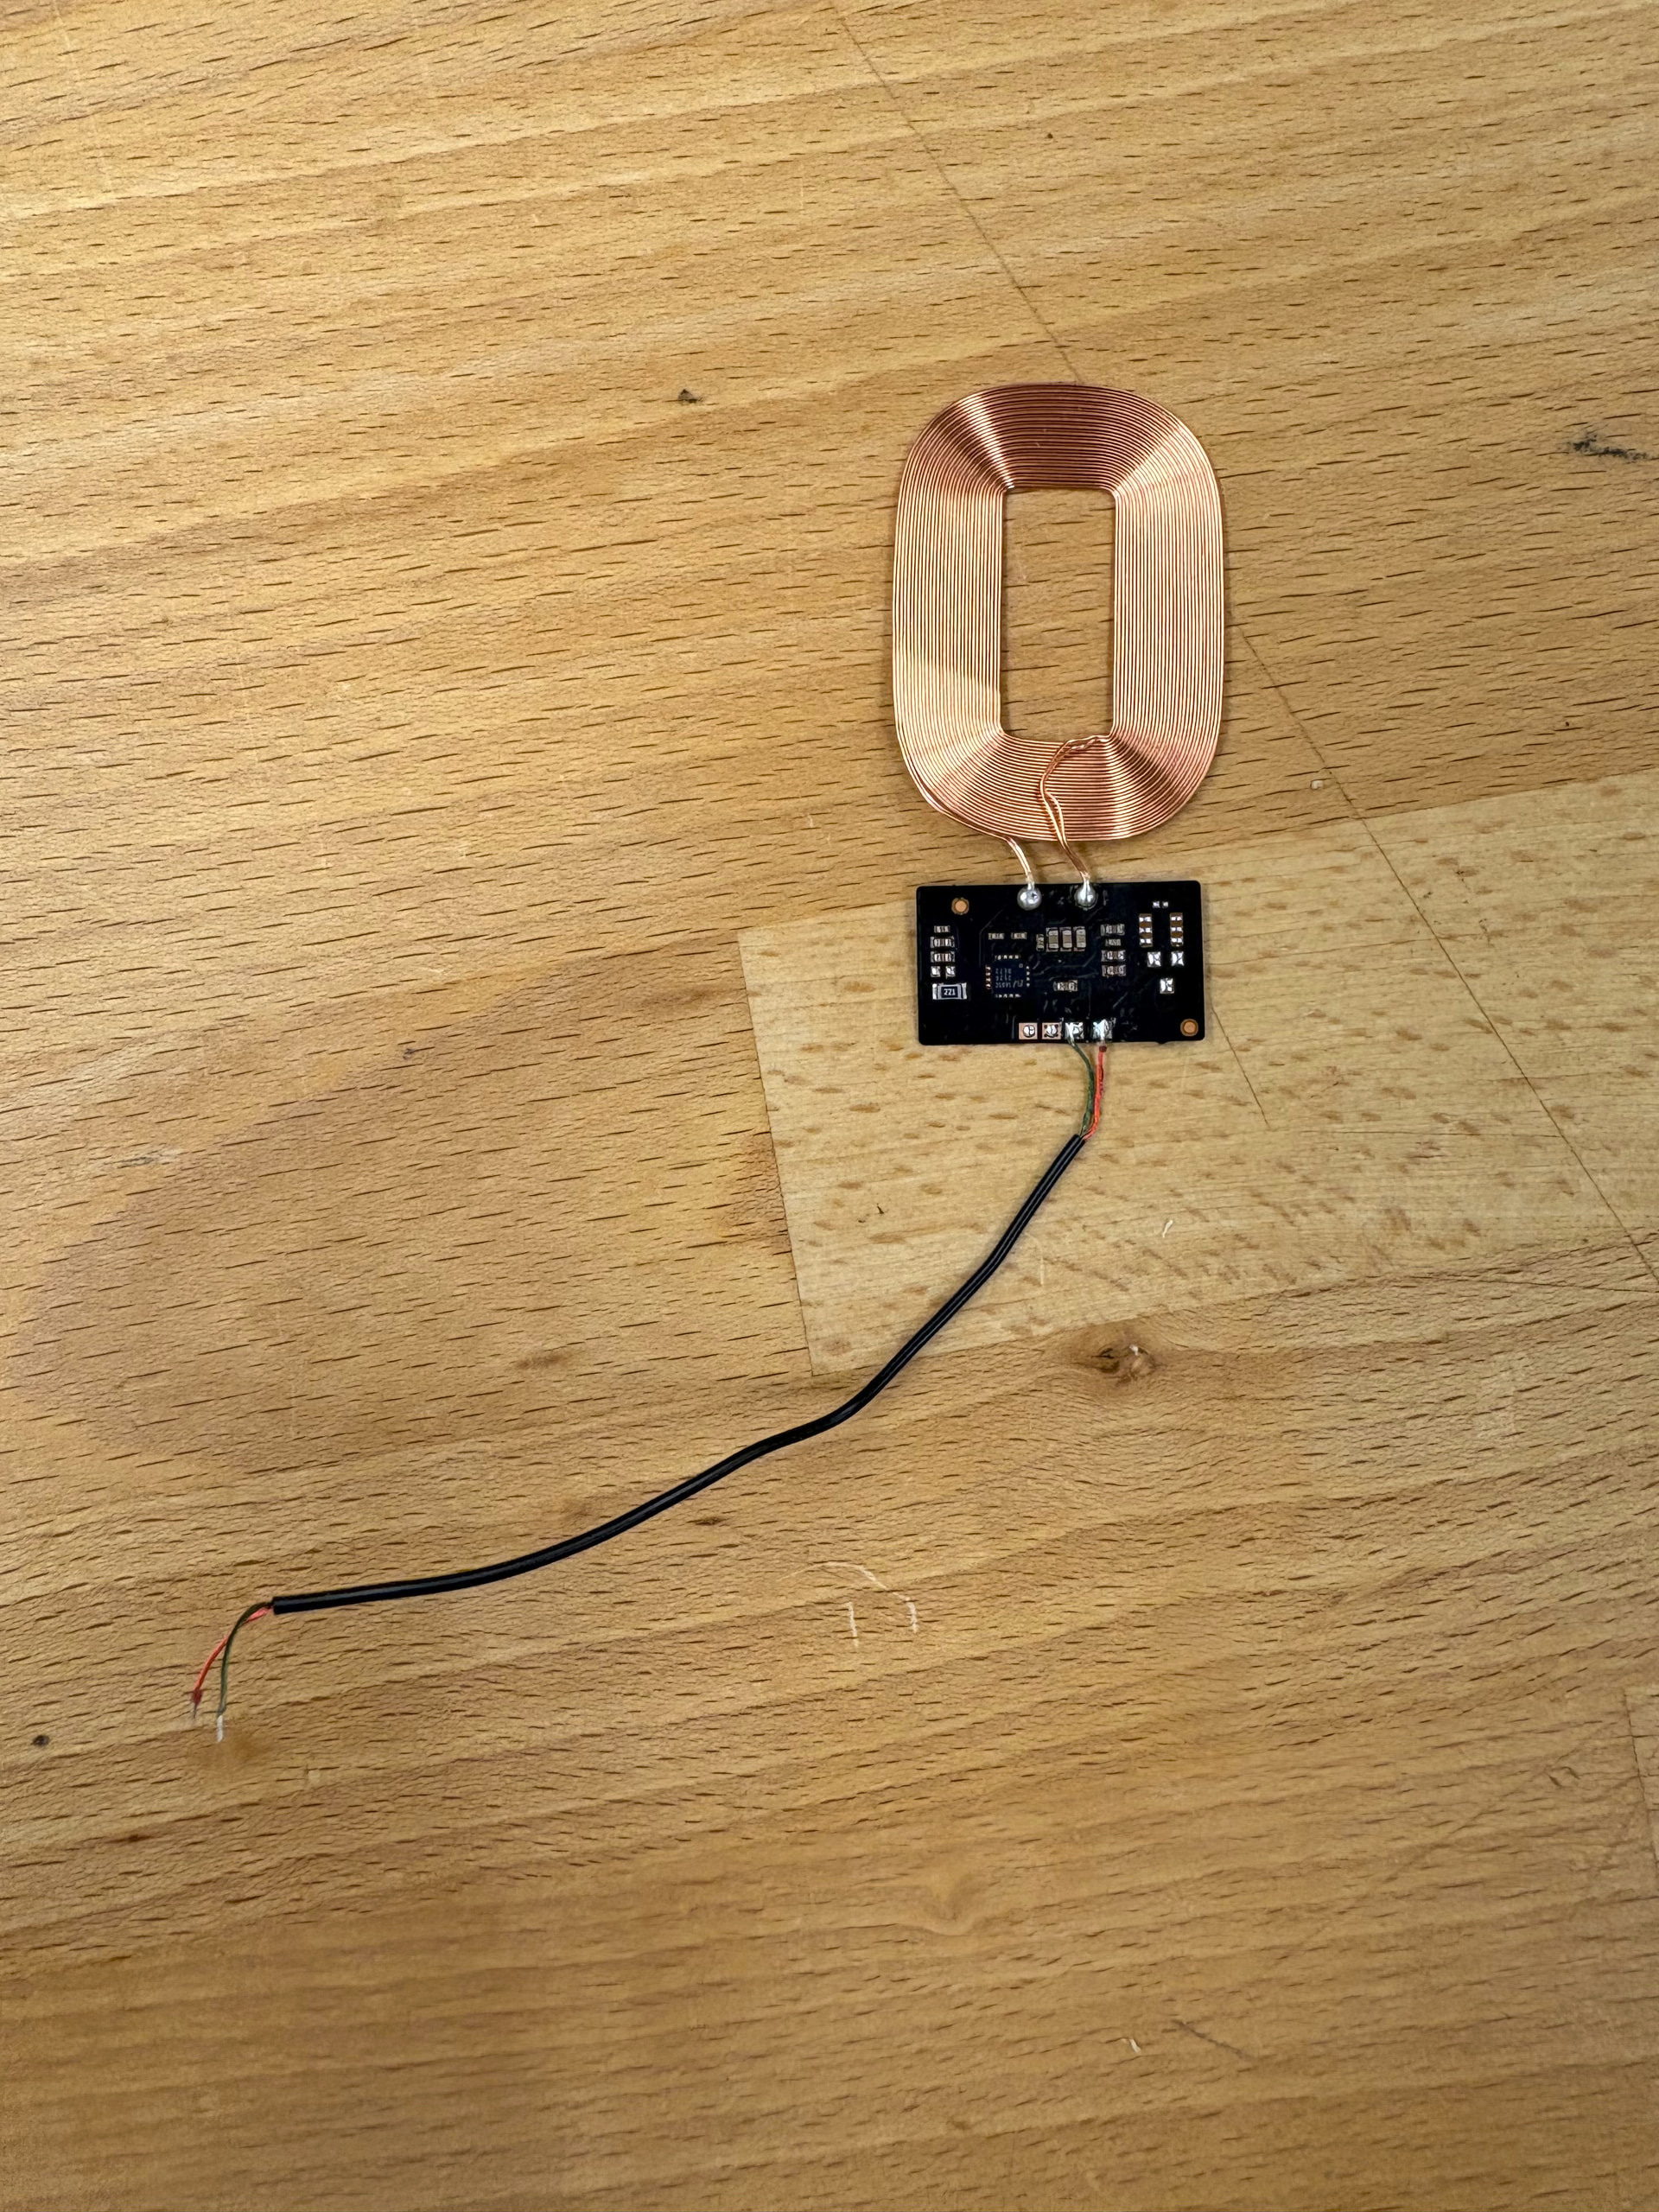
I ended up using a different brand of wireless unit to than the one provided in the BOM. I soldered on new wires with male jumper connections and tested that I got the desired 5 volts across them
I then mounted the PicoW on the Picobell. After powering on the unit, I tested the connections and got the red LED indicator on LipoSHIM and the blue LED indicator on the transmitter to light up.
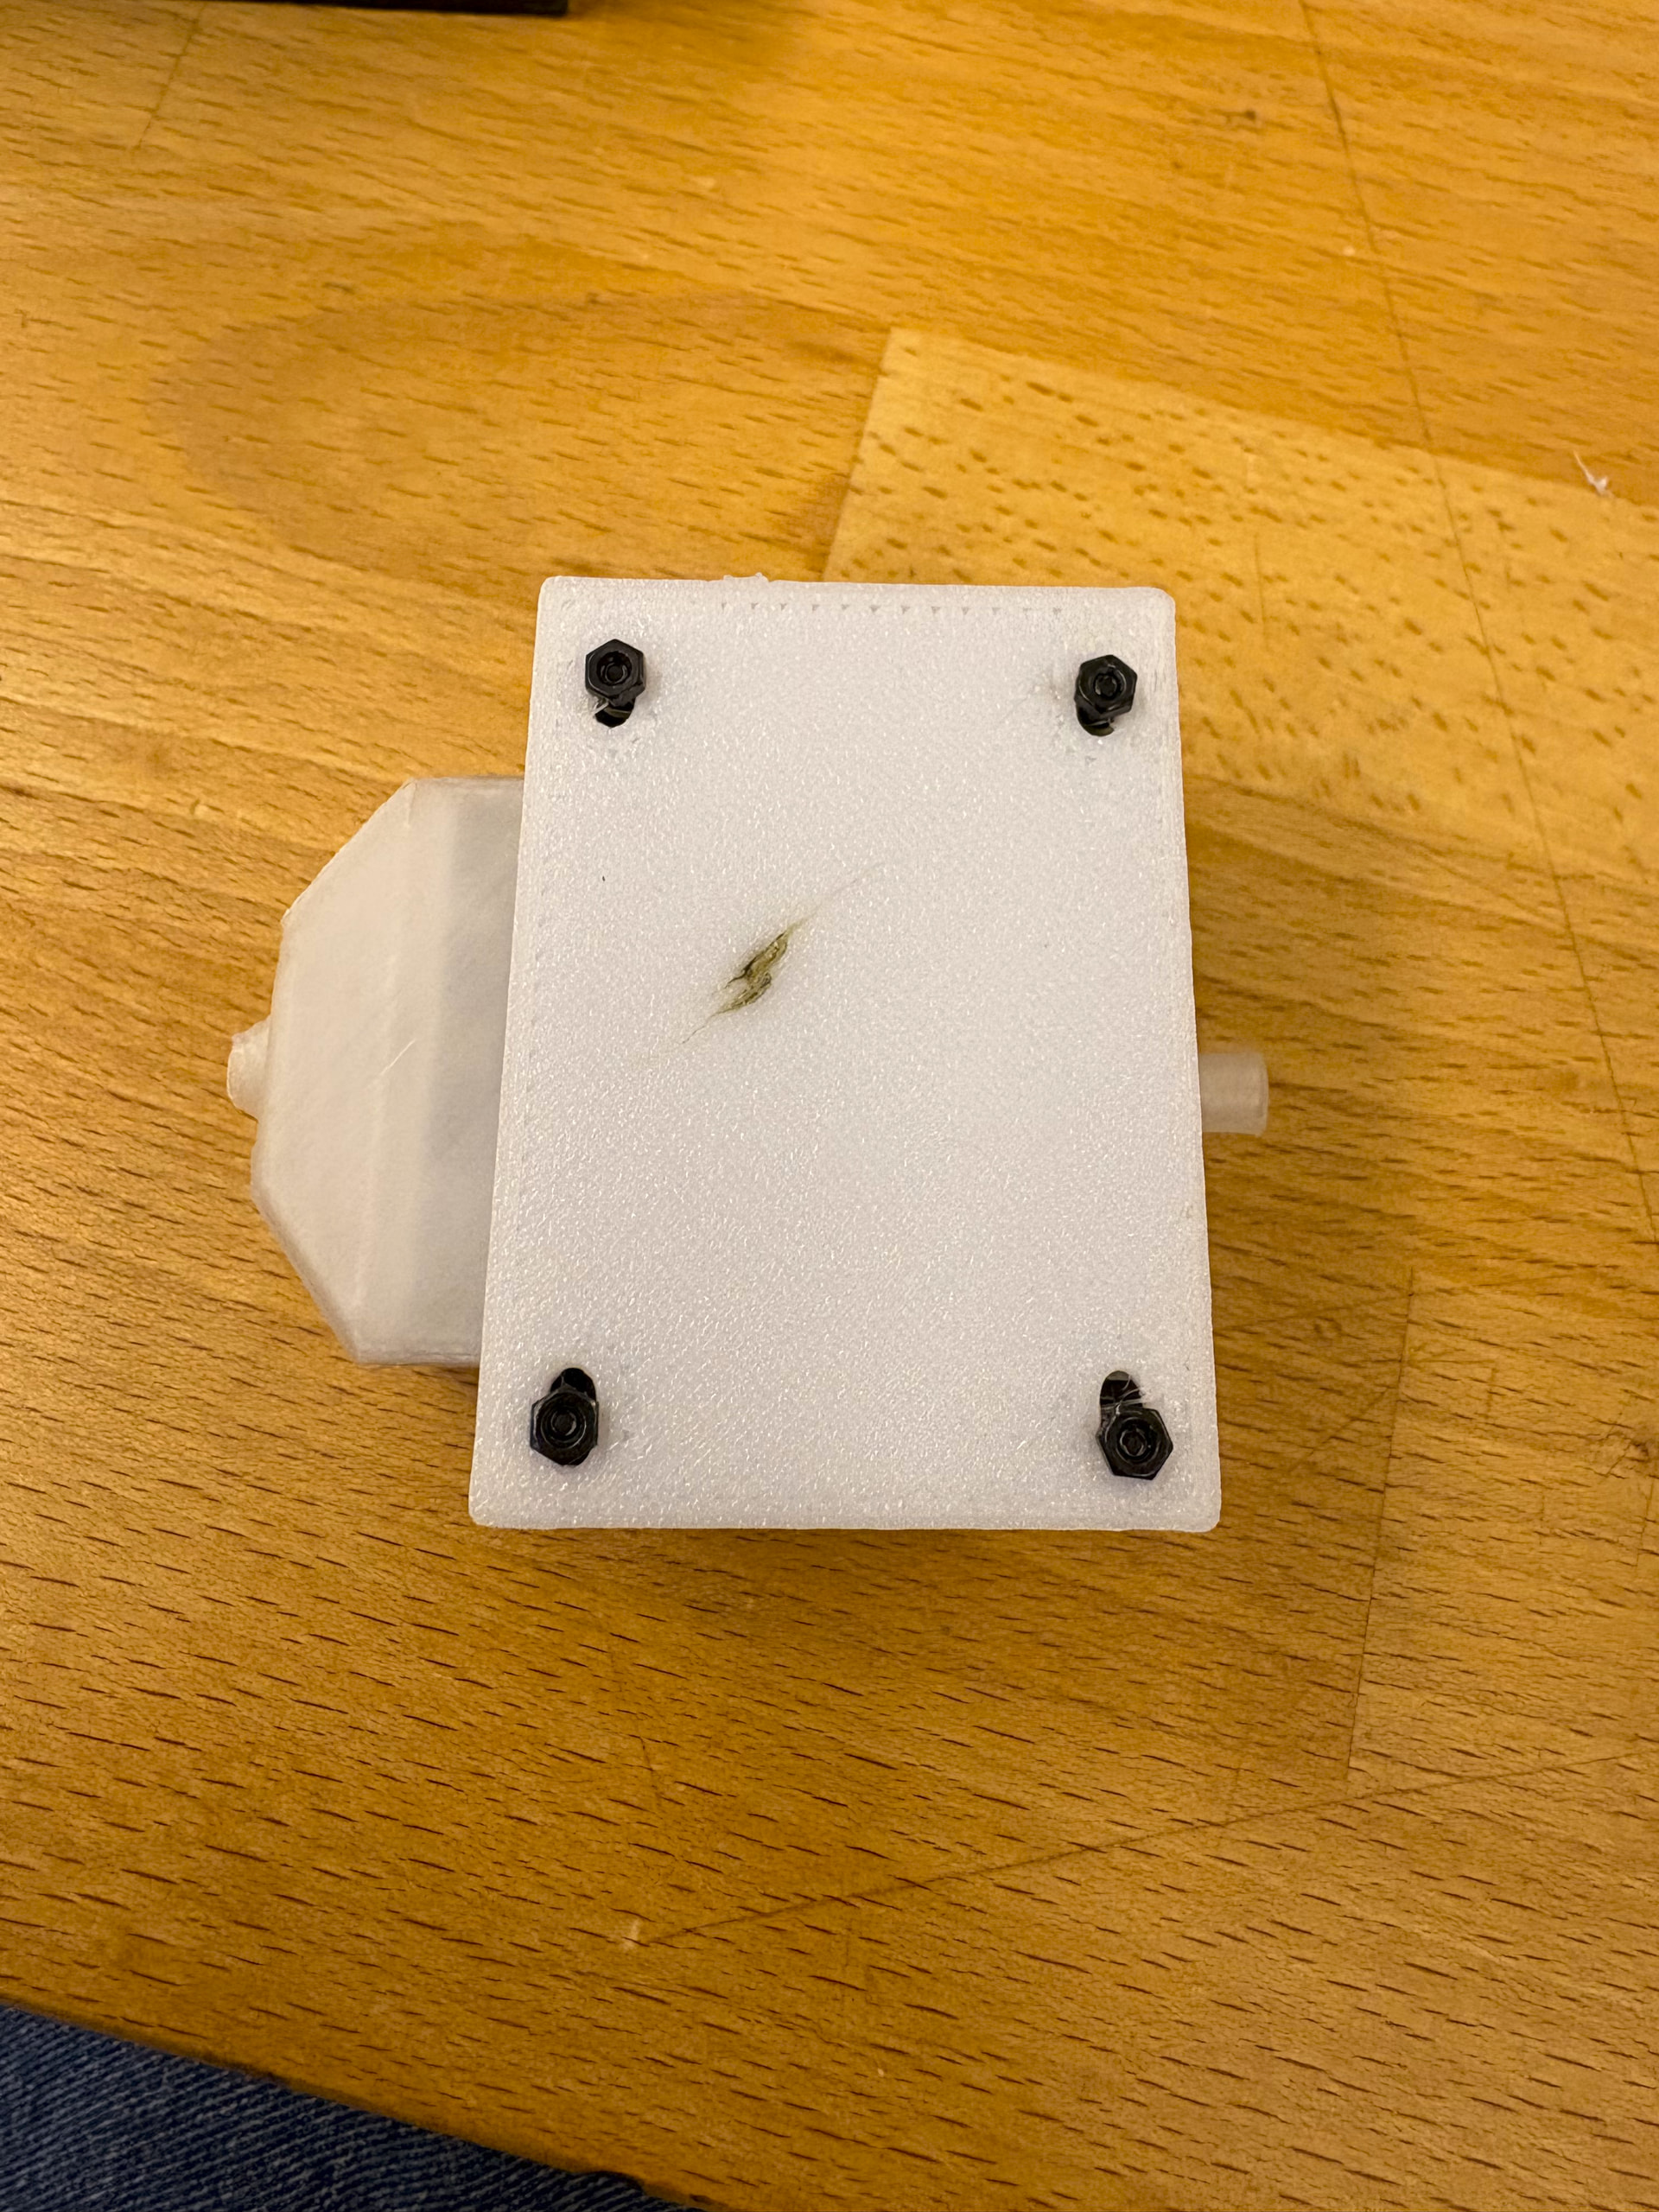
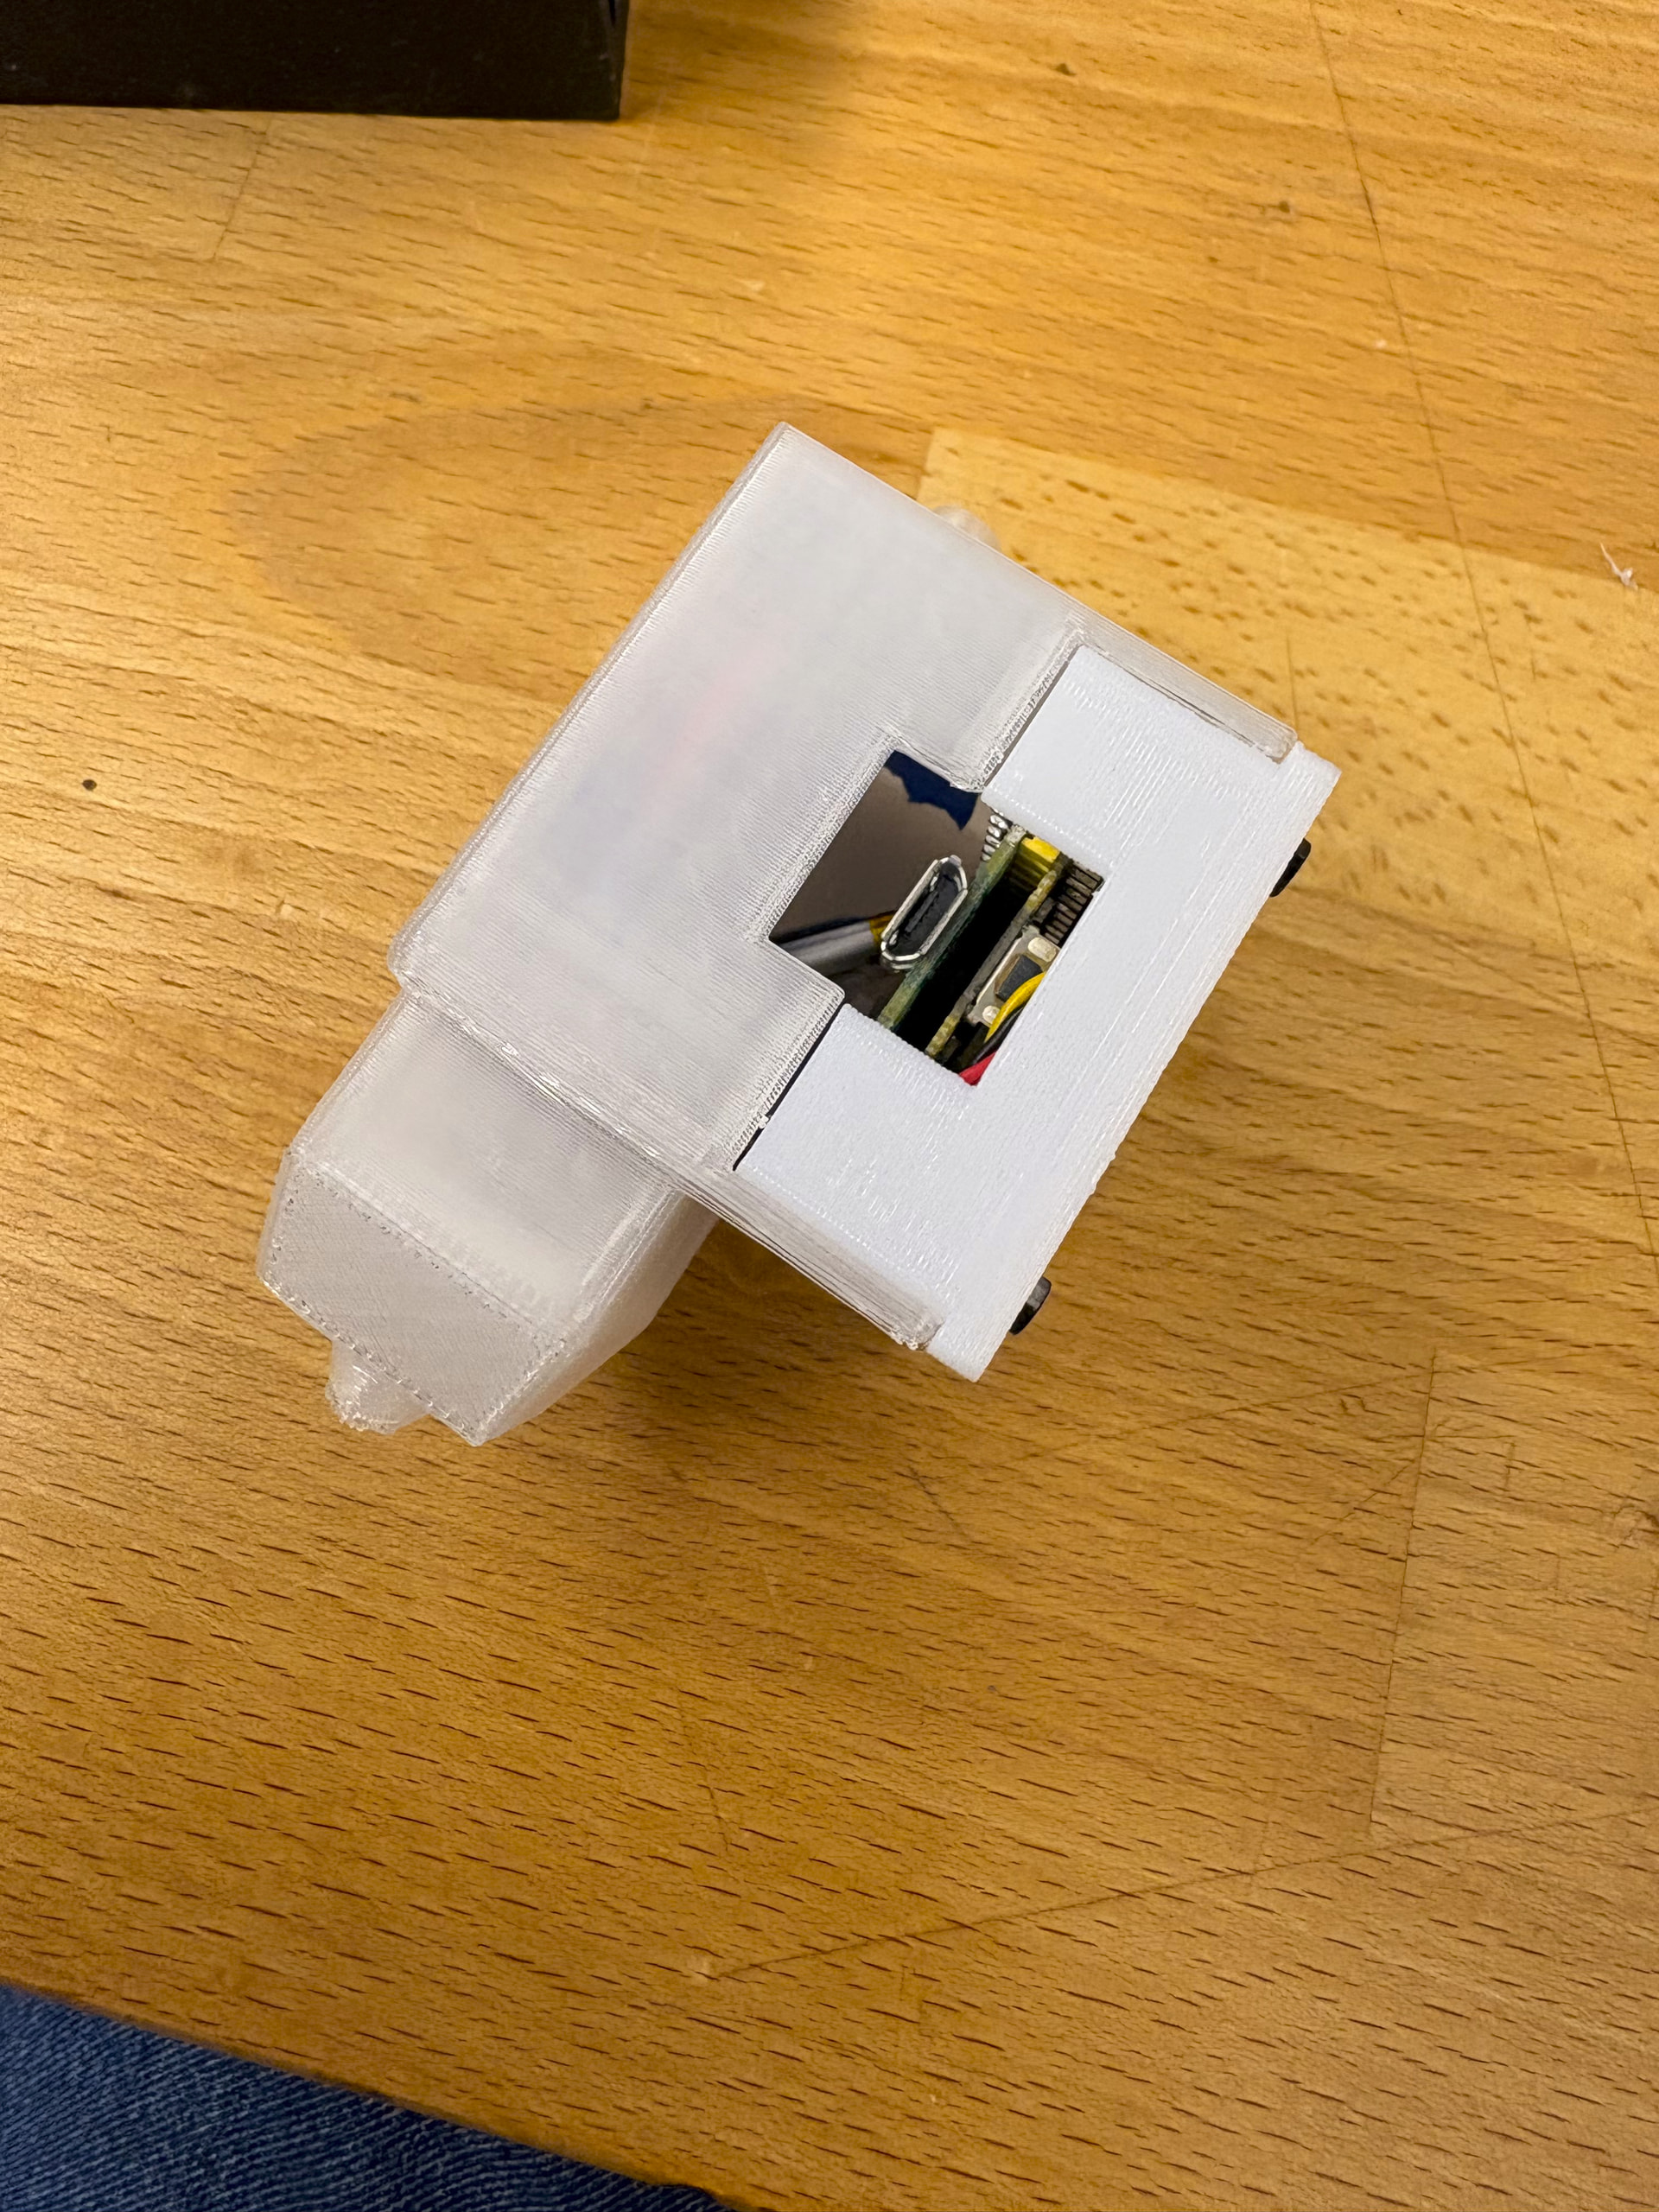
When assembling the sensor enclosure, I used 2M x 6mm head screws and nuts to secure the board to backboard instead of the M2.5 x 10mm head screws in the BOM. I did note that the backboard connection to the sensor enclosure was not perfectly flush but the fit was snug enough that I do not anticipate my unit to come apart during operation. This was most likely due to the fact I ran out of Clear PLA so I had to print the backboard in a slightly different white PLA.
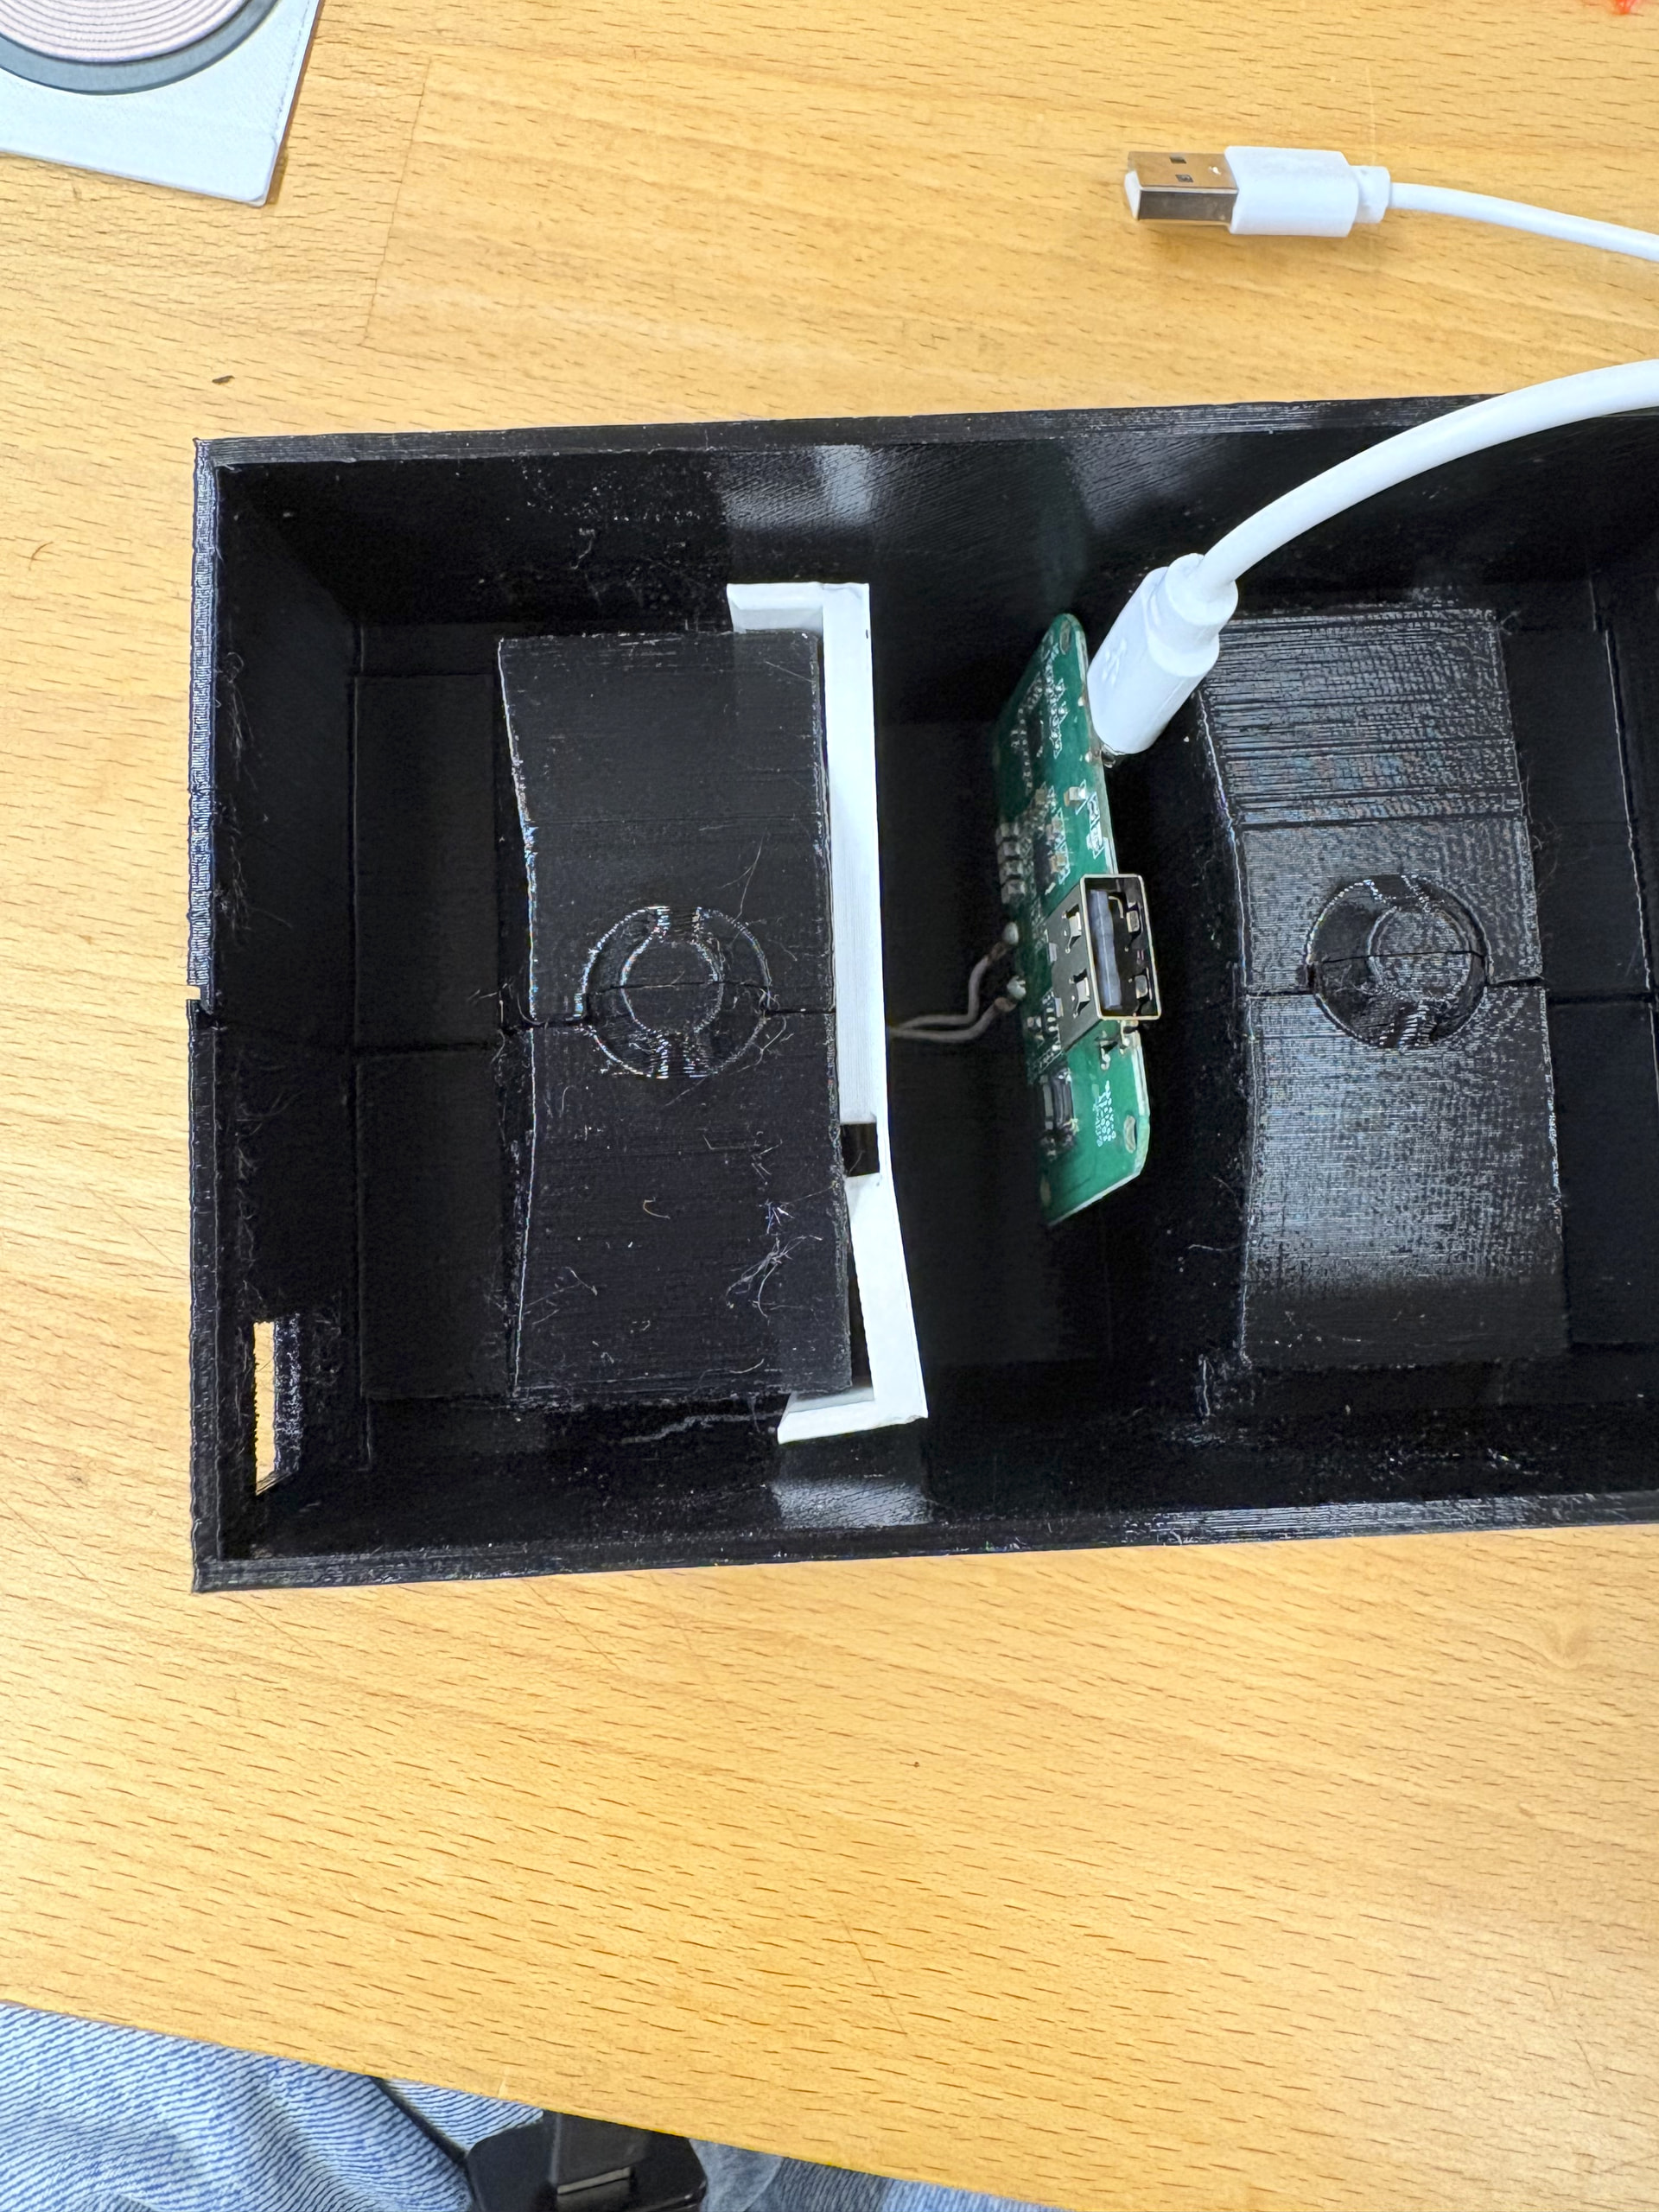
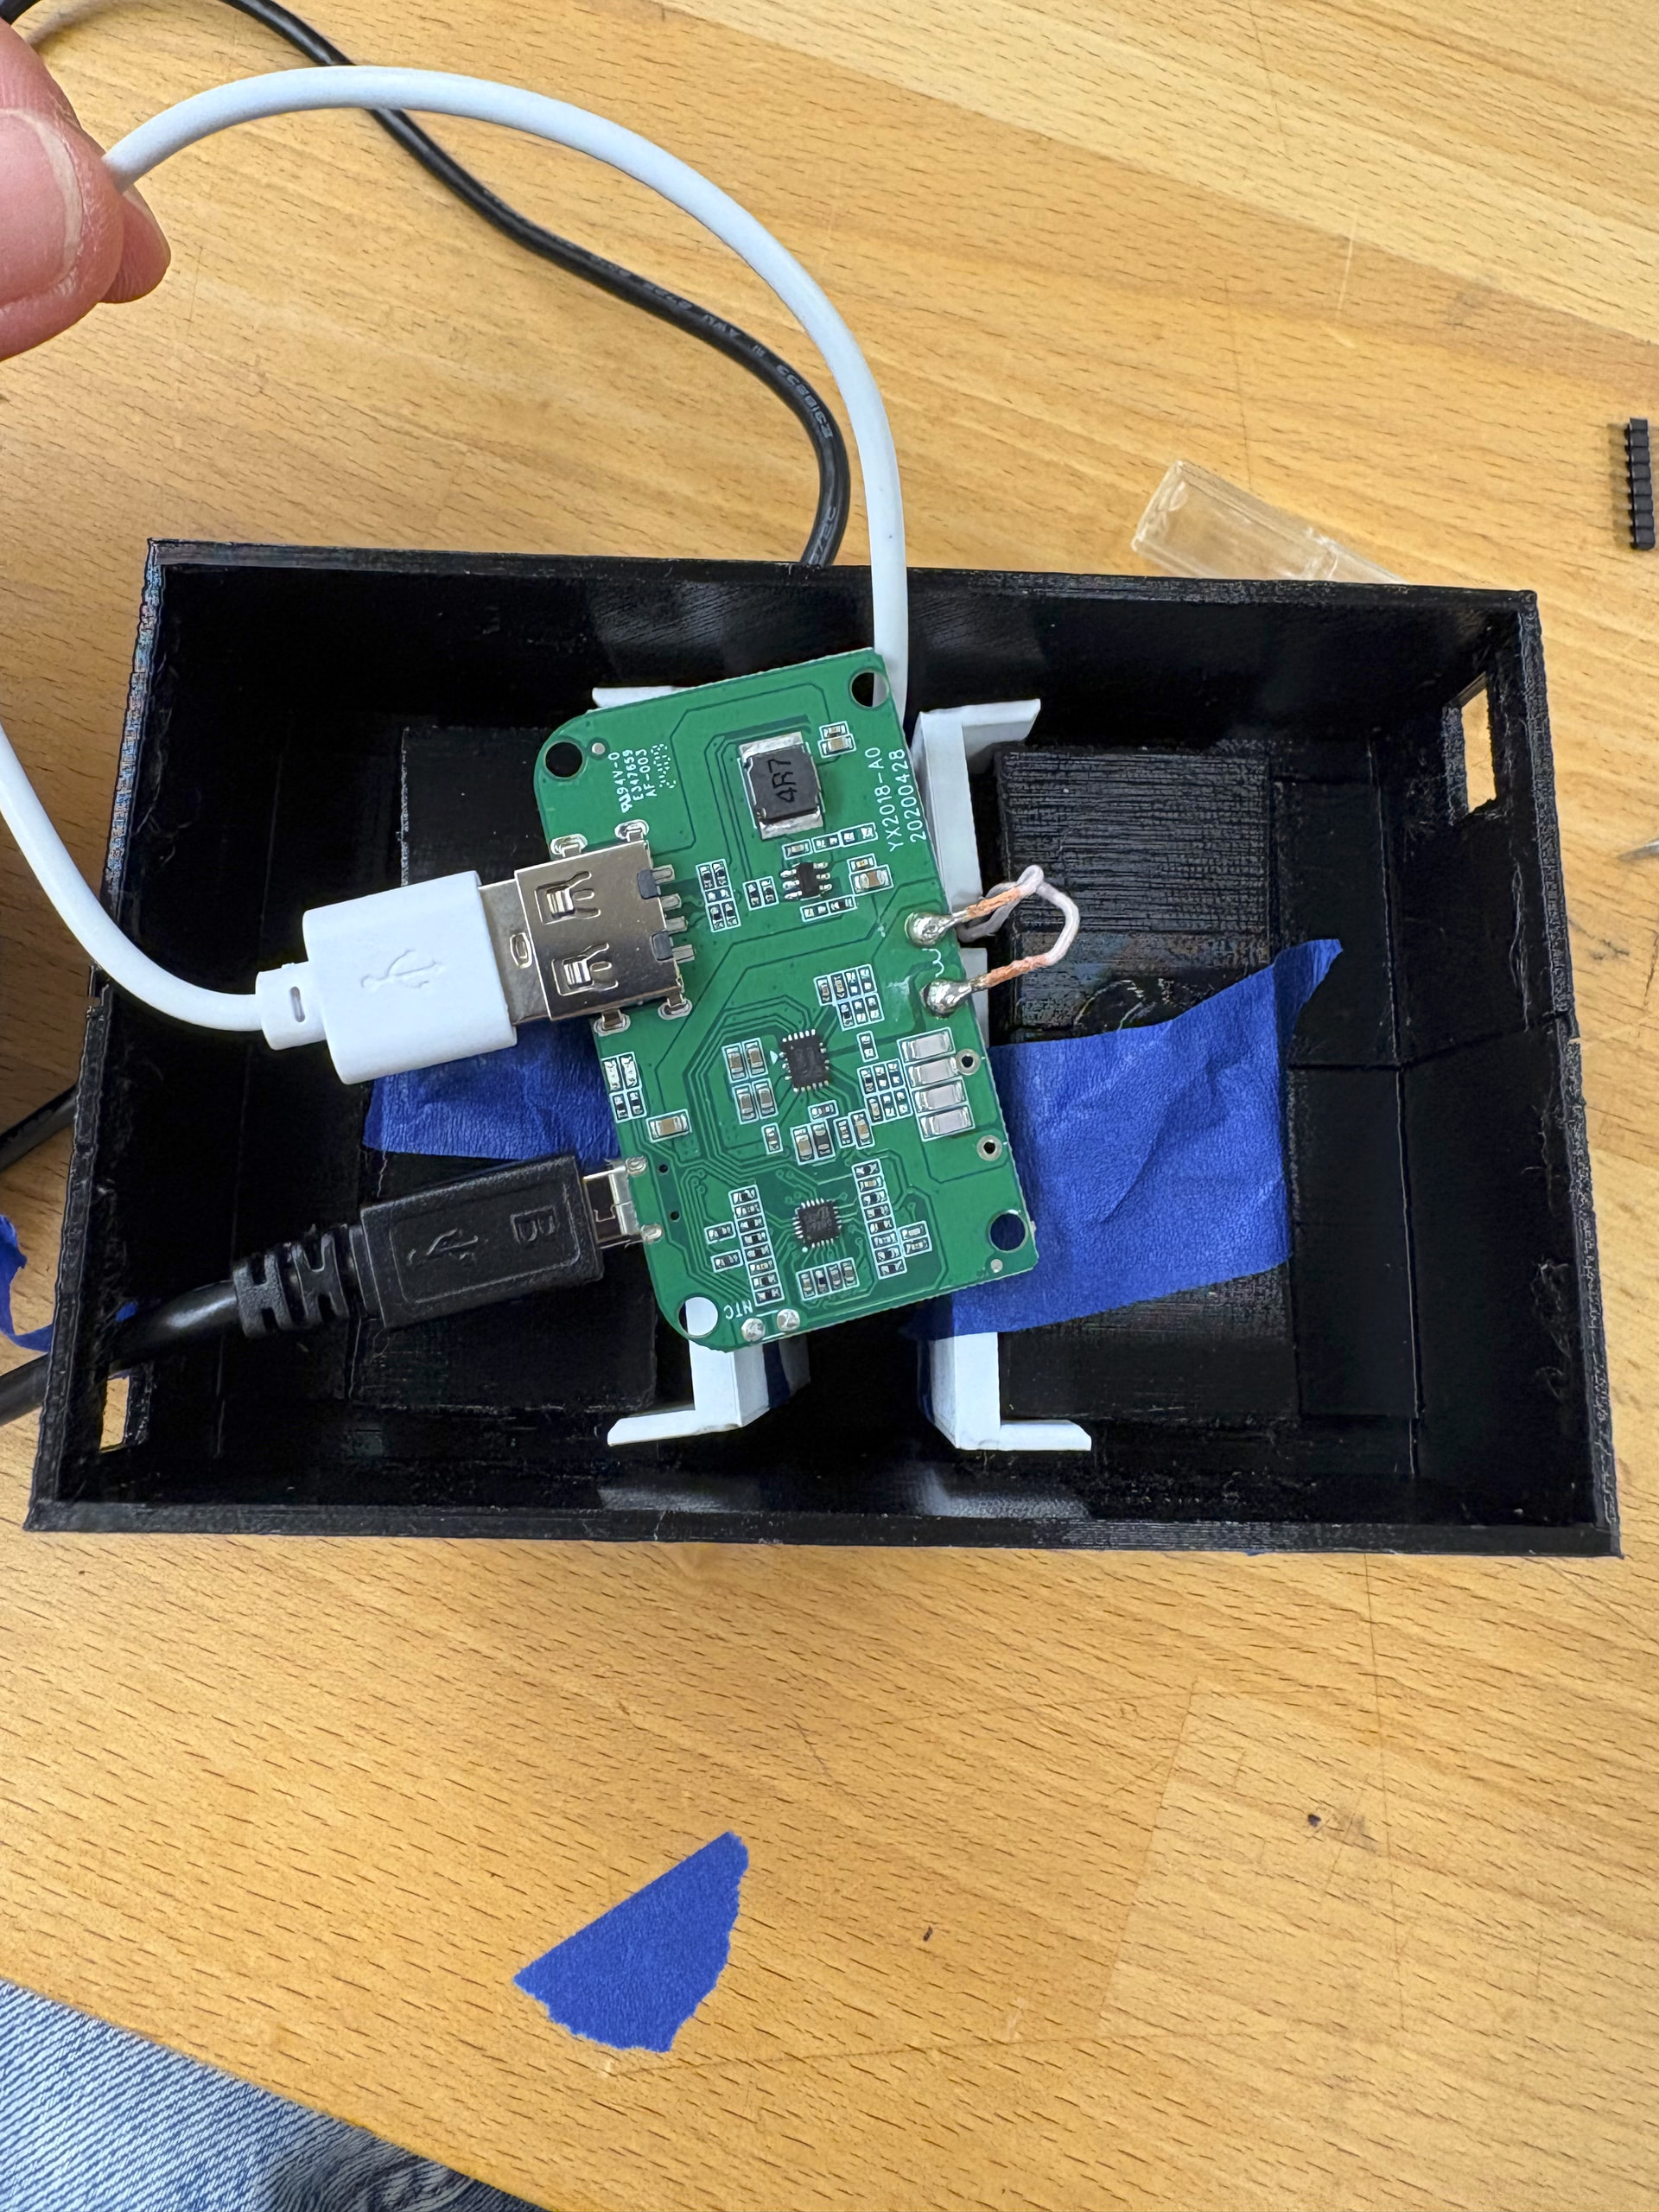
The only other deviation/ issue I ran into while assembling was with attaching the dual charging ports to the base enclosure. The transmitter supports were too narrow and would not fit snugly inside of the base enclosure. They would end up popping out of place with the slightest bit of movement. This made attaching the transmitters nearly impossible since they rely on a snug fit to stay in place in the assembly.
I used tape to secure the transmitters to the holders and to secure the holders to the enclosure so I could get started on testing.
Now that my hardware is fully assembled, I am working through the software portion of this project.
excellent hacking and debugging!