Laser4DIY is an Open Hardware project by FabLab München. It’s a laser structing device for prototyping PCBs i.e. it’s a laser “engraver” that directly removes copper from blank copper clad boards using laser ablation (instead of milling or etching). For more details see laser4diy.org
The project is currently doing a (closed) beta testing phase with funding from Prototype Fund Hardware. We have 2 groups trying to replicate the device from the published documentation, one directly at the FabLab München (Munich, Germany), the other at the Das Labor in Bochum, Germany. At the same time we are working on the documentation, adding missing parts and improving the existing ones.
This thread will be used to give updates on the build progress of both teams. Feedback (technical issues, open questions, missing information) will be given by opening Github issues in the Laser4DIY repositories
Hello from Team Bochum,
unfortunately, we were a little lazy with out documentation, so here a small recap of our last sessions:
22.11.2022: First unboxing session with unboxing and assembly of the both stages
While assembling we ran into our first issue: The no-backlash-nut had a different dimension than the regular nut. Everything has been solved and was reported on Github:
06.01.2023
Sorted out strange hardware issue: When the boards were assembled the GRBL Firmware stopped working. It turned out the motor shield pressed the reset button on the Nucleo-Board. Both are axis are working now.
Hi there! I’m André, also from Team Bochum.
Due to colds goring around here and some other issues, we could not meet for some time.
But yesterday, we made some progress. Let me tell you what we did.
04.03.2023
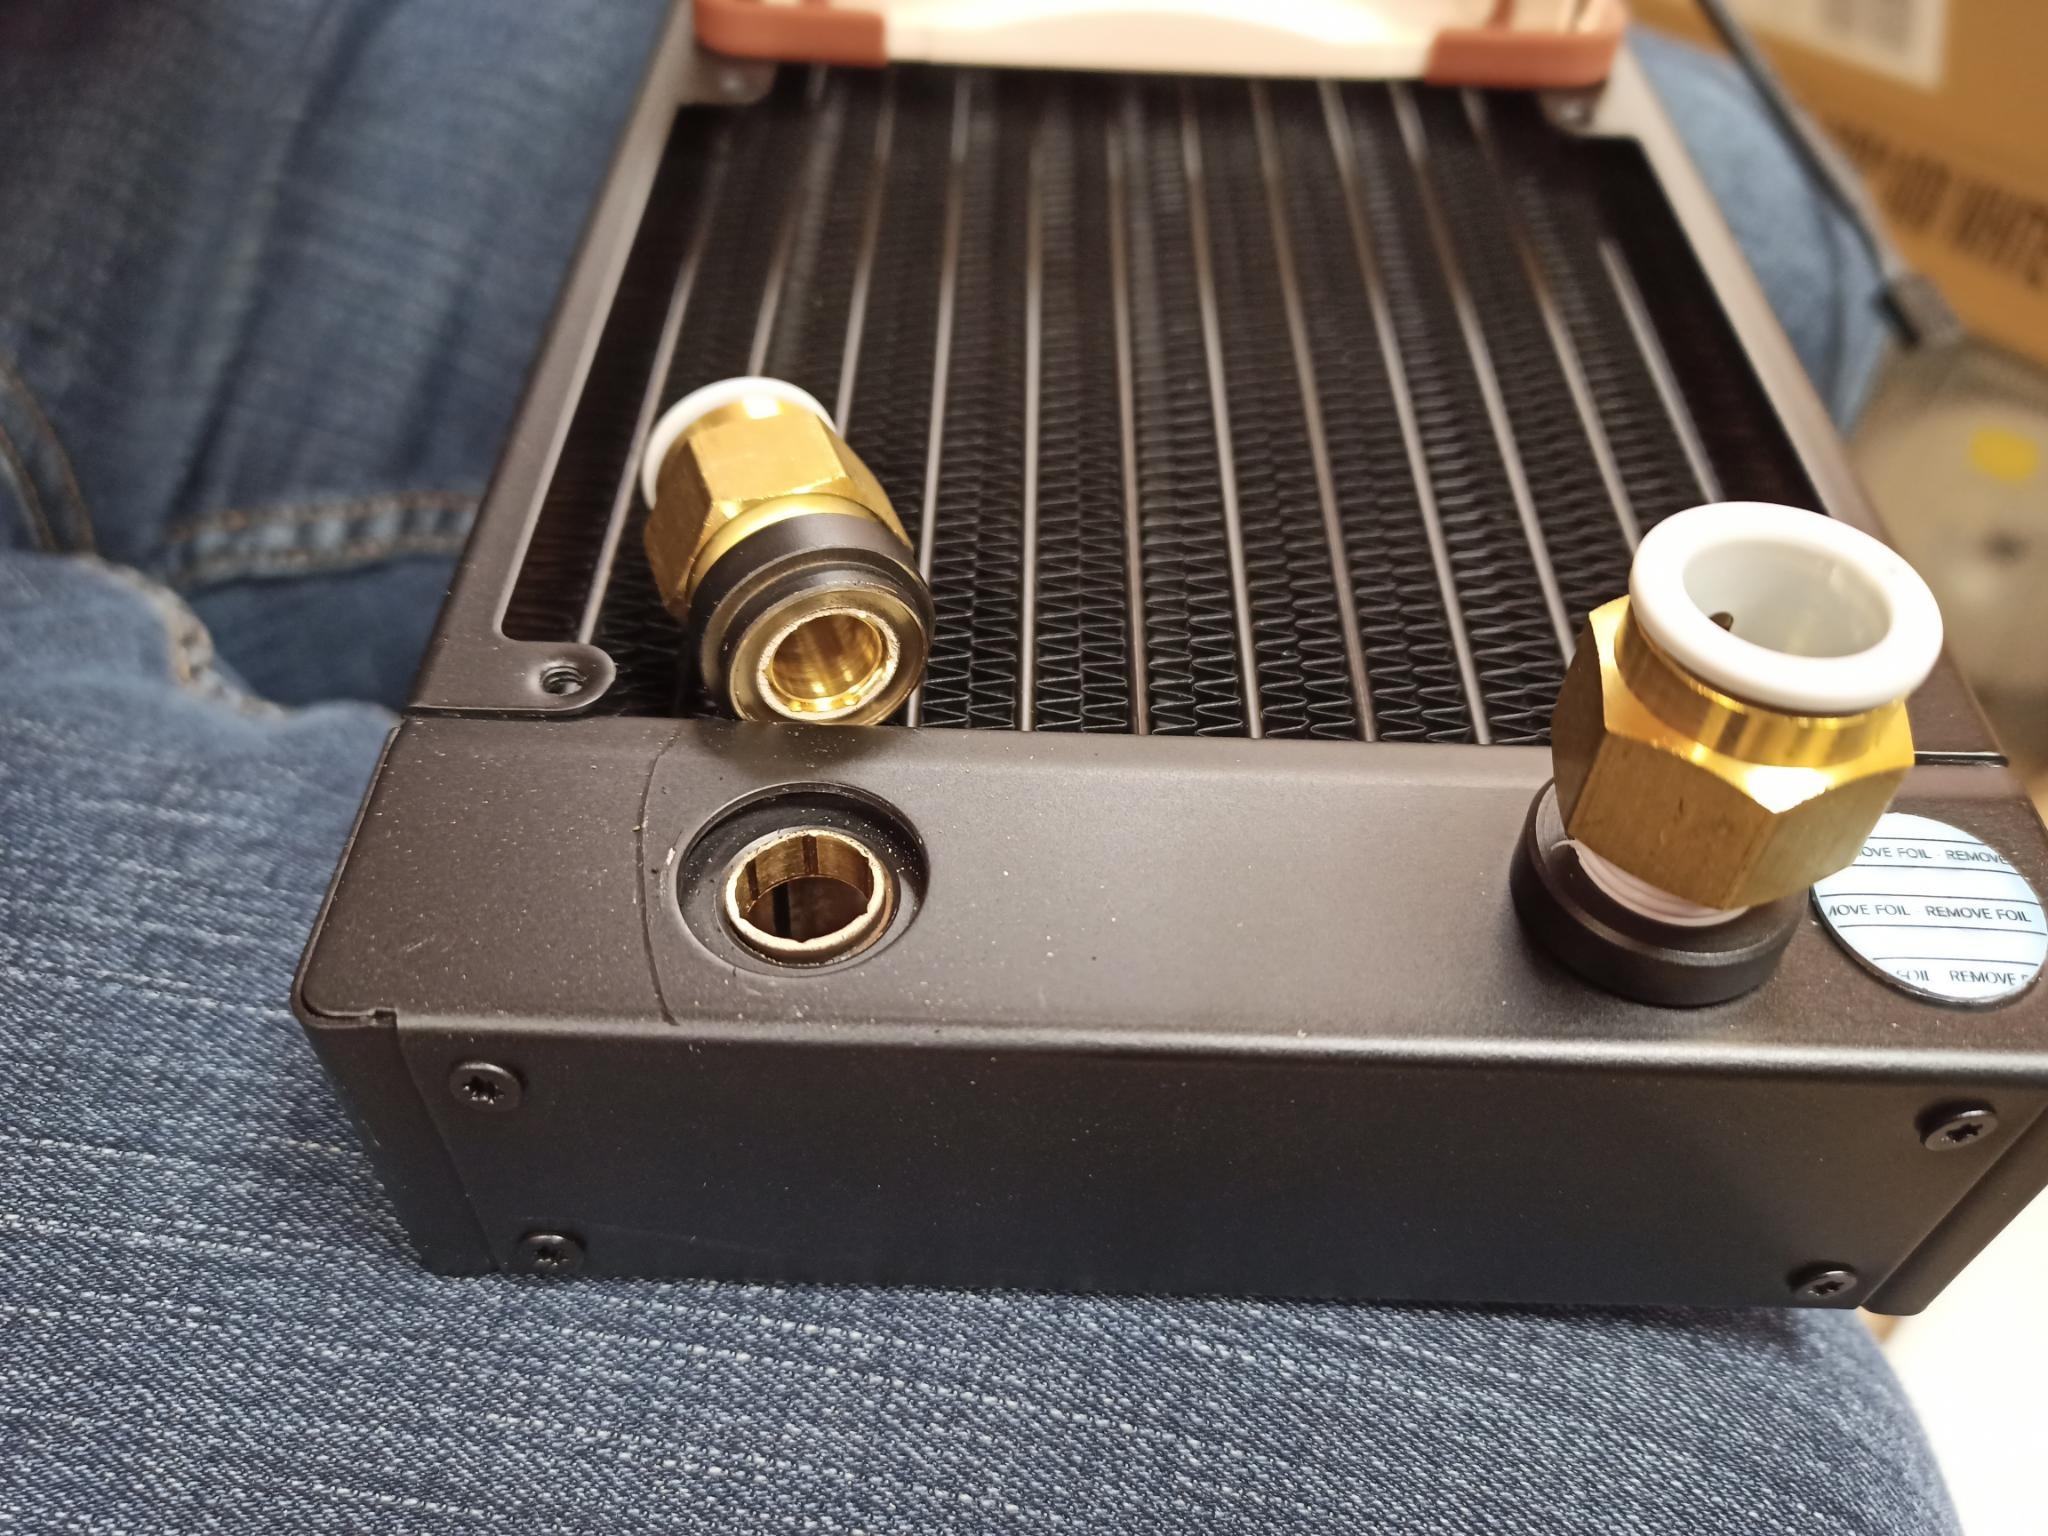
We started building the supply unit with the power supplies and the cooling. Construction went smooth until we accidentally stripped one of the threaded couplings from the radiator. It seems, that the metal is really really thin around there and if you thread the hose-coupling in to deep, you rip it apart.
But with some plumping-supplies we could get around the situation.
So we suggest to add a hint to the documentation, that these fittings have so be screwed in very gently.
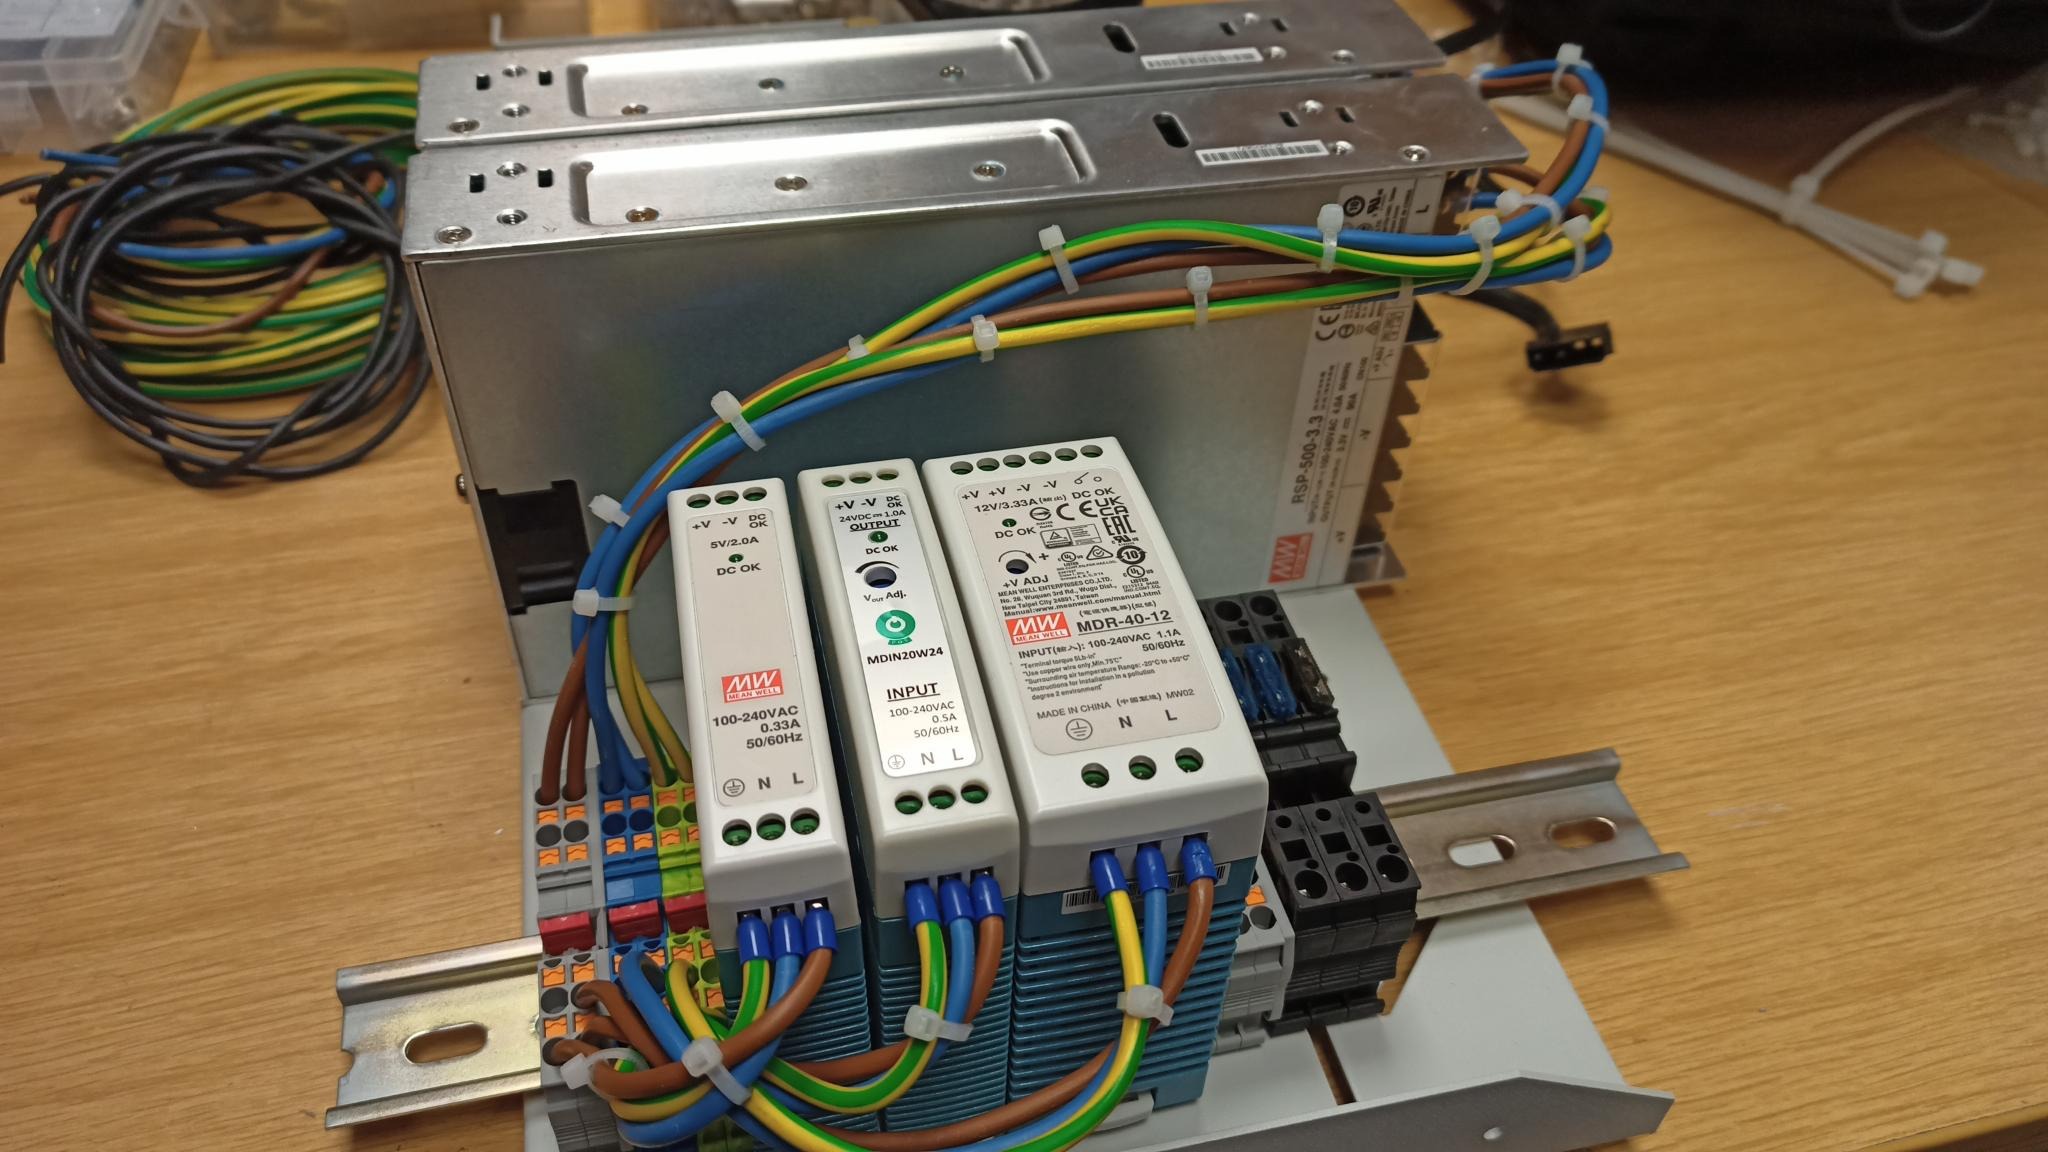
We wired in the emergency stop and all the connectors on the front panel. After that we followed the wiring-diagram and wired up all the power supplies and the fuses.
Laser4DIY is on the Hackaday podcast! Elliot and Dan are discussing it starting at min 29.
Andreas
PS: small correction on what’s discussed on the podcast: our pump diode driver is running in constant current mode. We do not pulse the pump diode (yet). But yes, the magic of the q switch works with a cw pump diode too, and we indeed generate pulses ~2.5ns with almost 50kW peak