Refill soldering. Easy to use, fun to do, doable with kids, newbies and your grandmother.
It’s the perfect example of a method that is DIYK (Do In Your Kitchen).
What you need:
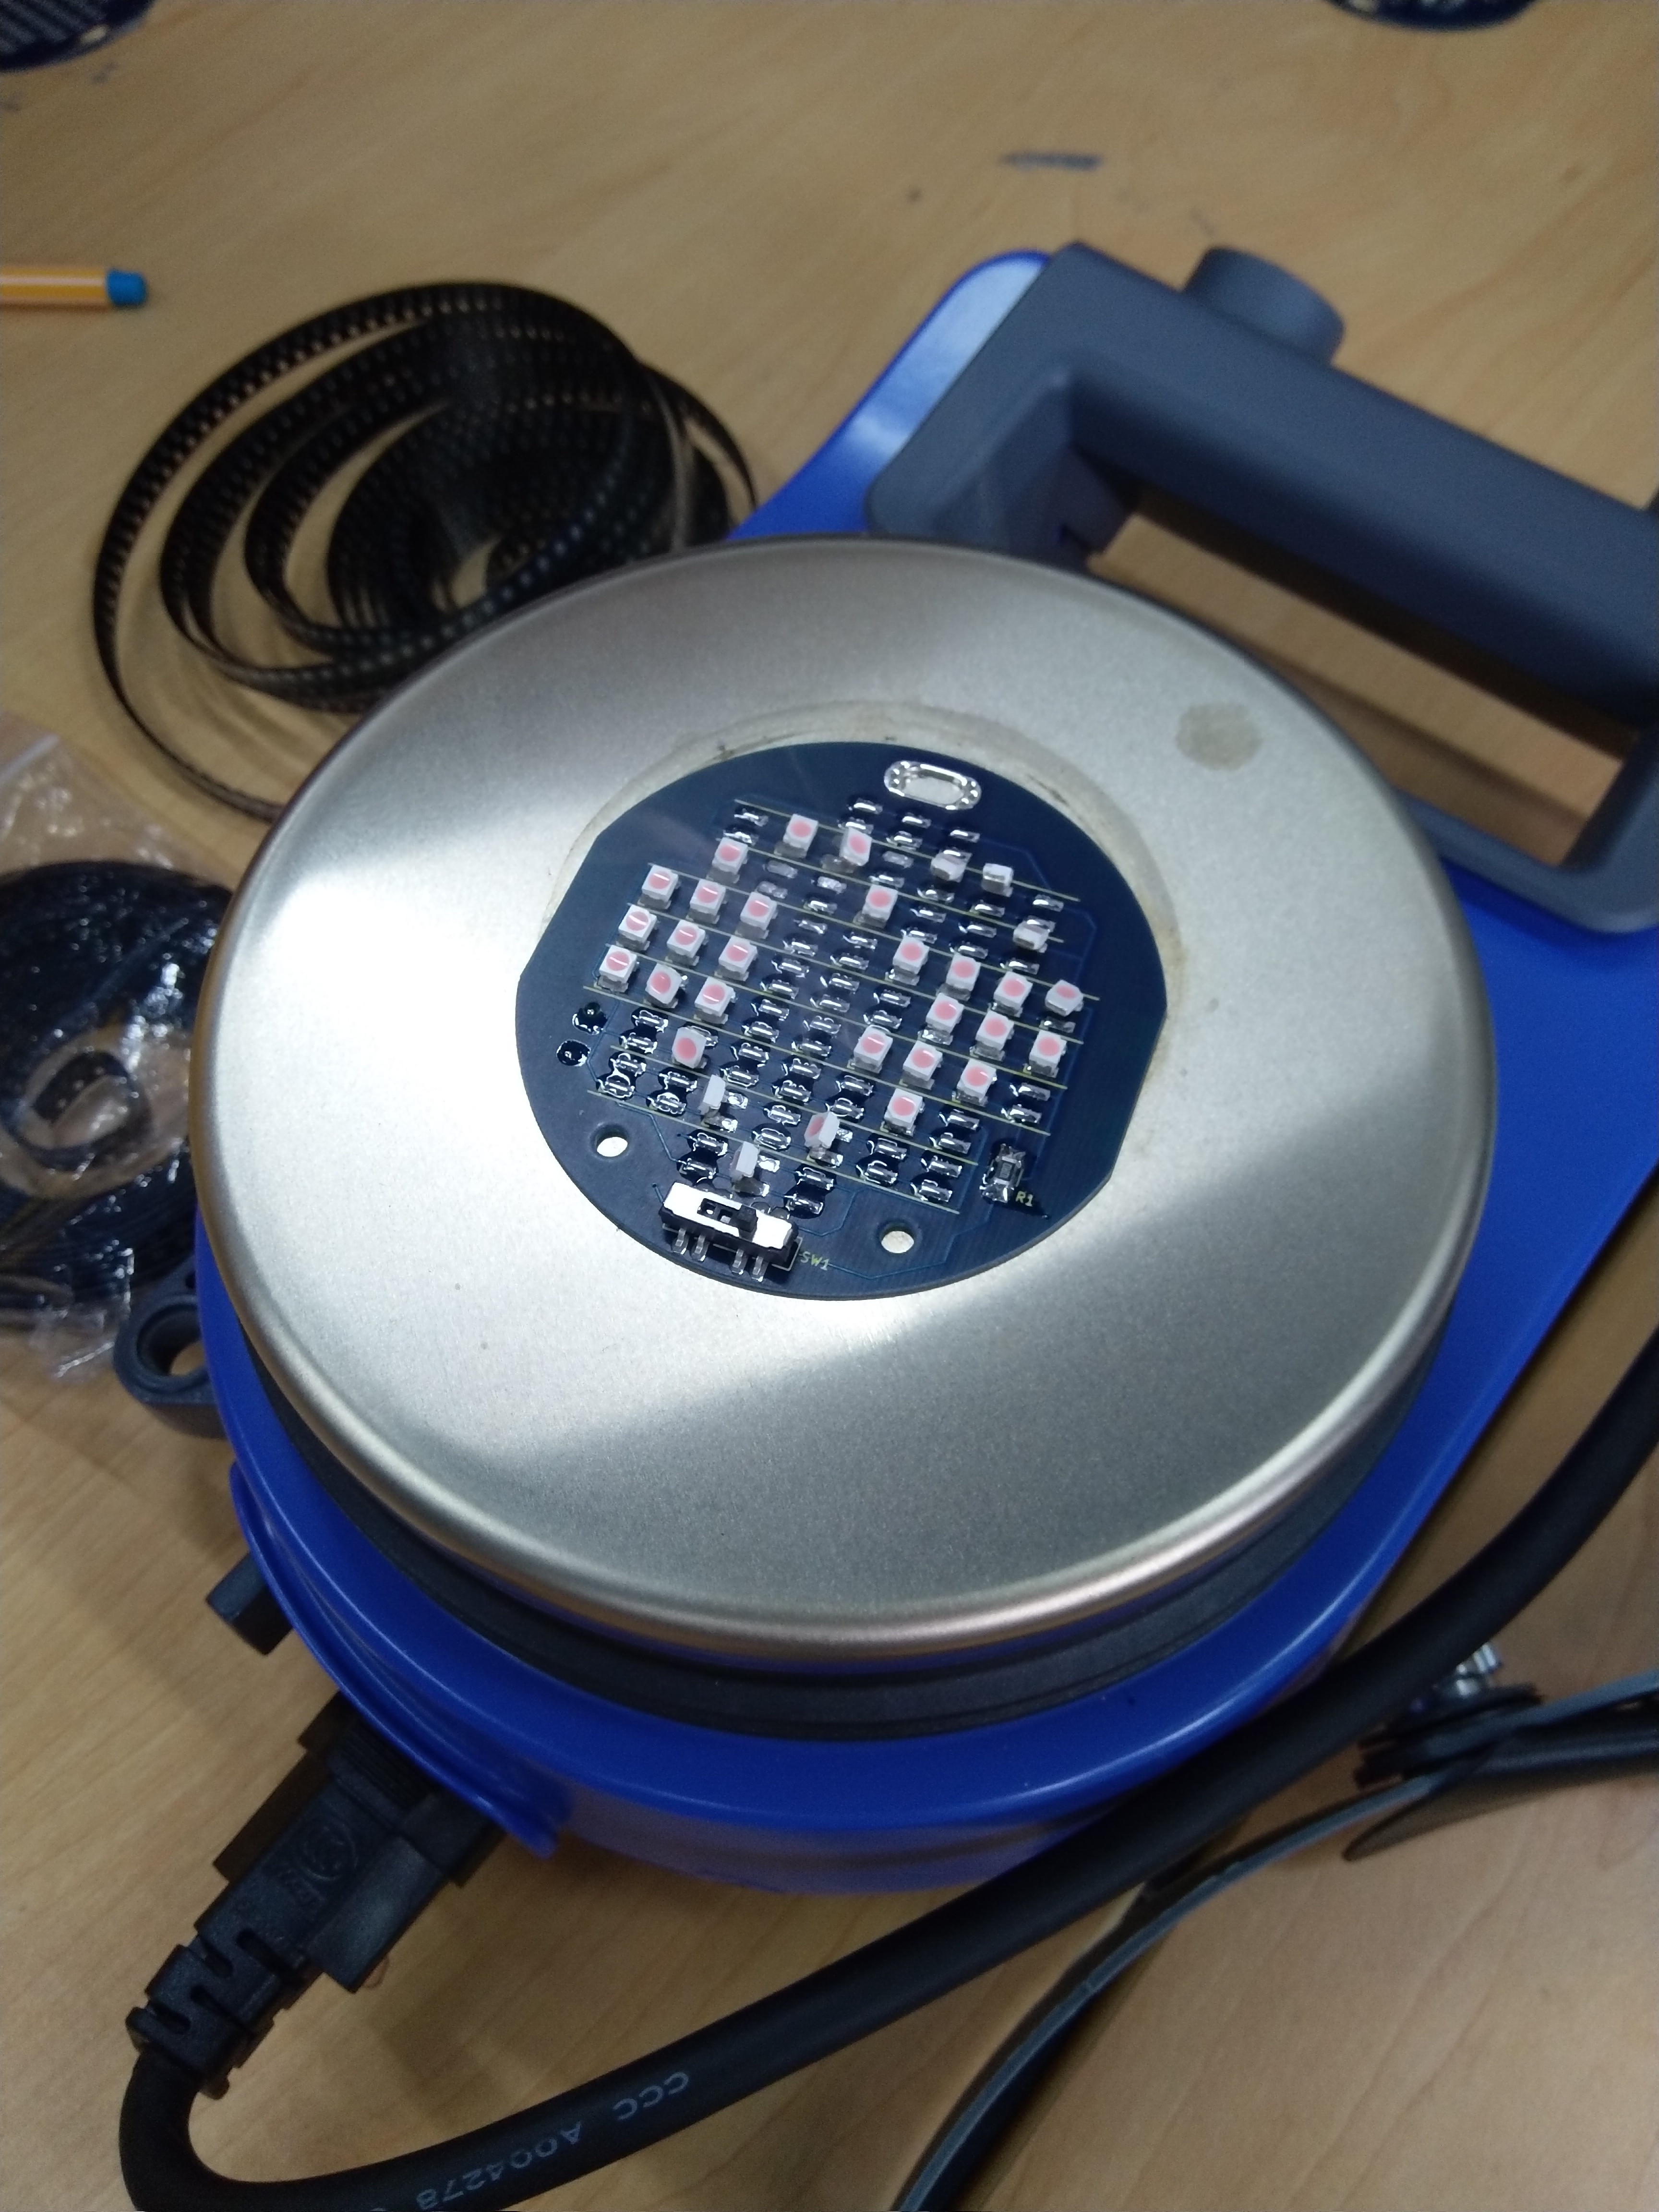
- Circuit board you want to solder. We used the Bitbadge, a circuit developped by gaudi labs to practice soldering.
- a stensil matching the pad patterns of the board.
you can either do it yourslef with a laser or vinyl cutter or order it with your board for an extra 10$ - parts
- solder paste
- something to smear the paste with (we did it with a hotel card)
- something hot (oven, hot plate, fire…)
Essentially, the solder paste, when heated, turns into wery nice solder blobs and attaches the components to the circuit board in a very satisfying, non finger-burning way.
How do you use it?
- attach the board on your working bench
- dispose the stensil on it
- spread the solder paste, it will fall from the holes in the stensil to the appropriate parts of the circuit board
- remove the stensil (do not lick your fingers)
- place the components where you want them
- heat the board with a plate, oven, or anything else you have at hand (do NOT use a microwave)
The temperature you have to heat it to depends on the kind of solder paste you use - congratulations! now you can repeat the same process again and again.
/!\ do not eat any of what you use in this context /!\
!
Convener & facilitator? : Urs
documenters : Dulce and Anne-Pia